Strawberry- Rhubarb Pie

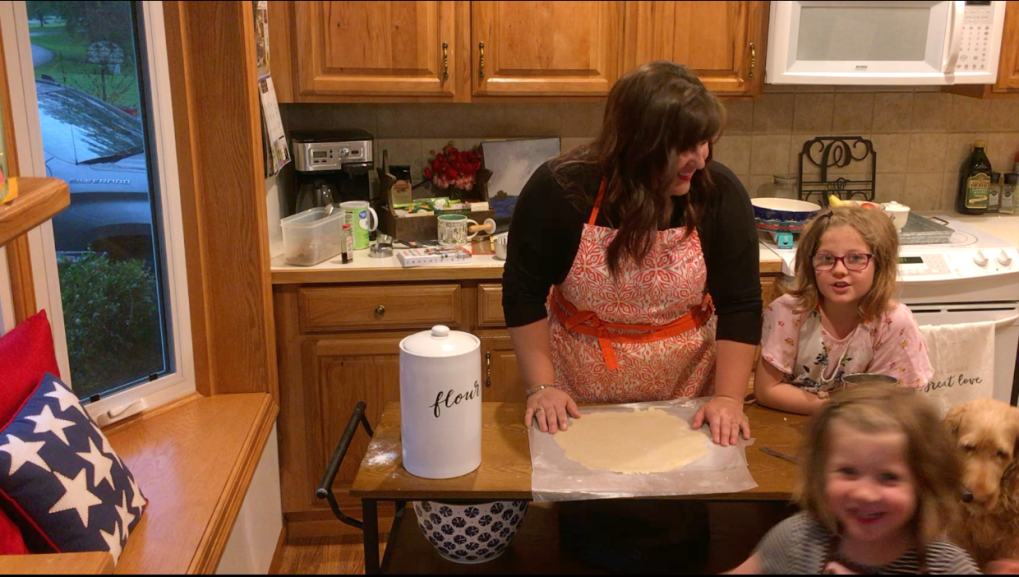
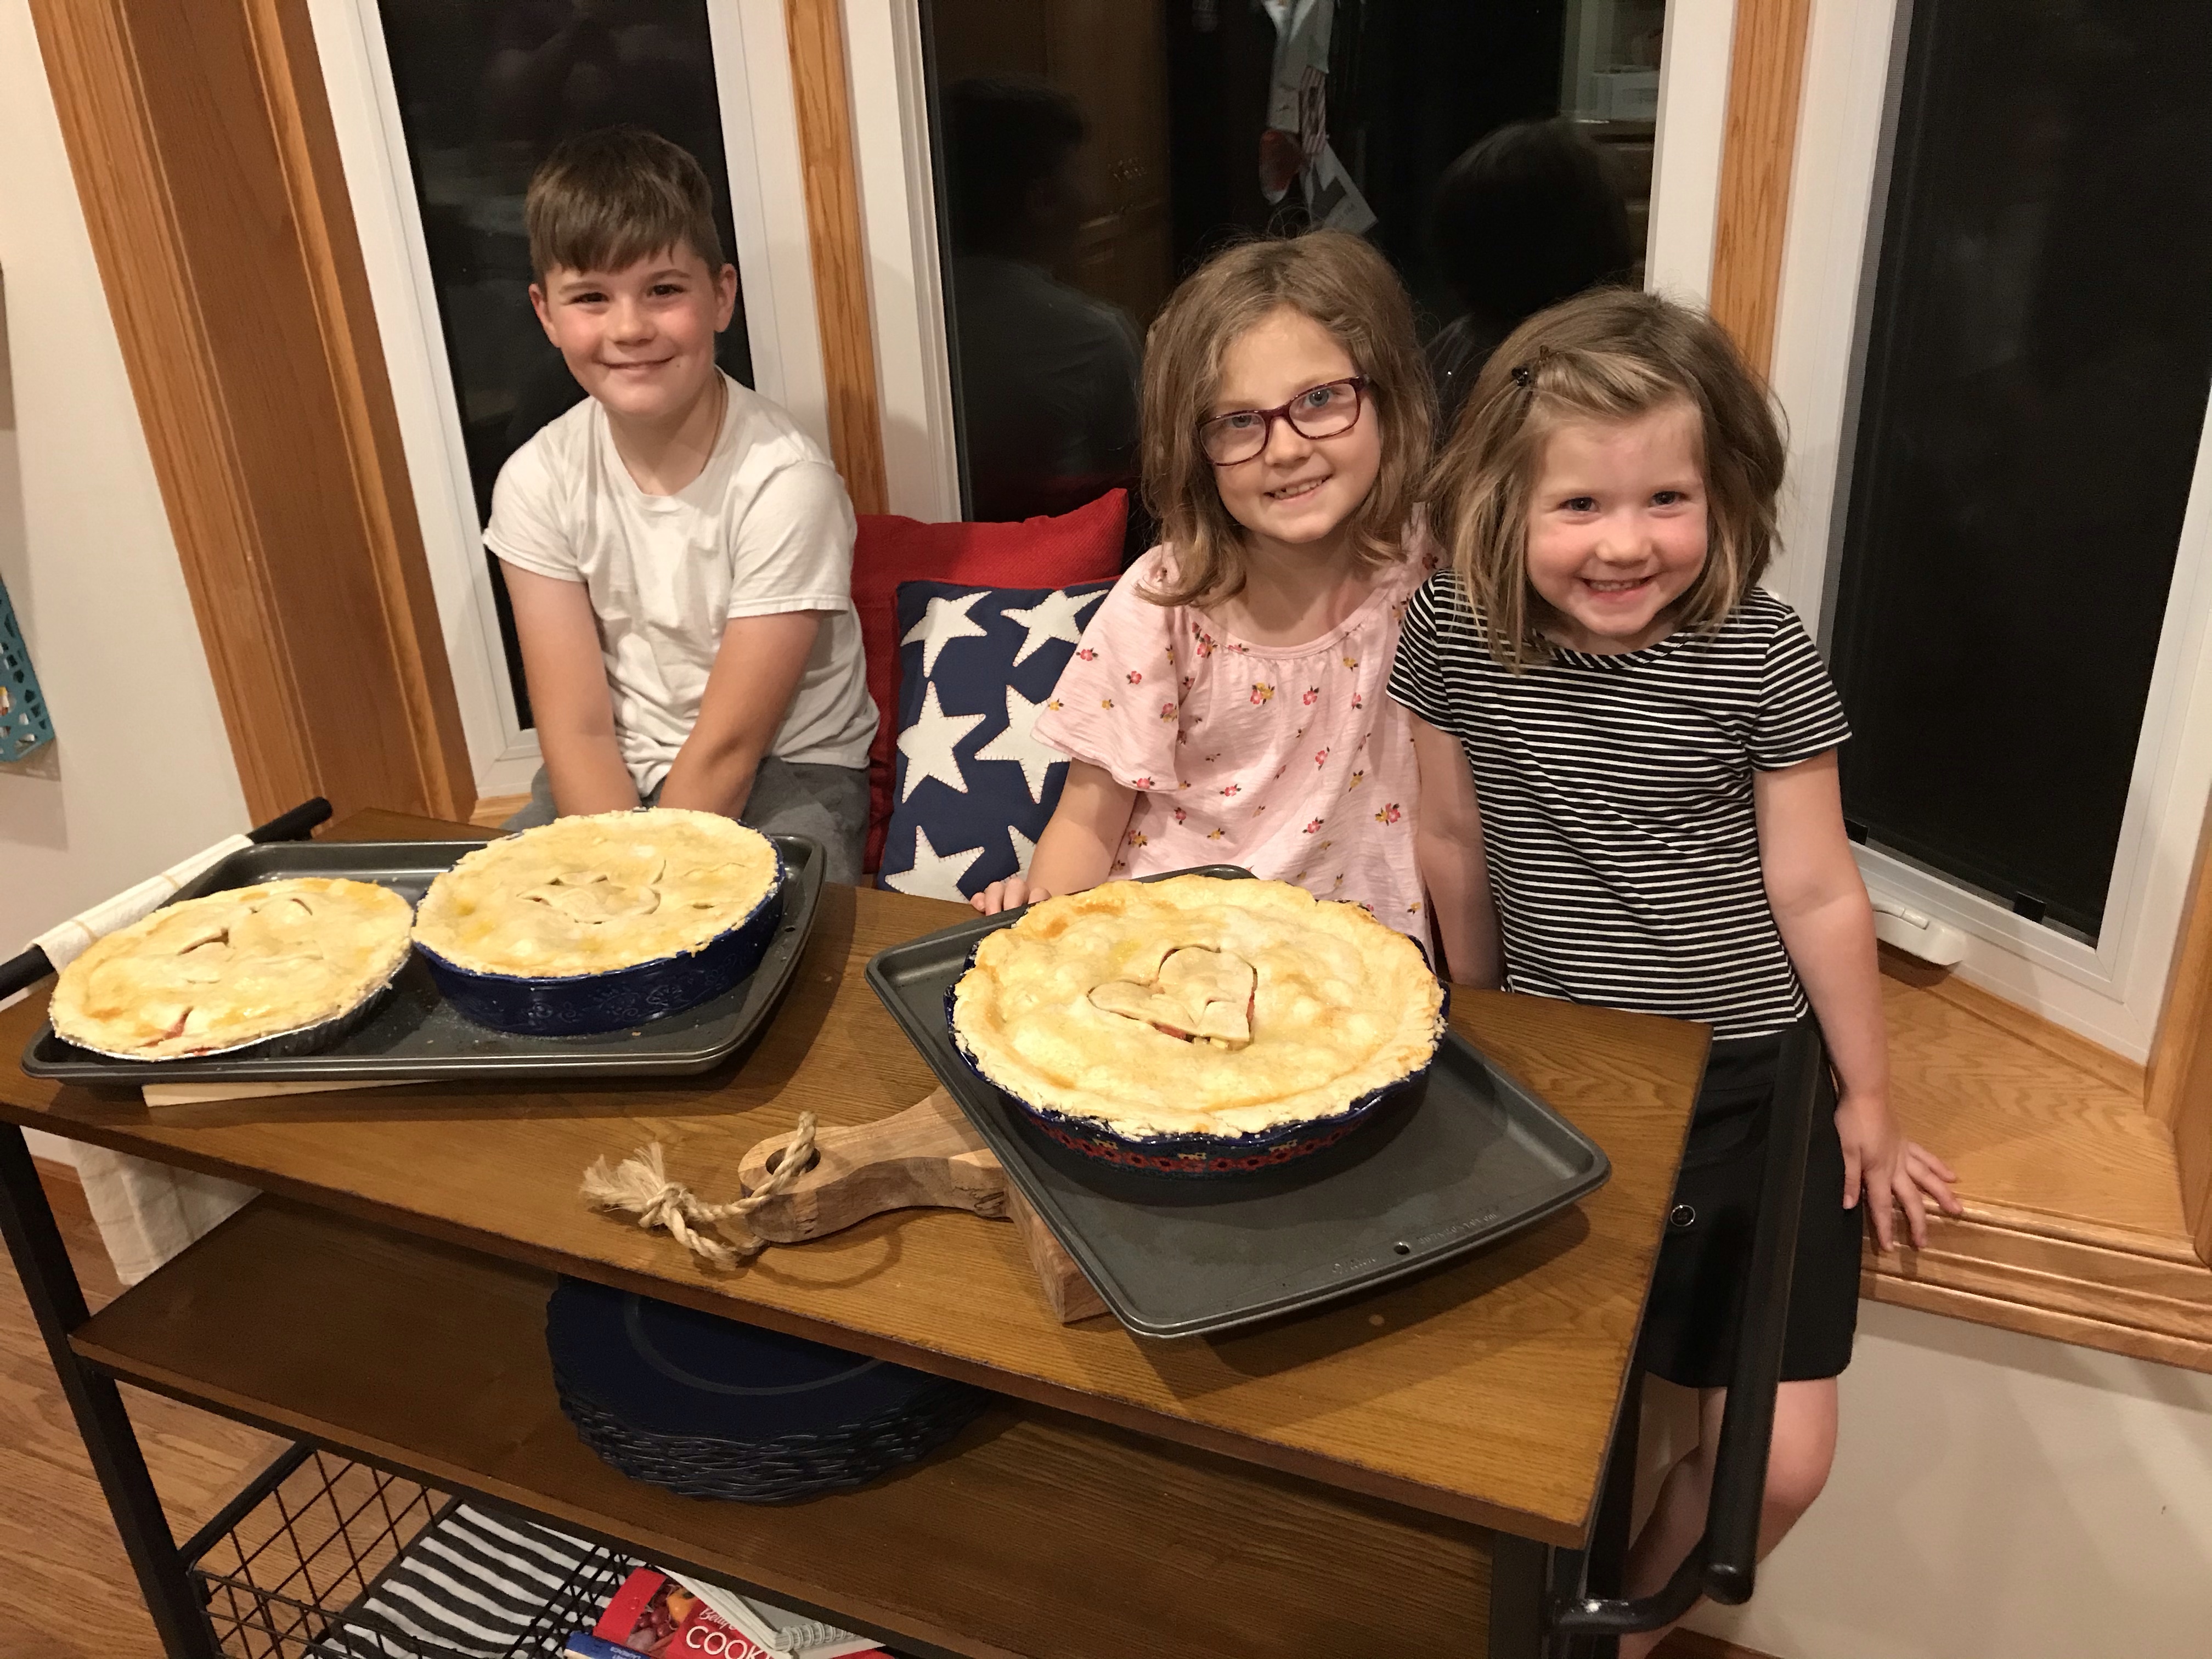
Last week the girls and I baked our first strawberry-rhubarb pies of the season. If you’ve been reading the blog from the start you know how much I love this pie. I’ve been perfecting my recipe since we moved here and I first discovered we had rhubarb growing in the house-gardens. This of course was the start of our “cooking show” videos. We shared the first video with you earlier this week on how to make my favorite pie crust. Before we jump to the video let me tell you how to make this pie… and why I make it the way I do.

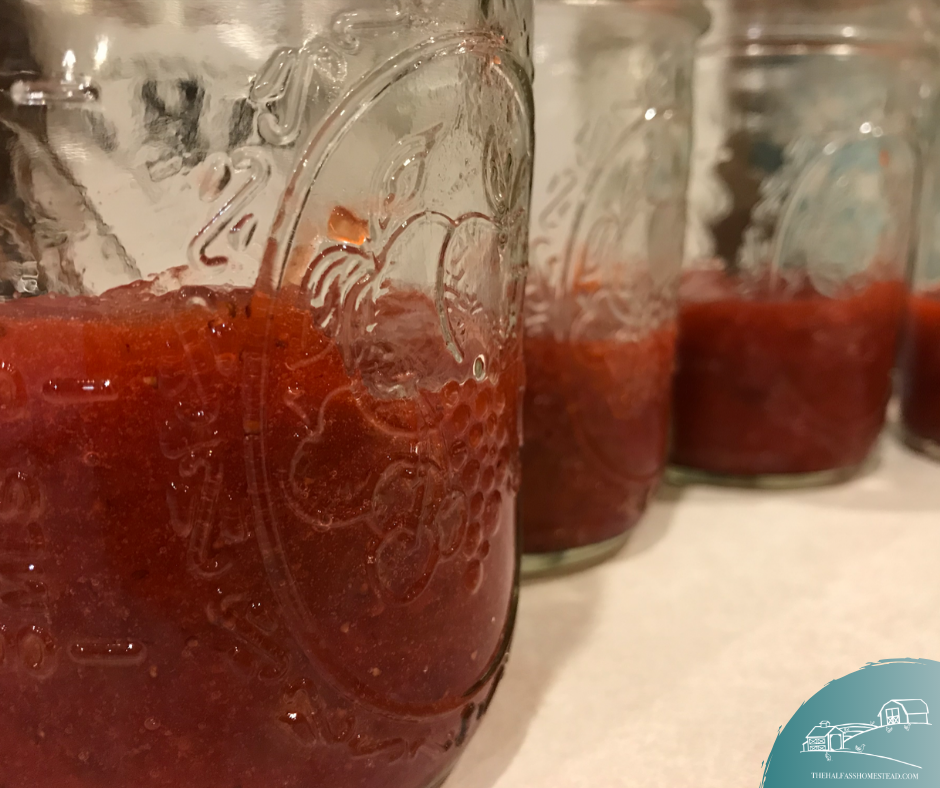
The first time I made this pie, it came out all watery and soupy, a little too tart and not very pretty. I played around with strawberry to rhubarb ratios which made it a little sweeter and prettier–I have green rhubarb so it looks like strawberry-celery pie; more strawberries adds more color. However, I still had a messy, soup of a pie. The additional strawberries actually made this problem worse. I mean, call me crazy, but I think you should be able to use your pie spatula and not a spoon to serve your pie. My search continued.

Many recipes that addressed the soupy issue called for plain gelatin, something I’ve never carried min my pantry. Finally, last year I came across this recipe which called for corn starch (something I always have in my pantry) to battle the watery juices from the strawberries. This recipe also had two big differences to the previous recipes I tried–half the sugar is brown sugar and the use of orange juice.

The brown sugar adds a richer sweetness, due to the molasses, and actually retains moisture so it helps make a more dense pie filling. I actually prefer dark brown sugar over the light brown sugar the original recipe calls for and use the dark in my pies. I also add a little more vanilla for some more depth.

I also LOVE the citrus notes the orange juice adds to the pie. The orange pairs so nicely with the strawberries. I like it so much I incorporate more OJ in my own recipe. I’m also pretty picky when it comes to orange juice, I like Simply Orange’s High Pulp. It makes a difference, I promise!

Cory’s Strawberry-Rhubarb Pie

Ingredients

  • 2 homemade pie crusts
    • 1 egg, beaten
    • sugar, coarse or granulated
  • 3 cups cut strawberries
  • 2 1/2 to 3 cups chopped rhubarb (chopped in 1/2 inch or smaller pieces)
  • 1/3 cup granulated sugar
  • 1/3 cup dark brown sugar
  • 1/4 cup cornstarch (use up to 1 Tbs more if needed)
  • 2 Tbs orange juice
  • 2 Tbs butter
  • A pinch of salt

Tools and Equipment

  • Large bowl
  • Spoon for stirring
  • Measuring cups and spoons
  • Knife
  • Pie dish
  • Basting or pastry brush
  • Cookie/baking sheet
  • Cooling rack

Instructions

  1. Pre-heat oven to 400 degrees.
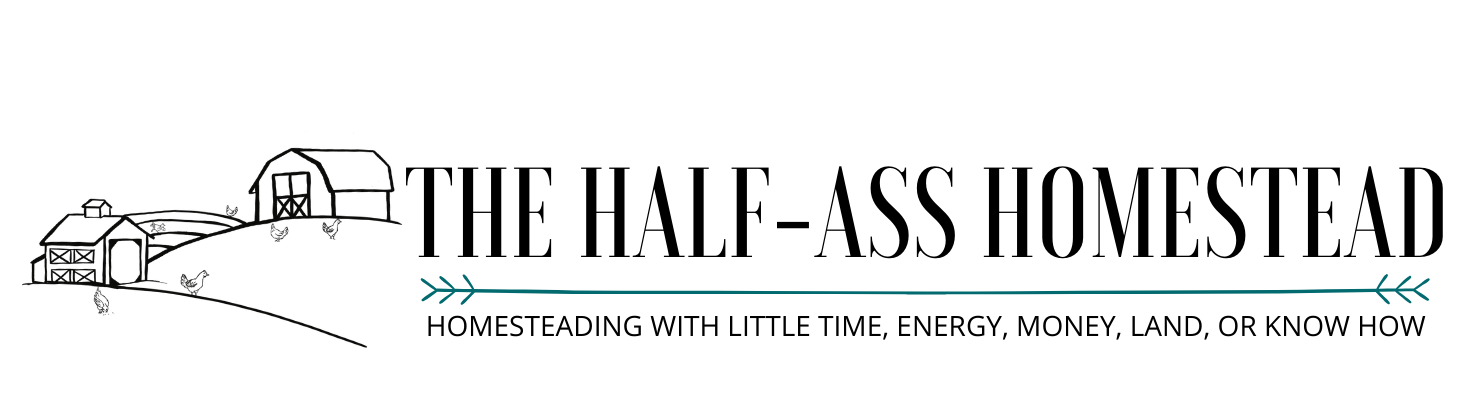
  2. Prepare filling. In a large bowl, mix together strawberries, rhubarb, sugars, salt, orange juice, and corn starch.
  3. Prepare pie dish. While the filling settles, roll out your crusts. (If you don’t have your crust made yet, no worries, the longer that filling mixture sits they more those flavors blend.) Place bottom crust in the dish.
  1. Fill the pie. Give your filling mixture one more stir (add more corn starch if it’s really juicy, however, you’ll have some juice that you’ll leave in the bowl). Add a few pieces of butter on top o the filling.
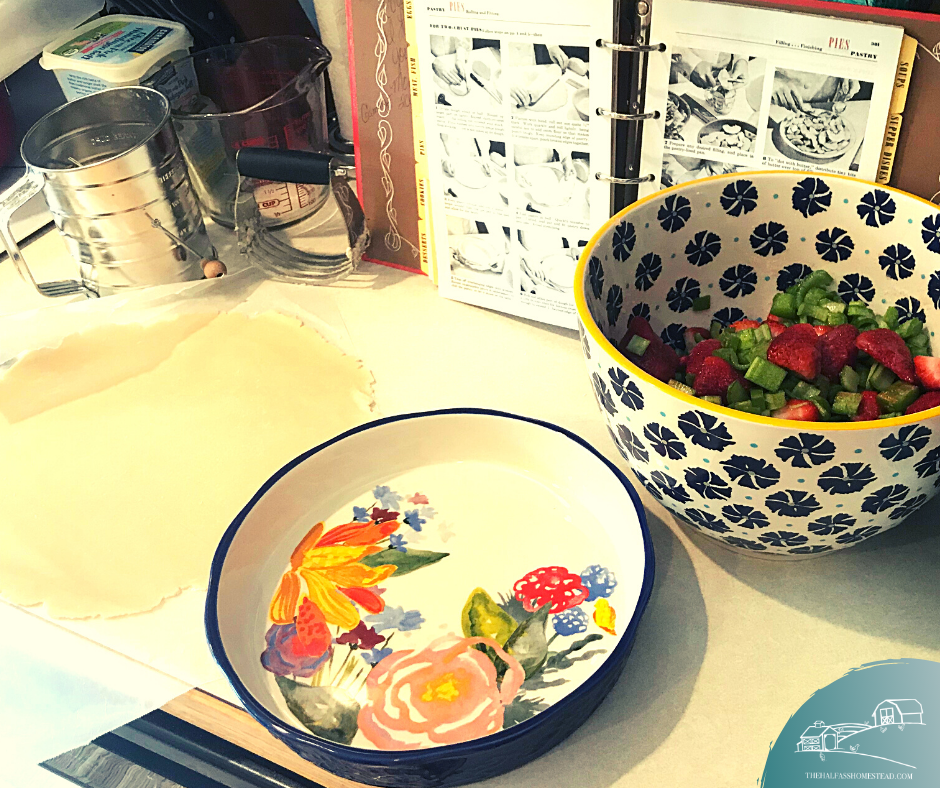
  2. Close the pie. Cover the filling with your top pie crust. Get creative with this! You can use cookie cutters to add a design, do a classic lattice, or fun edging. Take your beaten egg and brush it on the crust. Sprinkle with sugar.
  3. Bake. Place the pie on the cookie sheet and bake the pie for 20 minutes. Then reduce the oven temperature to 350, keeping the pie in the oven, and continue to bake for 20-25 minutes.
  4. Cool. Allow the pie to cool for 2-3 hours – place on a cooling rack to help it cool faster.
  5. Enjoy! Our favorite ways to eat the pie warm with vanilla ice cream or cold for breakfast but there’s really no wrong way to do it!

Now for the video. I feel like I should add some context first. This video features several high-speed clips as the girls were kind of over the whole baking and recording thing after a one-hour intermission between the pie crust video and pie filling video to make more crust (I forgot we were making more than one pie so had to whip up a double batch of crust before moving to the filling). Therefore, the filling video took WAY longer than it should have (even with kids) but includes some silly song and dance action for your entertainment.


Cory’s Favorite Pie Crust Recipe

It’s light, it’s flaky, and it’s super simple!

Last week, we made the first pies of the spring/summer season.

I love any season with pie, but summer fruit and berry pies are some of my favorites. Strawberry-Rhubarb pie is at the TOP of the list.

When we started this blog and I told the girls we could share recipes on it, they instantly went to wanting to make cooking videos. When I agreed to this, I assumed they meant the hand cooking videos that are so popular with Pinterest and social media these days.

But, of course not, they wanted a full on cooking SHOW type of video. Cue visions of me bringing out my inner Julia Child!

So, I bought myself a great little island for Mother’s Day (I’d been wanting one a few years now anyway) and set up the camera equipment…. on a Monday…. after me working and the kids learning from home ALL day…. not my best idea.

Despite being extra tired, and saying things wrong, like 3/4 cup instead of 1/3 cup (I was tired), it turned out pretty cute (the girls make that part easy). Long, but cute. I’ve posted the video below but let me give you the recipe first.

Cory’s Favorite Flaky Pie Crust

This recipe makes enough crust for one pie with crust on the top and bottom or two pies with crust on the bottom only.

Ingredients

  • 2 Cups flour, sifted
  • 2/3 Cup PLUS 2 Tbs shortening, chilled if you’ve got your shit together but don’t sweat it if you forget
  • 1 tsp salt
  • 6-8 Tbs cold water
  • 1 egg

Cooking tools and equipment

  • 1 medium bowl for mixing
  • Measuring cups and spoons
  • 1-2 pie dishes (one if you are using crust on the top and bottom of the pie.)
  • Flour sifter
  • Pastry cutter (aka pastry blender) or a fork works too
  • Fork
  • Rolling pin
  • Wax paper or a rolling mat (optional)

Preparation

Start by sifting your flour into your bowl. Add salt and mix gently. Measure out half of the required shortening and use the pastry blender to cut it into the flour mixture until you have pea-size clumps. Next, cut the remaining shortening to the dough until it resembles cornmeal. Once the shortening is fully incorporated, add cold water one tablespoon at a time and stir. You’ll add cold water until the dough is moist.

Once the dough is ready, use your hands to grab the dough from the bowl and roll into two flattened rounds. This is where Betty Crocker would say to chill the dough… I say press on my friends!

On a piece of wax paper, or a rolling mat, rollout your dough to to correct size (about one inch wider than your pie dish). Transfer to your pie dish, fill and bake according to your pie recipe. You can also transfer it to a flat surface and place in the fridge if you don’t have your filling prepared. You can also leave it on the wax paper, roll loosely, and place in the freezer if you’re wanting to have some crust ready for a rainy day.

You’ll use the egg once you’ve got your pie ready for the oven. Just mix up the egg with a fork then brush it on top of the crust and sprinkle with sugar to give it a nice brown finish.

If any of this is unclear, it’s probably because I am not a food blogger and never follow any recipe to a T. You can check out this article for a similar, more official recipe.


And now, for the video:


This week on the Half-ass Homestead

May 17-24, 2020

Despite being stuck inside most the week, this week was an eventful one; full of hard work, celebrating the birthdays and mourning the loss of those we love. We celebrated Brian Sr’s birthday as well as one my best friend, Rachel’s birthday. We attended the funeral of my Opa virtually and spent time telling stories of his life.

Last Sunday was a busy day! Ella Rose helped me use some old lumber we found under the pine trees to build a raised bed for our new cut flower garden and then fill it with a combination of dirt from an old compost pile on our property and cheap topsoil from Tractor Supply. I also made a small bed around the mailbox for a little curb appeal and filled it with a few new plants and the tall marigold variety we started by seed a few weeks ago. It rained like a monsoon most of the week but weather cleared up for the weekend. Ella Rose and Grace helped sow seeds in the new cut flower garden more on that later.

We also made our first “cooking videos” as we made our rhubarb pie for us and a few friends. 🤣 Tune into tomorrow for the first.

After all the rain, the coop was starting to smell. The chickens are getting to big! Our coop “for 4-6 chickens” is getting a little tight. Jr. helped me clean the coop on Friday while the girls and a few neighborhood kids kept an eye on the chicks as they roamed the yard (maintaining a social distance of course).

This weekend we FINALLY added a gate to the garden, it’s the epitome of half-ass but it gets the job done for now.

We also planted the last of the new plants including two new strawberry plants, two blueberry bushes, eggplant and our special peach tree.

Grace’s take on Saturday’s planting.

Brian Sr. was also busy getting the lawn on the Camp Farm in tiptop shape and working on the “super Chevy”. Look at that pretty green lawn!

Looking ahead to next week we hope to build (or buy) more space for the chicken to run and get mulch in the growing rows.


Rhubarb

Y’all! It’s almost time for this years’ first harvest of rhubarb!!!

In the back house garden I have two green rhubarb plants side-by-side that provide a steady harvest all from May to Fall. Rhubarb is one of my favorite crops to harvest from our gardens because it means I get to put my love into making something delicious for my family and those around us.

What is rhubarb?

Fun fact, while rhubarb is technically a veggie but it’s often categorized as a fruit because of how it is prepared and served. Looking a lot like celery and ranging from red to pale green, rhubarb has a tart, slightly sweet taste and therefore typically cooked with sugar and fruits, like strawberries, to make jams and baked treats.

Rhubarb is a perennial that requires a cold winter to grow, so it wasn’t too common Texas. I first had rhubarb in college when visiting my Great Aunt Bertha in Washington State. She lived on a country cul-de-sac where she and her neighbors shared a garden (sound familiar?). My Mom and I trekked out to the garden to pick a few stalks then spent the afternoon with her in the kitchen as she taught us her secrets to making rhubarb pie. I don’t remember much about what she said, but I certainly remember there was lots of wine, laughing, and taste testing. I also remember tasting the rhubarb before it was cooked and wondering why the hell Aunt Bert would put it in a pie. That night we ate pie for dessert, went back for seconds and made more pie the next day!

Fast forward about 15 years and I’m walking around the house gardens with Kay, the original owner of our then new home, as she gives me the low down on all the perennials she planted in her 40+ years living her. It was overwhelming trying to consume all the information and knowledge she was spewing out that spring day but as she pointed out what were weeds, what would bloom when, and what we could and couldn’t eat, I was elated to hear her point and the big-leafed green stalky plant and call it rhubarb. I hadn’t recognized it as it is the green variety and not the red rhubarb I had picked with Aunt Bert. Needless to say I was baking rhubarb pie that weekend.

What I’ve Learned About Growing and Harvesting Rhubarb

First off, I am no expert. I mean the first year of harvesting, I used garden shears to cut nearly ALL the stalks at the bottom, even the short little ones. Like a rhubarb buzz cut–rookie move. I was also just letting the plant do it’s thing and flower until Kay told me to stop it. So what can I share?

What Part of the Rhubarb to Eat

First of all, it’s important to know the leaves of rhubarb cannot be eaten, they are poisonous. You can compost them as they break down pretty quickly in the compost process. It’s the stalk of the leaves that you eat. I’ve read the flowering stalks are edible but I haven’t tried them.

Flowering or Bolting Rhubarb

When rhubarb produces flowering stems, this is called bolting (a term I’ve only known for a year or so). These flowers are pretty and don’t harm the plant or taste but do impact your harvest as the plant exhausts energy on the flowing stalks rather than producing more stalks. This means if you want a lot of harvest, your best bet is to remove the flowering stalks with a sharp knife at the base of the plant. Actually, even better is to remove them when they are seed pods, before they become a flowering stalk. I am still working on my confidence in recognizing these seed pods and just staying on top of these stalks.

Harvesting Rhubarb

You’ll want to harvest stalks when they are about 10 inches long. You can either use a sharp knife to cut the stalks at the base, or simply need to grab the stalk toward the base and pull with a twisting motion. Don’t harvest ALL of the stalks at once, like I almost did. This could kill the plant. If your rhubarb plant is new, you’ll need to wait 2 years before harvesting your first harvest to that the plant can become well established. You can keep harvesting those 10″ stalks through the summer and even into the fall but you’ll want to slow down your harvesting after mid July to let your plant store up energy for winter.


Cooking and Baking with Rhubarb

As mentioned before, rhubarb, because of its sour taste is often paired with sugar and fruits. That sweet and tart combination makes it perfect for summer! Honestly, I’ve only touched the tip of the iceberg when it comes to rhubarb. My go-tos are strawberry rhubarb pie and jam but I am looking at expanding my rhubarb recipe collection this year! In the 2 summers I’ve been baking with rhubarb I’d say the pies and jam have definitely become a fan favorite. I always make 2-4 pies at a time and at least 6 jars of jam so there is plenty to share with neighbors and friends. My kids refer to these pies and jams as ‘famous’ and Brian Jr. claims I could profit well at the farmers market. Not sure about that but I’m excited to share these recipes with you this summer.

Grace taking a picture of the rhubarb plants for a post. 🤣