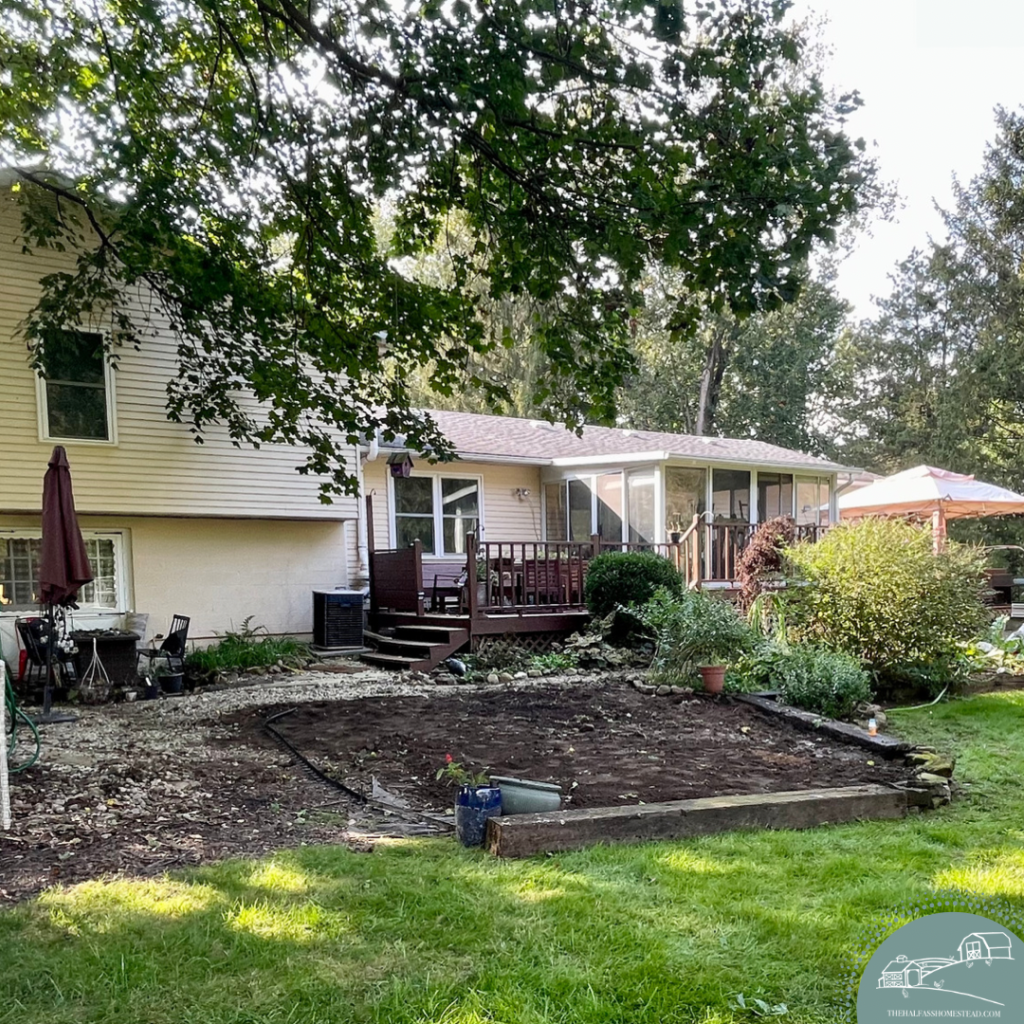
Last time I shared with y’all I was fresh into redoing the backyard, so excited about the possibilities. It’s been a month and a half and until this weekend the project hadn’t gone any further.
Before/early progress- July 2022
Luckily the stars aligned and I had the energy AND the time. I told Sr. that all I wanted for my birthday was the materials to bring my vision to life (and his truck to haul it all 🤣).
We’re in the middle of football and softball season so Saturdays are just about the only day we have free so this past Saturday we got to work. Brian and Ella even HELPED!
Two loads of topsoil later and we’ve got a pretty good, level base for the pea gravel. The two railroad ties from the existing garden bed, of which we removed 4-5 feet in July ended up being great borders for the two sides. These are only temporary –Sr. thinks the ties are yellow jacket magnets and wants to get rid of all of them down the road. I used rock from a pathway I removed in the front gardens to round out the corner between the two ties. This matches the layered rock corners found elsewhere around the house gardens.
We also decided to move the azalea, opening up the space even more–another 3-4 feet. This was my brother Josh’s brilliant idea! We moved it to the little outside corner of the space and added some rocks. The larger space now has me thinking we could open the stairs up more on the corner to further connect the space!
Ideas on Pinterest
Next up, I’ll dig a trench to fix a standing water issue at the patio and divert it downhill, add landscape fabric, and then pea gravel and done! I’m hoping I can get to it all by this weekend. 🤞🏻🤞🏻
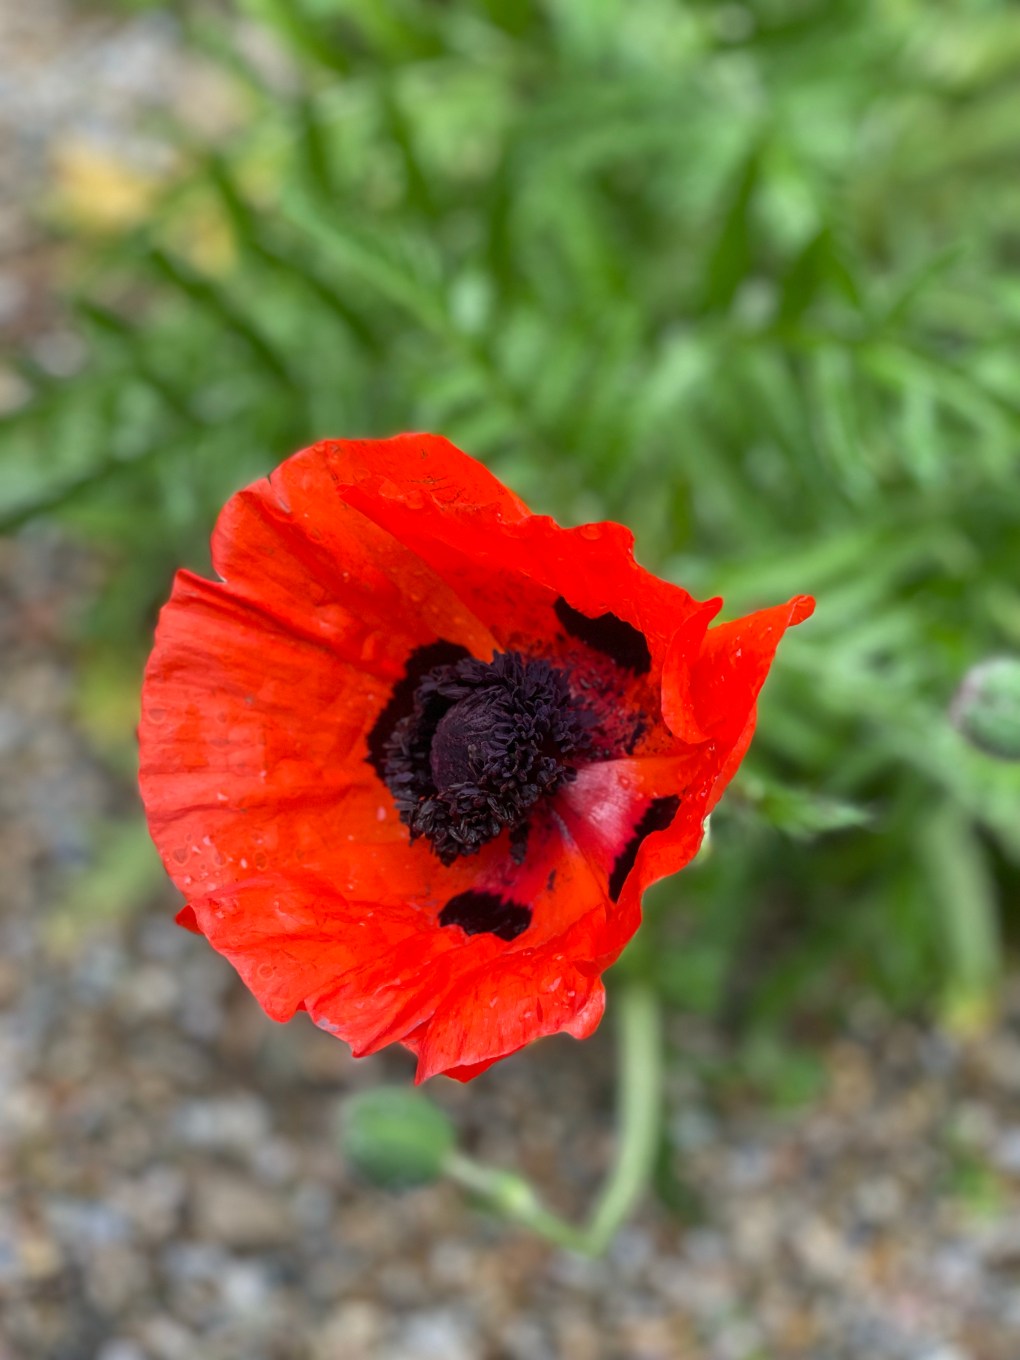
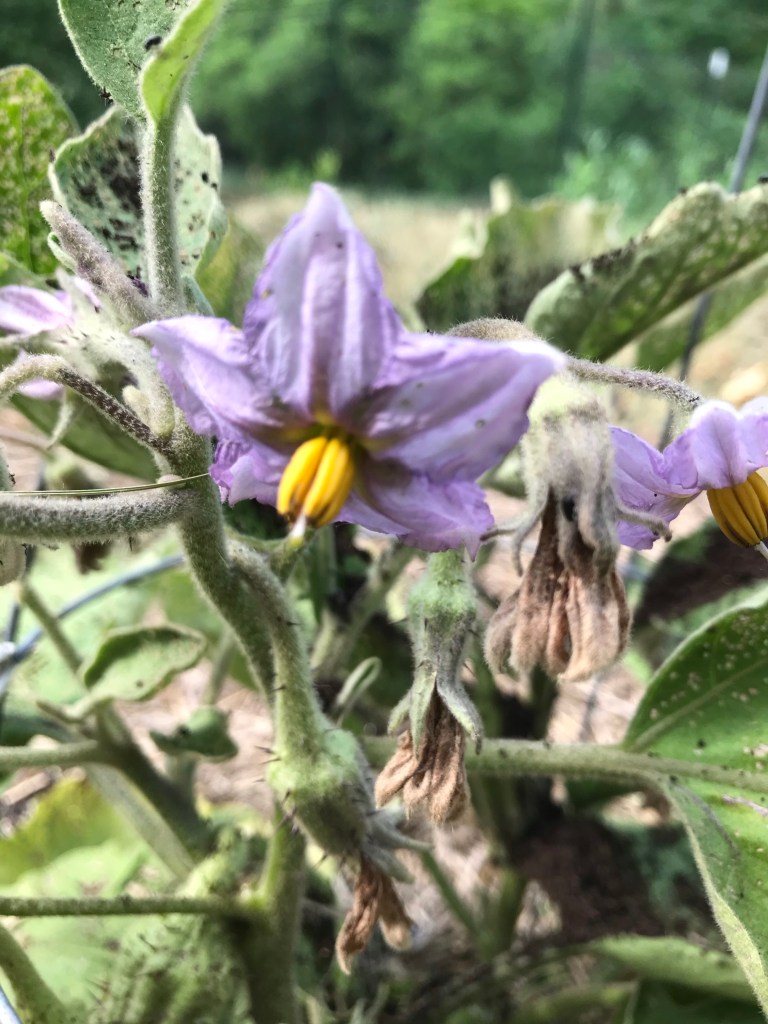
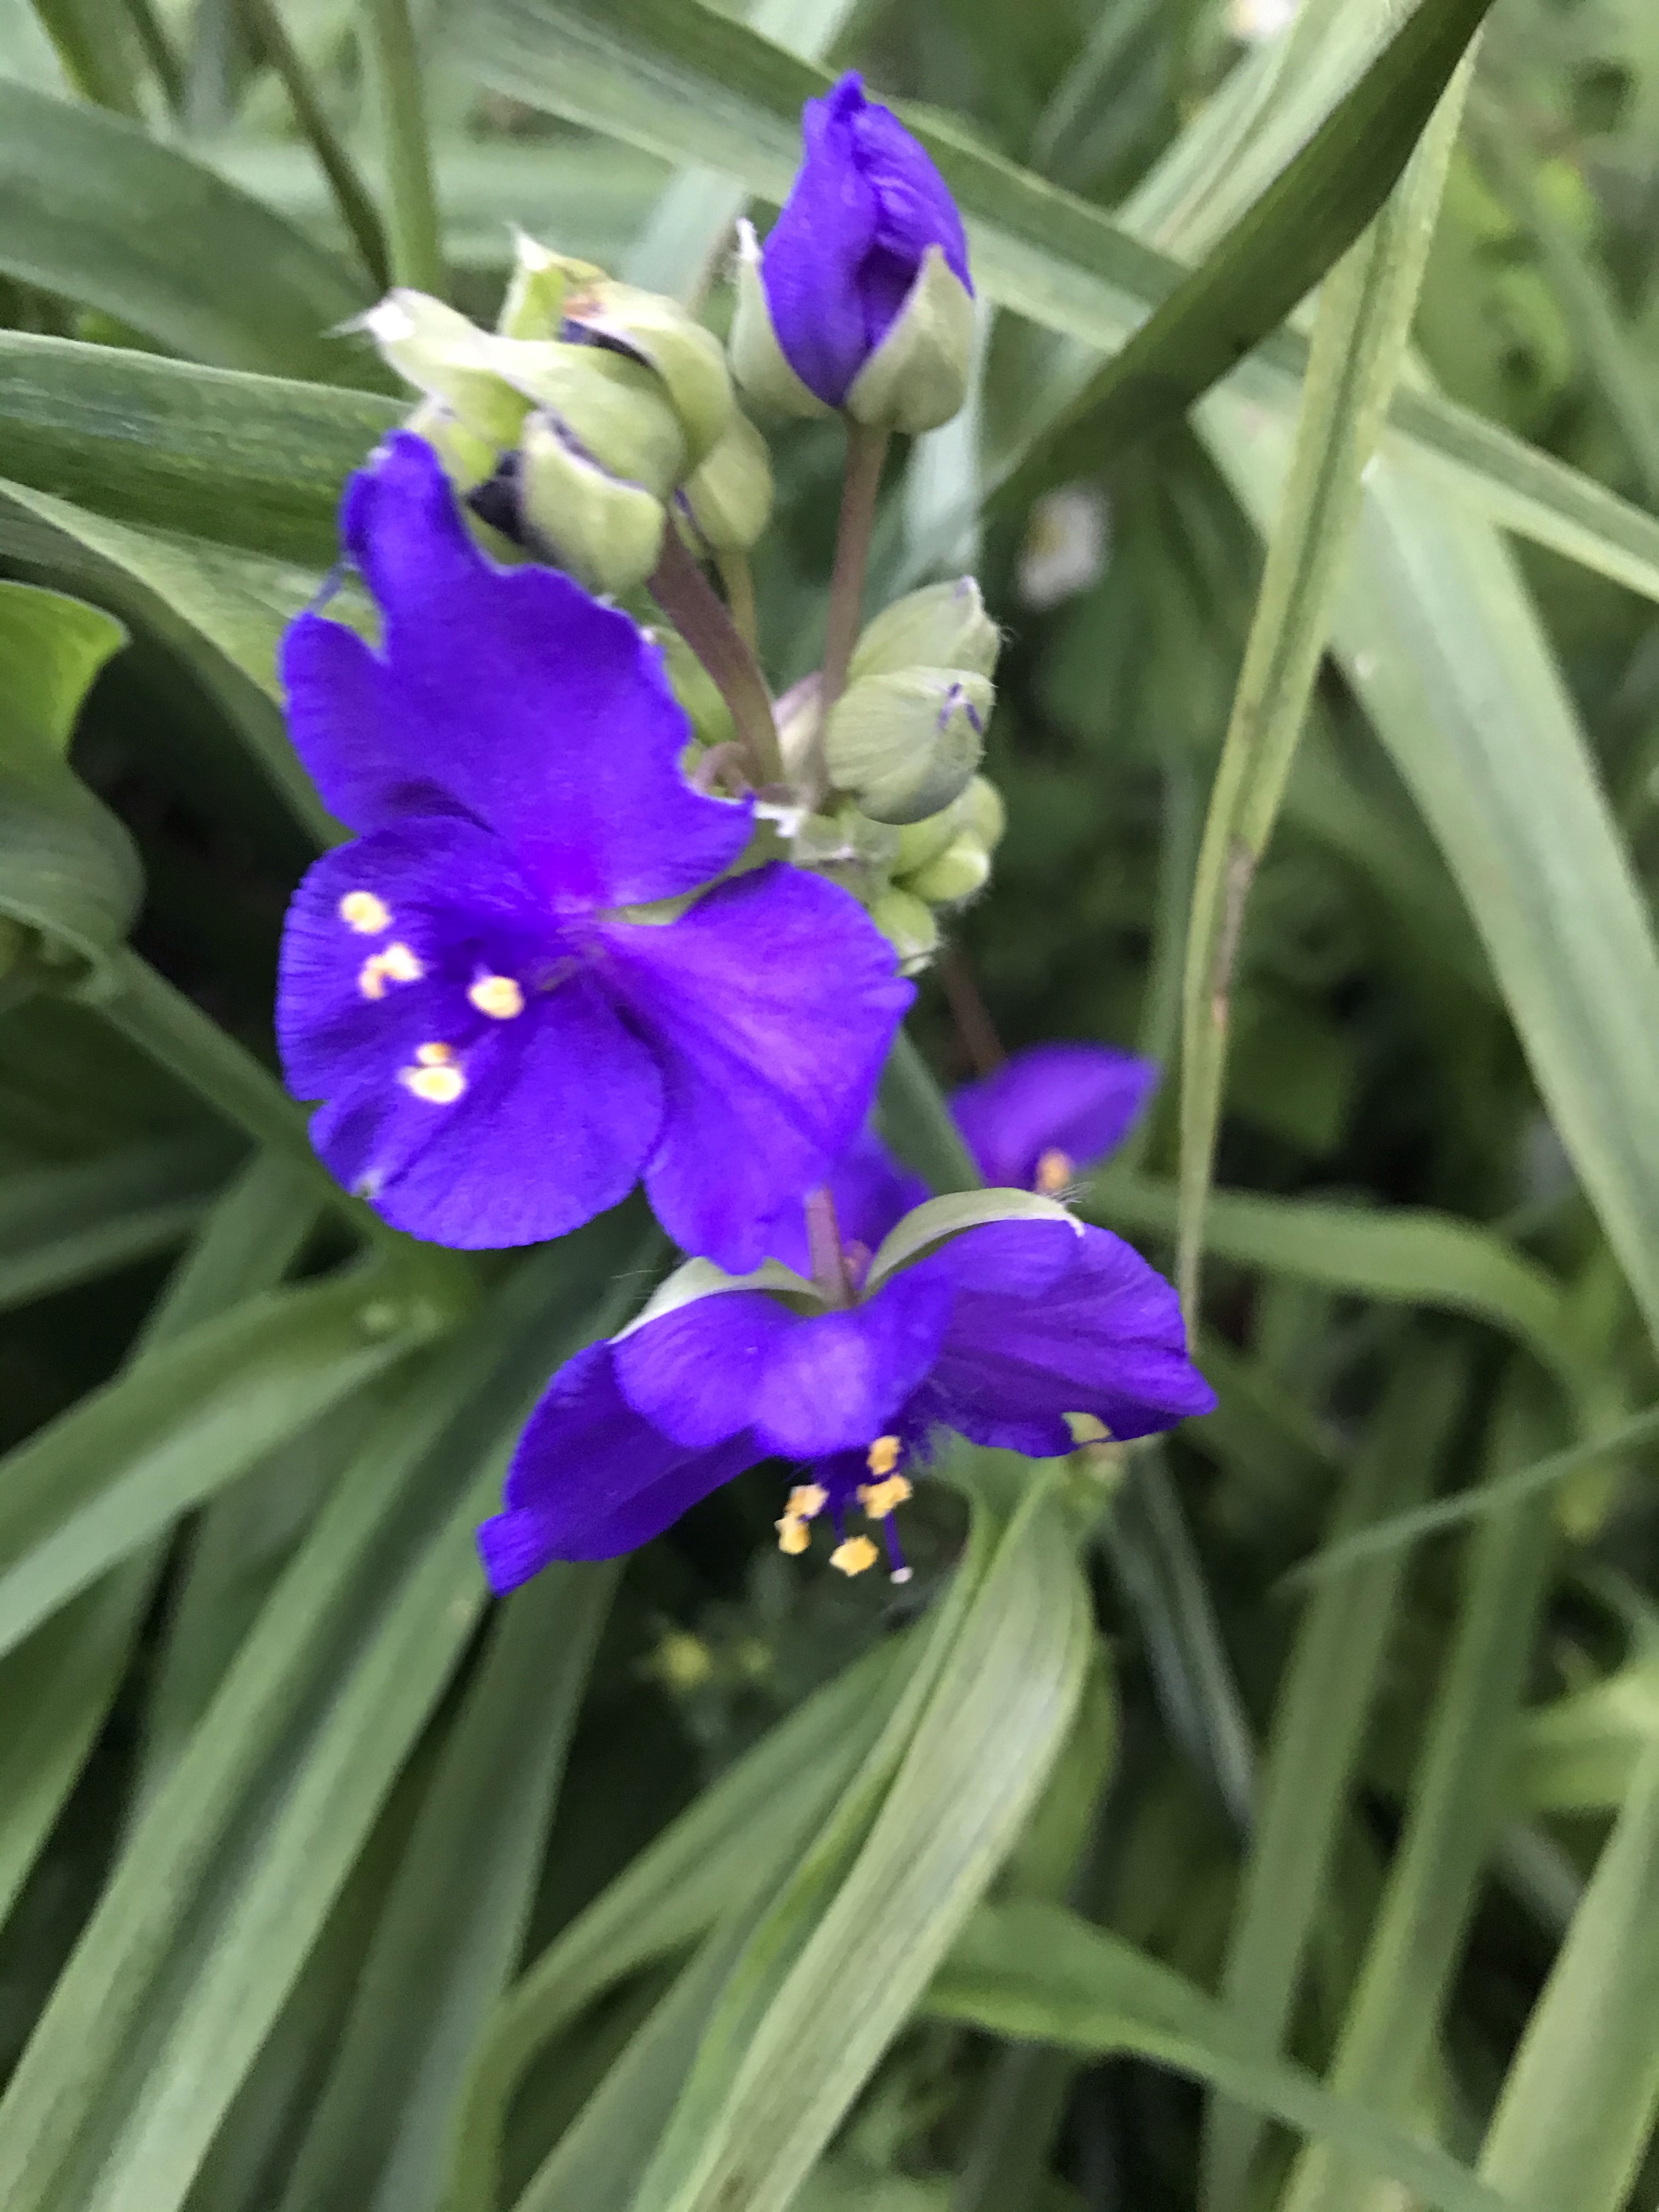
It’s cool and cloudy here so I’m in the gardens getting dirty—planting new plants and taming old ones. 4 years ago there were just 3 poppies on this plant, look how many this year! It’s my favorite plant and blooms around Memorial Day each year.
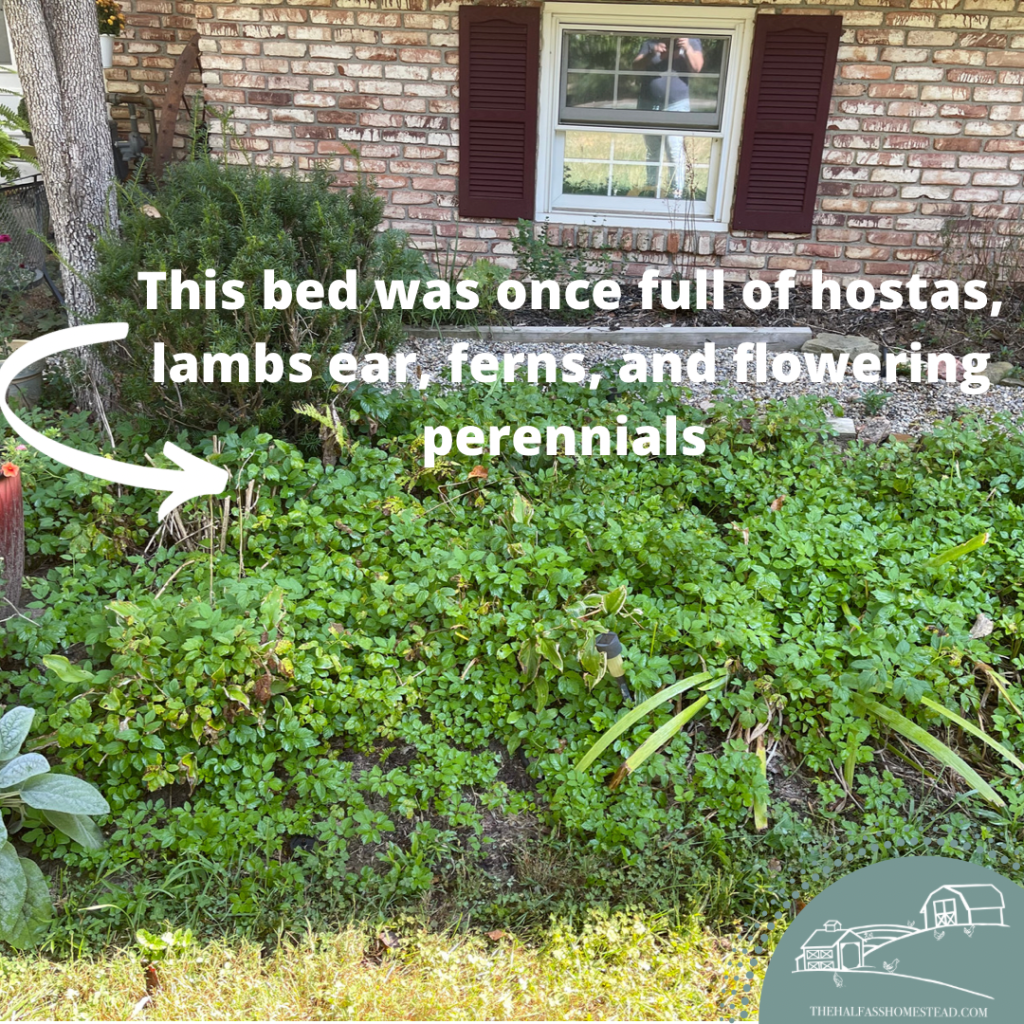
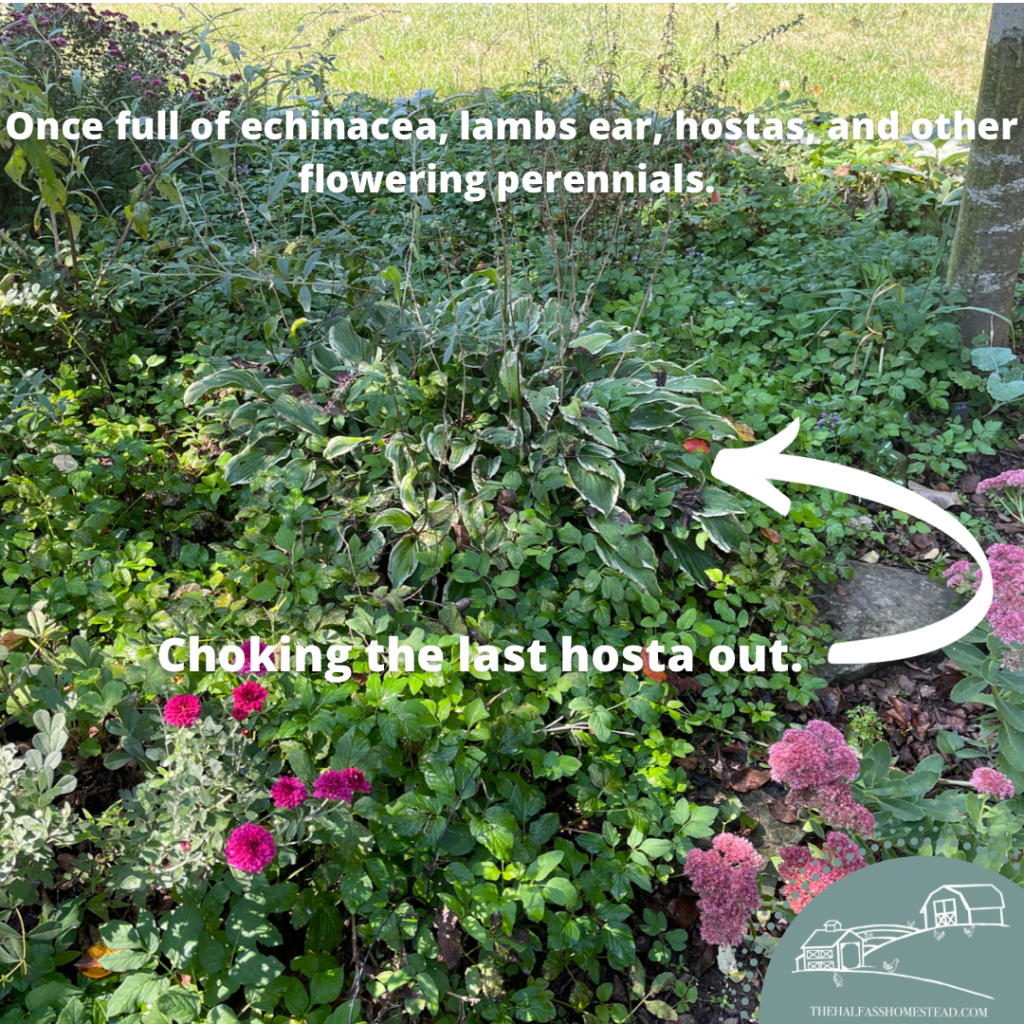
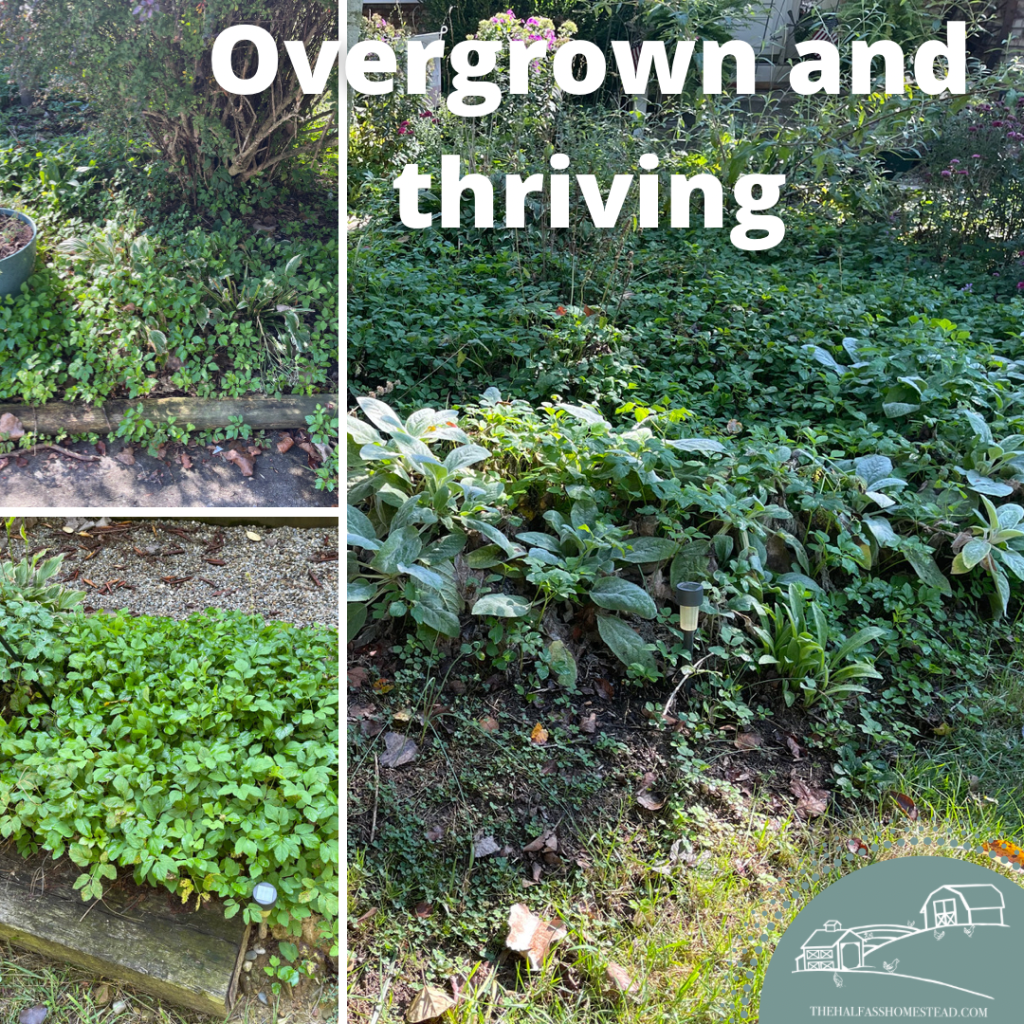
When we first moved in, Kay, the previous homeowner, came to pick up some mail and offered some gardening tips on how to care for all the beautiful perennials she planted in her 40 years in the home. One of the first things she said was that I needed to pull the “mother-in-law’s revenge” early and often.
What’s mother-in-law’s revenge, you ask? Well, Kay didn’t really know what it was but she named this formidable garden invader after her mother-in-law gifted Kay a few seedlings for her garden claiming they’d be the perfect filler and ground cover for her beautiful front gardens. Kay’s mother-in-law passed shortly after she planted them and said they’ve been haunting her gardens ever since. The seedlings quickly multiplied and choked out many of her strongest plants. She’s been pulling them from her garden–and cursing her mother-in-law–every year since.
Since making this our home and taking over the gardens, I too now curse Kay’s mother-in-law every time I have to weed it out of the gardens. It doesn’t just cover the open, available real estate on the ground, it likes to hide in the middle of other plants–like my hostas, chrysanthemums, and russian sage–making finding them early and pulling a bitch. And despite my best back-breaking, weed-pulling efforts, it seems to come back with more vehemence each time. I’m telling y’all this stuff could flourish in a vat of bleach with no light.
Finally, I did some research last year and discovered the real name of this pest–goutweed. Goutweed is an extremely aggressive, invasive perennial. Savvy Gardening calls it the “cockroach of the botanical world” and “a beast to eradicate”. While on the prohibited or restricted plant list in some states, goutweed can be found in some garden centers under the name of “bishop’s-weed” or even “snow-on-the-mountian”.
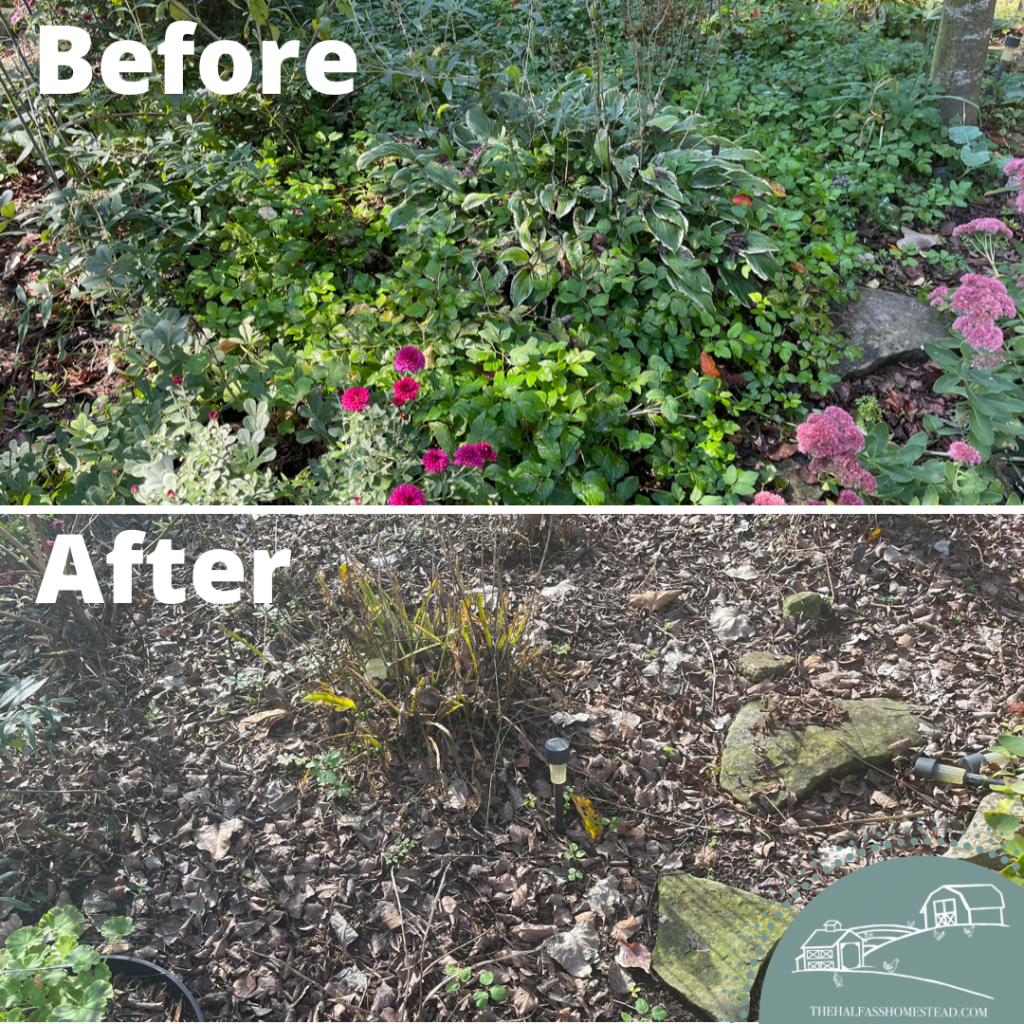
Turns out, Kay’s approach of pulling the plant, which often comes up fairly easily, is one of the worst things you can do! Goutweed stems from a web of rhizomes which branch far and wide underground. You see, rhizomes have a nasty habit of multiplying from broken or left behind roots in the ground–like when you pluck gray a hair and five more emerge, thriving and taunting you.
So how do you get rid of it? It’s a painstaking process. Many sites recommend fully covering it with plastic, essentially “cooking” the devil which can take anywhere from 8 weeks to 2 whole seasons. You can also smother it by cutting it down and covering it with cardboard and mulch – 2-3 feet beyond the menace’s prersence. Another option is spraying it down with a vinegar solution or even chemical-based weed killer like Round-up.
My initial plan was to try the smother and cover method. I figured I could cover around some existing plants and add good soil above, building up the gardens and planting new perennials which would look better in the front of the house than black plastic. Besides, I had PLENTY of cardboard thanks to Amazon and Christmas time which I stored for several months. Unfortunately, when we prepared for hosting my sister-in-law’s engagement party in May, Sr. wanted the garage clean and recycled all my cardboard. To be fair, I caved and gave him permission.
June is always a busy month at work and difficult for me to get in the gardens and then I was out of comission for several months with nausea in my first trimester. By the time I got back to life–and the gardens–in September, mother-in-law’s revenge had ravaged the front gardens.
Exhausted and over it, I’m not ashamed to say I finally caved and turned to the chemicals. After all, this was war. I came to terms with the fact that there’d be some casualties, like my russian sage, mums, and a few other perennials. After the first careful spray, I was disappointed that the beast didn’t begin to wither within hours. I had totally imagined a scene out of The Wizard of Oz when Dorothy douses the Wicked Witch with water and finally ends her reign of terror.
No such luck. However, after a few weeks a difference could be seen. AND my chrysanthemums didn’t die! Two more rounds of spraying and I’ve made a serious dent in the rein of Kay’s Mother-in-law’s revenge.
Unfortunately, the arrival of the cold weather has stalled my progress because the chemical sprays are recommended for using weather above 60 degrees. Looks like there will be more work in the spring. I’m thinking I may need to srpay again a time or two and then will likely cover with cardboard and fresh soil so I can plant a few new beauties. This will allow the new plants to thrive while the chemicals dissipate under the decomposing cardboard barrier.
I also haven’t touched the bed of hostas in front of the kitchen bay window yet but I plan to smother and cover that small bed. With my Japanese Maple in that bed, I don’t want to use any chemicals. Besides, the hostas are overgrown and can’t be divided because they’re infested with goutweed so removal or covering is the best option. I’ll cover it this winter and it’ll be fun to design a new perennial bed there in the spring–something that doesn’t have hostas maybe?
This week was a busy on for me at work but in the back of my mind I all could think about was how I needed to get seeds started. I spent evenings in my newest book, In Bloom: Growing, Harvesting, and Arranging Homegrown Flowers All Year Round, and to say I’m inspired is an understatement. The pictures are beautiful and have me dreaming or a cottage style cut flower patch.
Last week I put in my request with 811 and got news that the entire side yard is clear! Unfortunately they didn’t inspect the back yard as I asked so I had to put in another request. I think this was due to the comment I made on the request that made is sound like I just wanted the back left side of the yard. Despite not having the rest of the back surveyed yet, I’ve officially decided where I’m putting the garden!
As I shared before, some of the pain points of the current location are that it’s too far from the how, and a water source. After some thought, I’ve determined the side yard is the best place for the garden – it’s close to the house, and the water hose, so I’ll be more likely to get out there and watering will be easier. And even better, it’ll be right in my line of sight while I work and paint from the sunroom! I watched the sunlight on the plot throughout the day to ensure it receives plenty of sun.
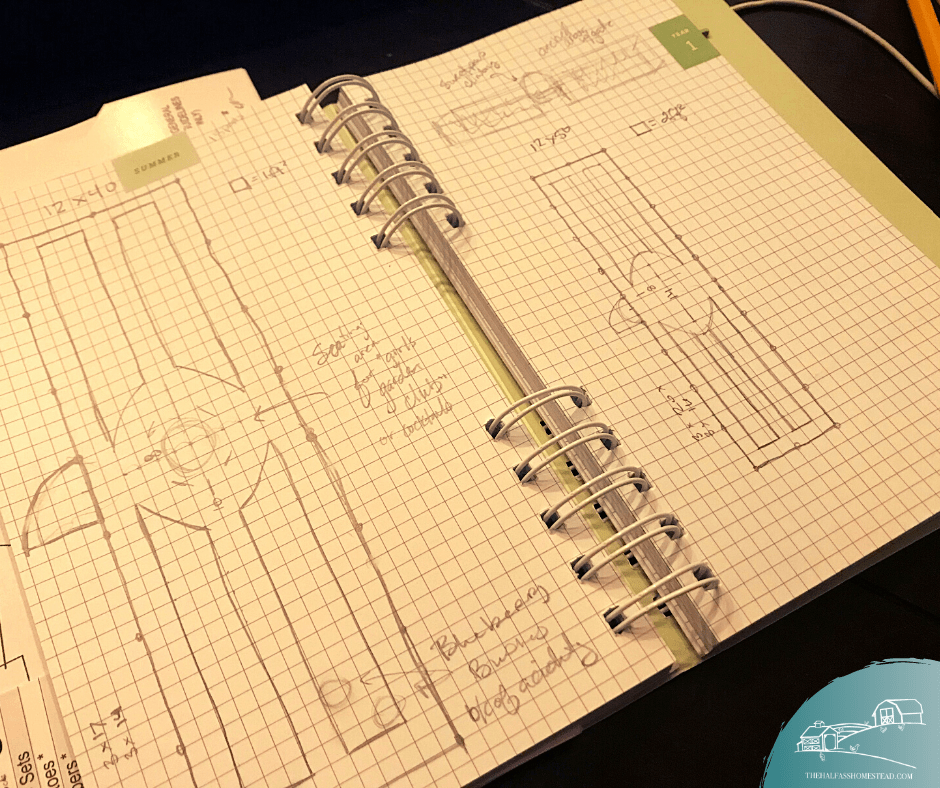
So this morning I got right to planning. First with the vegetables using my handy-dandy Clyde’s Garden Planner to map out what, how and when I can plant. I found it easier for me to visualize everything by making a chart with each month and a list of what would need to be planted indoors, outdoors, and harvested.
I did this same thing with my flowers and added the tasks to one of my new 5 year planners. Both planners have places to log information about planting and harvesting but I like the open layout of the of the Royal Horticultural Society record book.
After I laid out the scope and sequence of planting and harvesting times, I took a break to get the the girls shoes for Roseanne and Cameron’s wedding next week . On the way home we stopped by Lowes… I mean, shut up and take my money, Lowes! I not only picked up the landscape fabric I went in for, but I also came home with tulips (because the girls had to have their own tulips ), gladiolus (because they remind me of my Mom), peonies (my favorite), dahlias, and some evergreen trees to add a screening around the fire pit area.
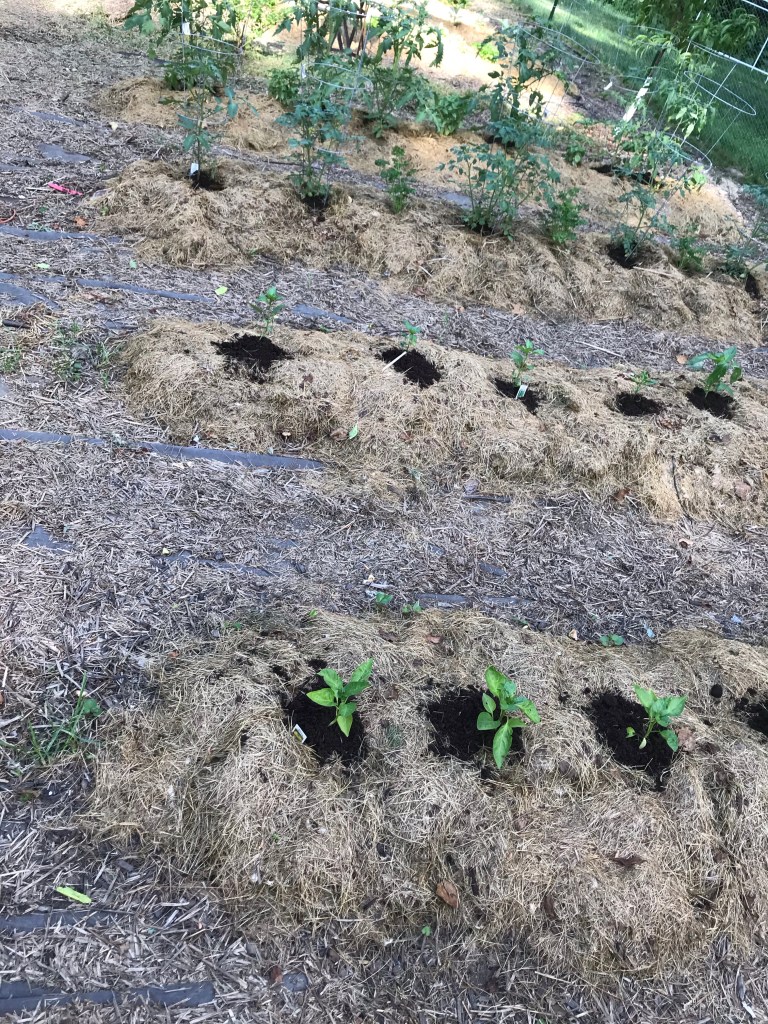
When we got home, I went out to see what I had to work with in regards to dimensions for the side garden. Because we need to maintain a passage large enough for us to drive a truck in the back–for when we have mulch and gravel– I’ve got a maximum width of 12 feet but have a lot to work with regarding length. Rather than doing the traditional raised rows of 18 inches, I’m opting for 3 ft wide rows for more surface area to plant in – like a hybrid raised bed/raised row.
As I was showing the girls, they requested a sitting space for their “Girls Club”. The Girls Club was just started this week between the girls and Ava. When they meet they “take notes on nature” and have even requested a guided tour of the emerging plants in the house gardens. ❤️ They also plan to have art on Wednesdays, picnics on Thursdays, and show-and-tell on Fridays. With this adorable request in mind, I’m thinking I’ll opt for 40 or 50 ft and have sketched out a few plans.
Tomorrow I’ll spend the day planting seeds, marking off the side garden with landscape fabric, and maybe even moving soil.
I love to being outside. But my Mom takes the whole point of being outside away! She makes me work in in the garden all the time in the summer and spring. It sucks all the fun out of the great weather. I mean, who wants to pull weeds, plant, or shovel dirt and mulch when the weather is nice… or ever?!
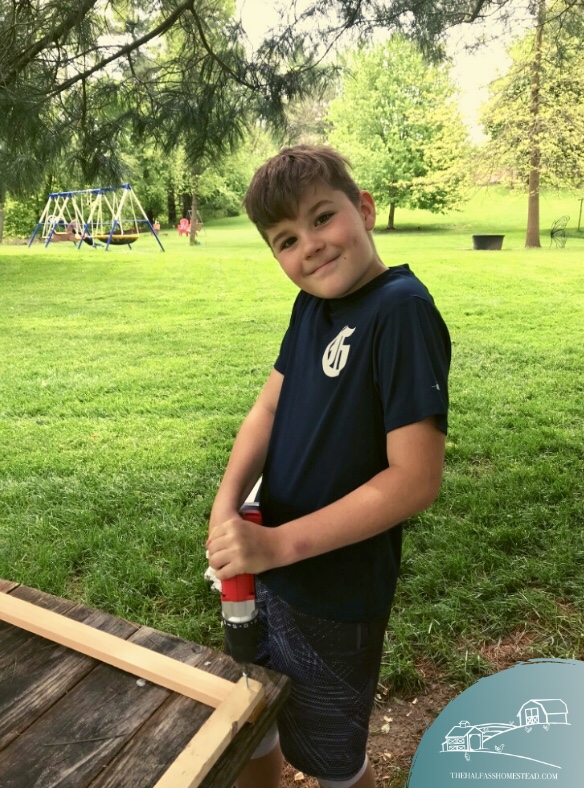
She also makes help her with her projects. For example, the chicken coop, fencing the garden, building her a potting bench… that she hasn’t even used yet!
Building the big garden gate with Mom.
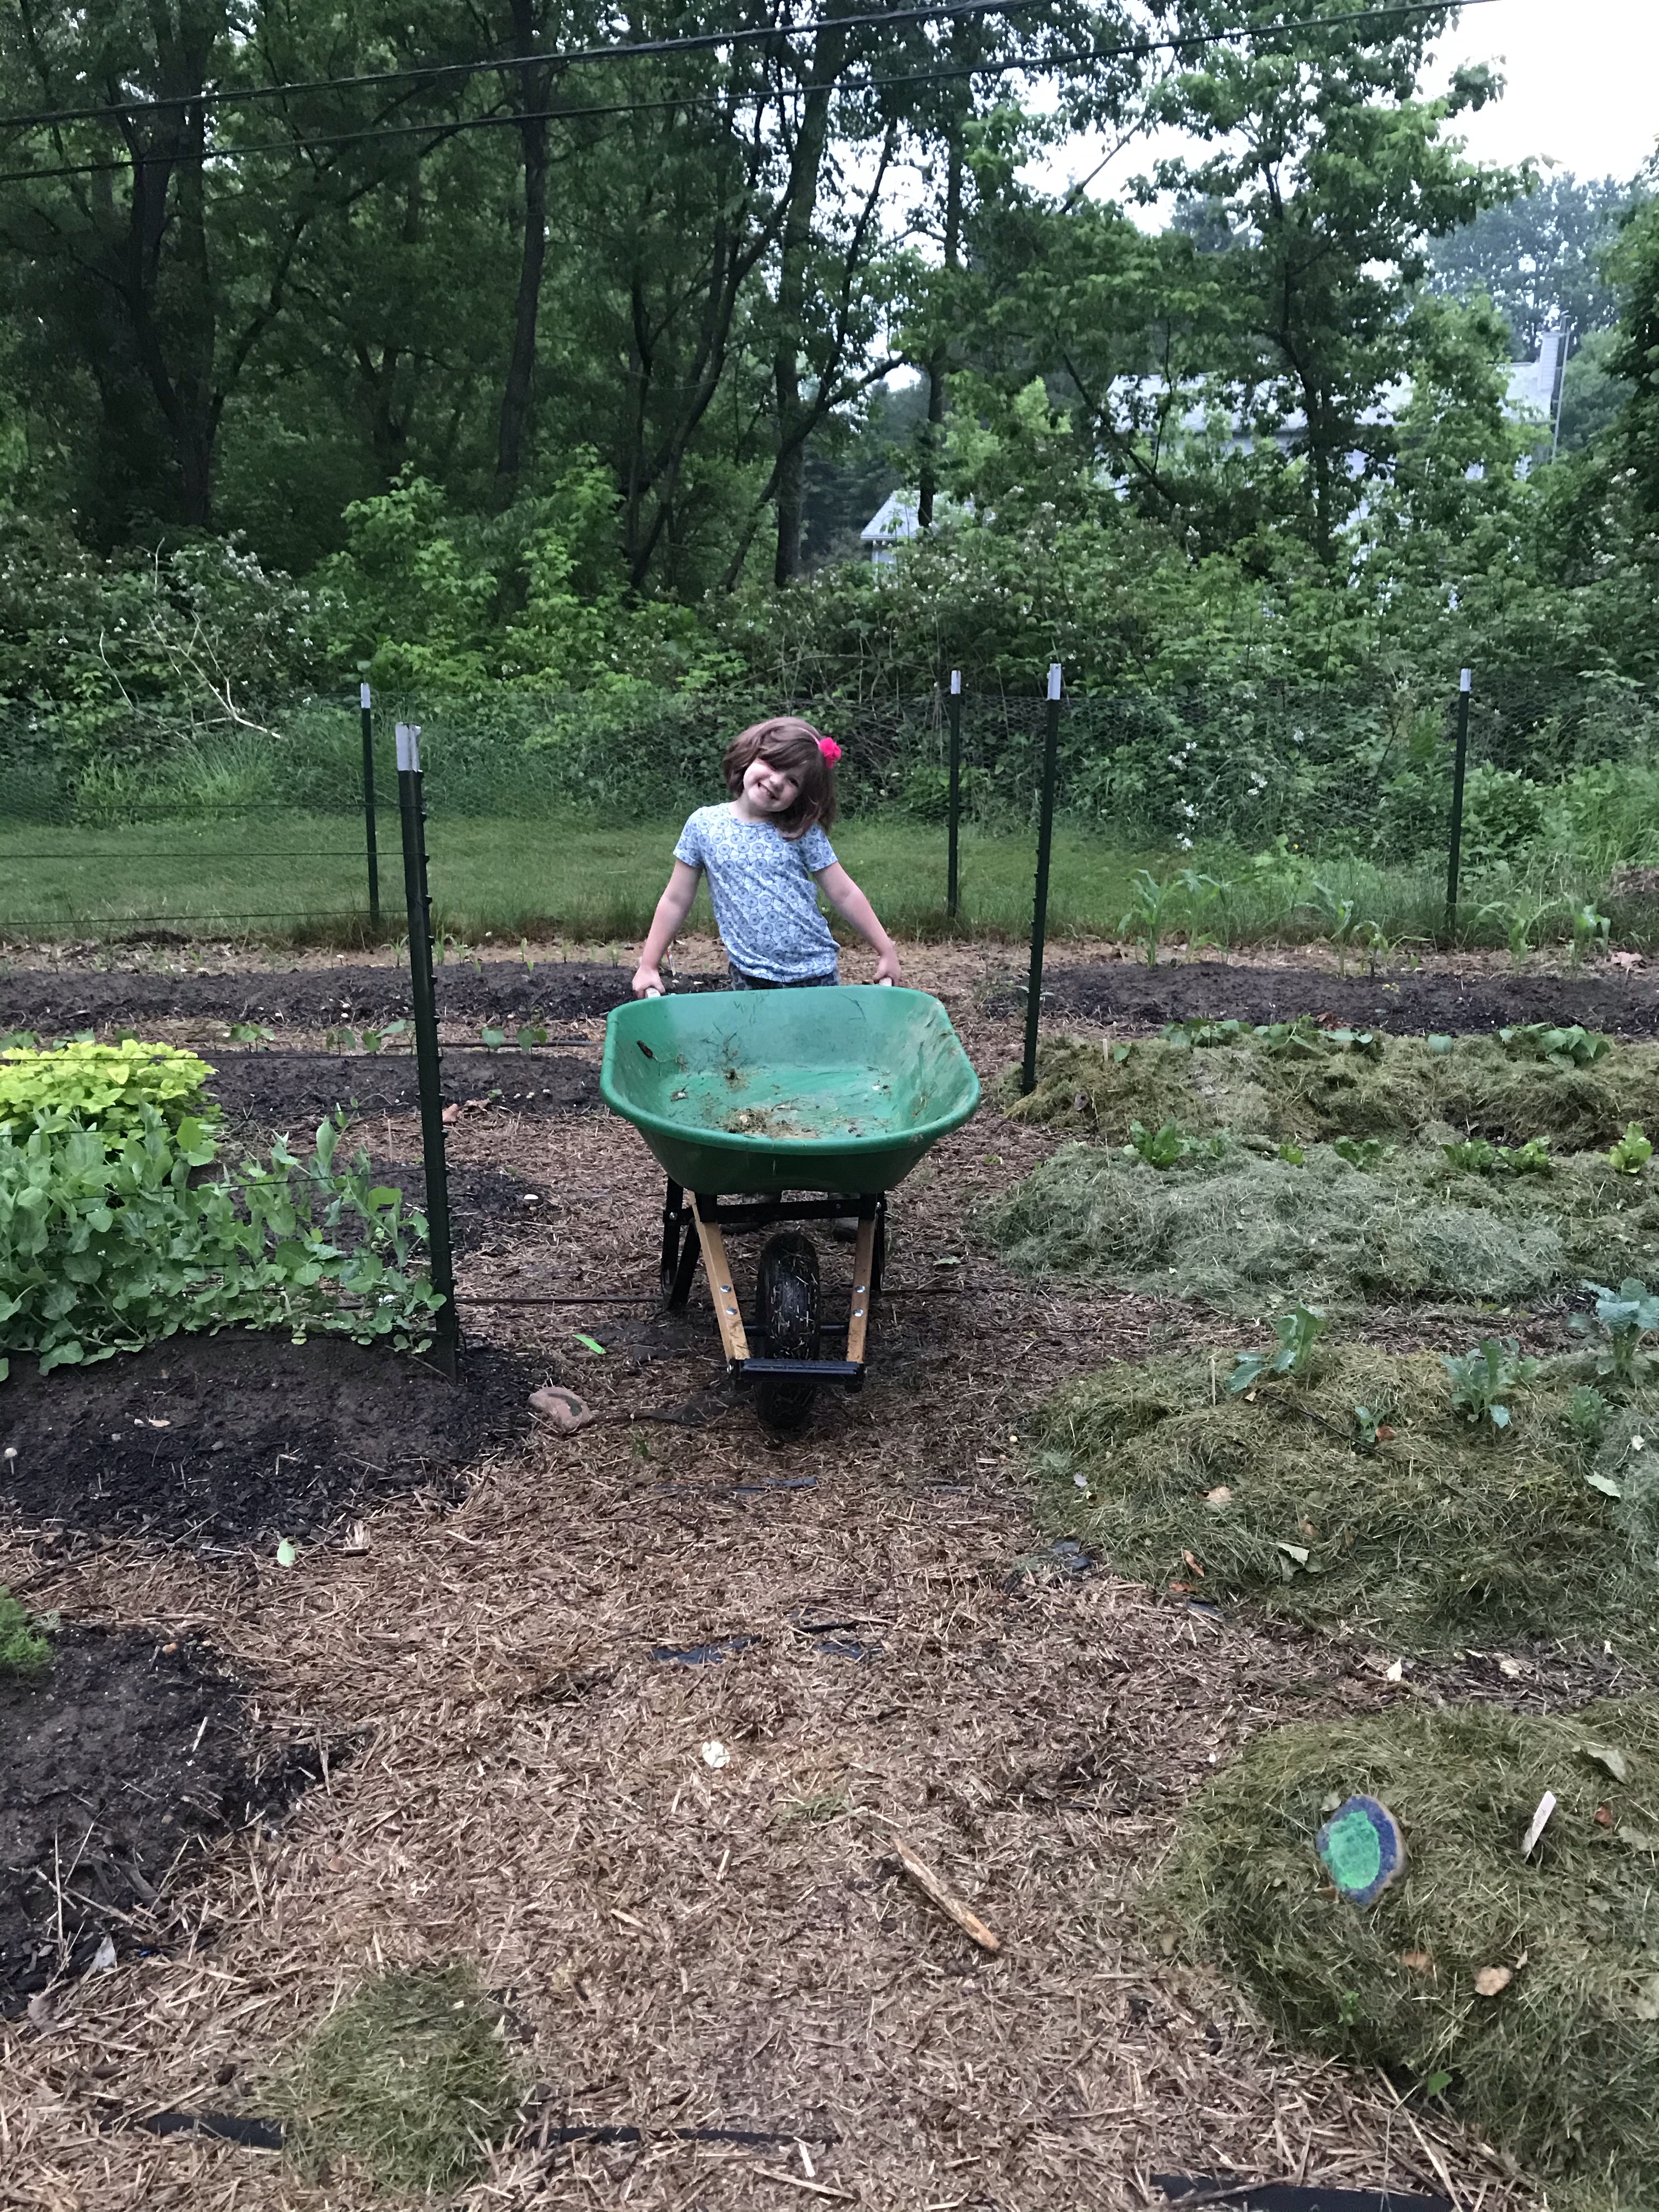
Spreading pea gravel for Mom
The only time I don’t mind working in the garden is if I can get money for it. Mom will sometimes bribe me to do work outside for her. But most of the time, if Mom pays me, she makes it hard work. She says she wants to “get her money’s worth”. 😒
And sometimes I do not finish, so I don’t get paid for the whole job. Mom says working for her is good practice for my business with the Yard Crew (more on that later). But Mom has high expectations. She even fired me once! 🙄
Now, don’t get me wrong, I like having a garden and fresh food. I just do not like to WORK in the garden.
The job I hate the most is pulling weeds. Mom has me pull BUCKETS and BUCKETS of weeds from the front garden. We don’t even grow food there.
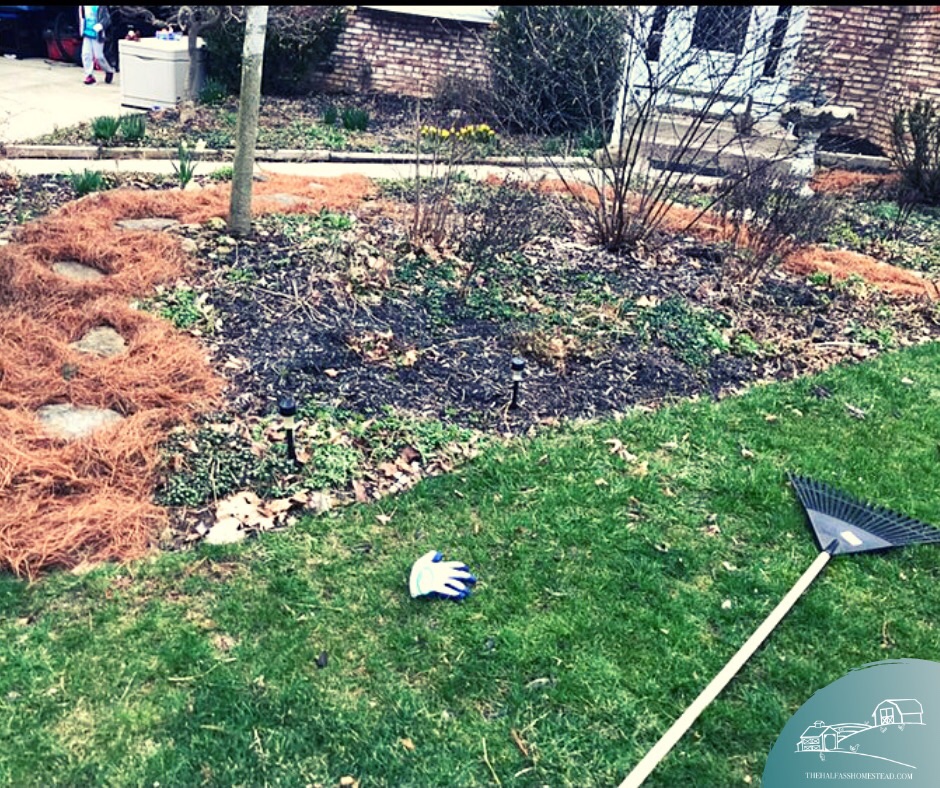
See the bucket?
I raked all those pine needles for a path.
My Dad can be worse! He doesn’t make me work int he gardens but he gives me gross jobs outside, like picking up dead animals. And RAKING LEAVES is the job hate the most!!!!
This year my Mom say she is going to make the garden bigger. OH JOY!!!!!!! 😑
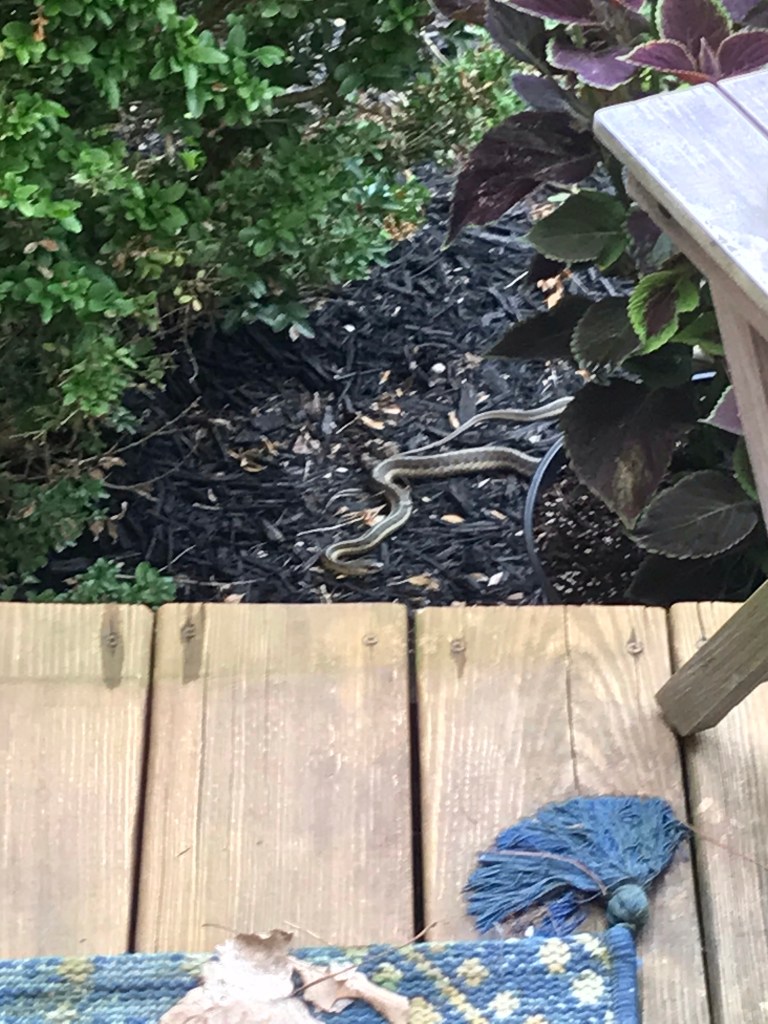
Earlier this week, I was playing with my sisters, Ava ,and Vinny. They were running around the yard catching butterflies. Ella was about to step in our flower bed when she thought there was a stick on the ground. Suddenly she screamed as loud as she could, “Snake!”
My Mom jumped up, she was working on the deck with her computer, and told me to get the shovel from the shed. She said I needed to walk around the deck to bring her the shovel so I didn’t scare the snake and she could kill it.
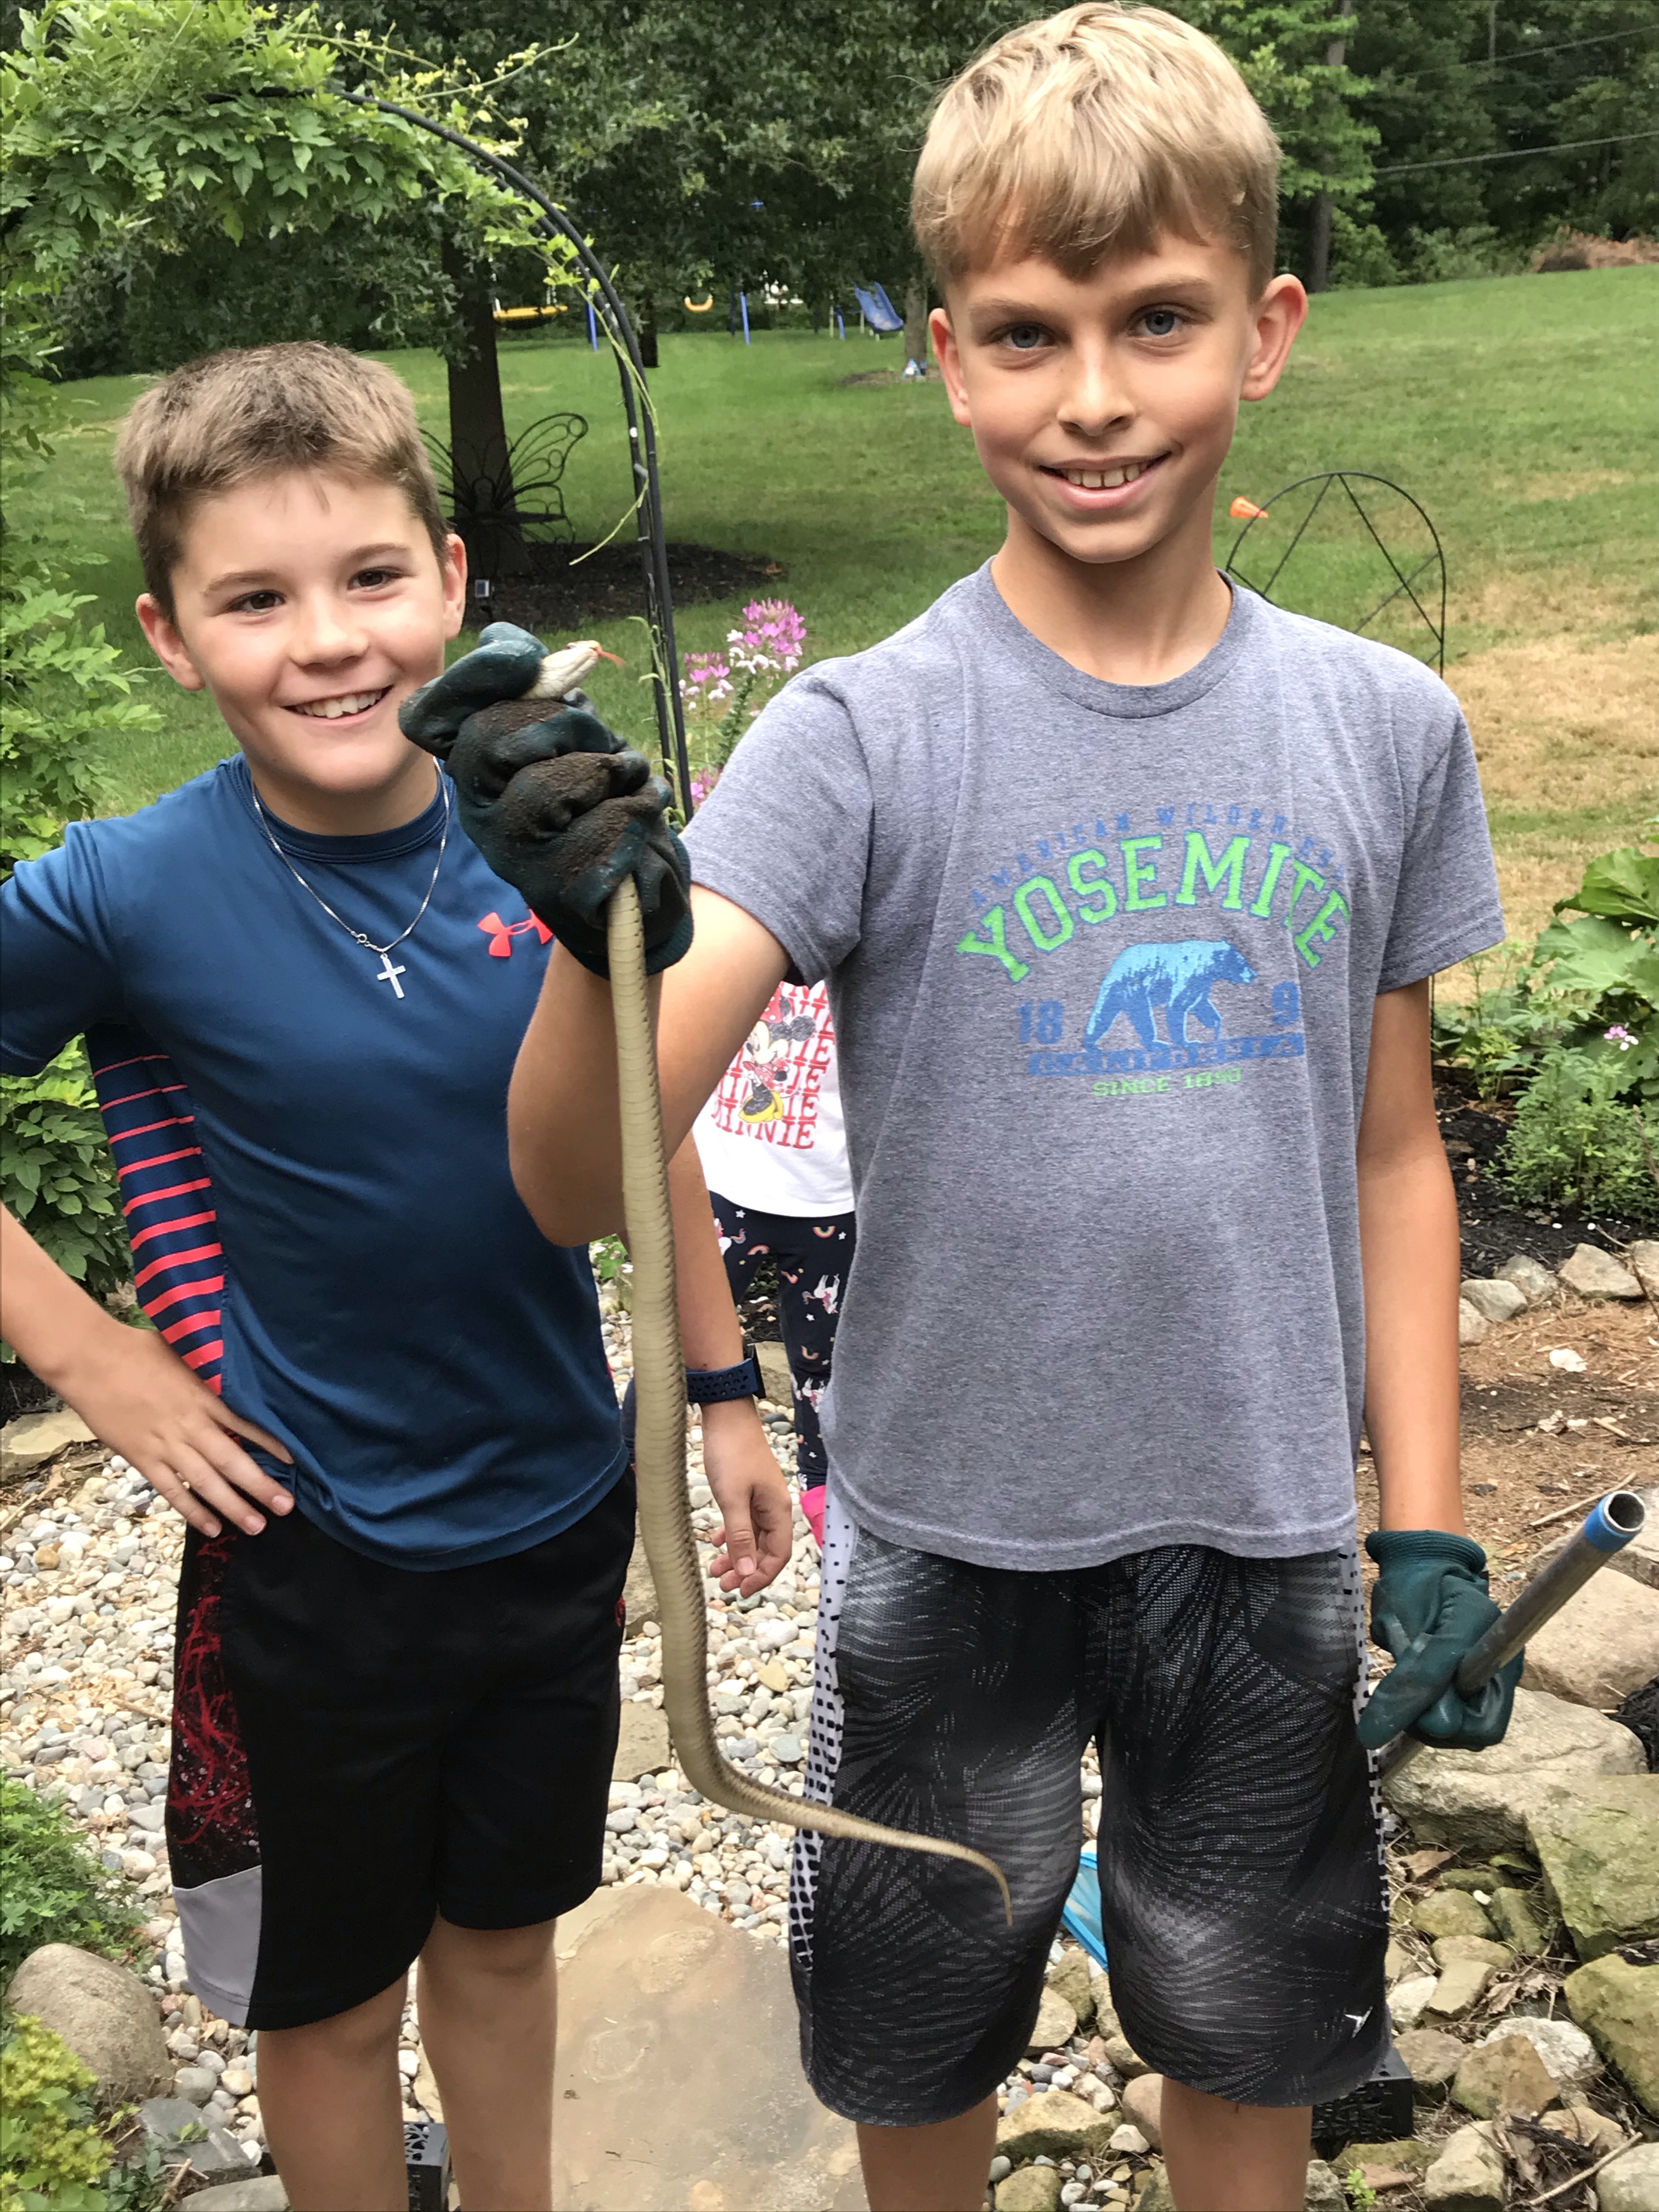
When I handed her the shovel I said, “Don’t kill it unless it’s a poisonous snake! if it’s a garter snake we should let Andrew have it!” My friend Andrew has been wanting a garter snake forever. Mom said she didn’t know what kind of snake it was so Andrew better get here fast or it was going to be a DEAD snake. Mom texted Andrew’s mom and they headed right over–they live just up the street.
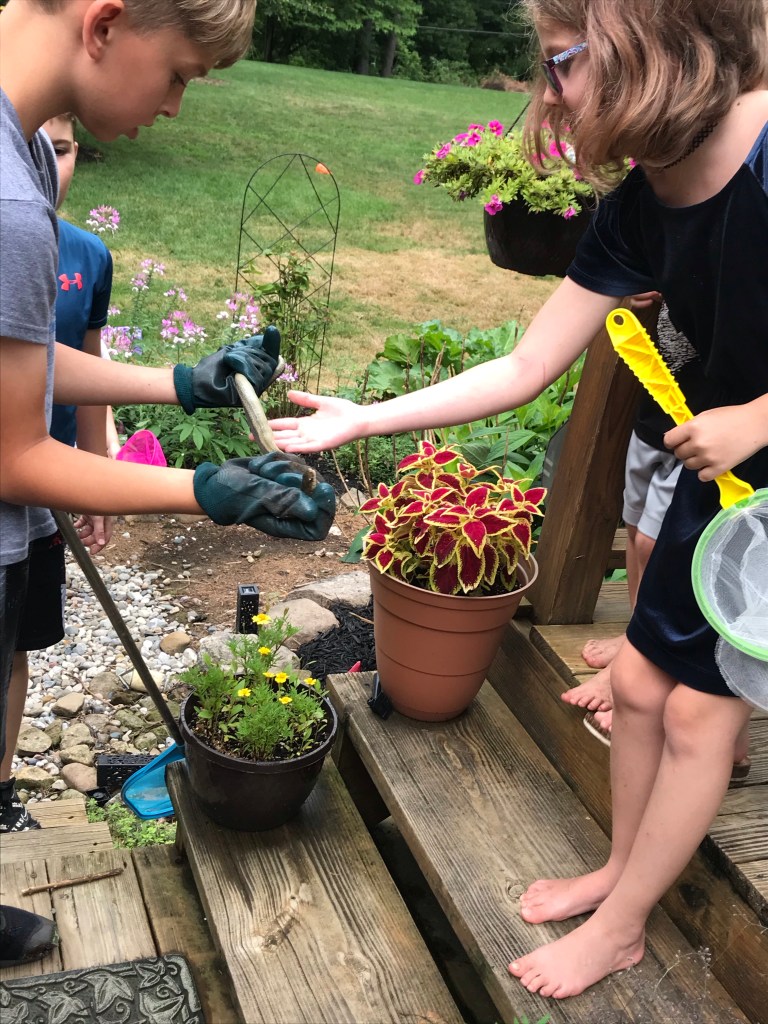
When Andrew got here, he looked at the snake and said it was a garter snake.. he was 99% sure and he said it’s harmless. He went to grab it but Mom made him put on gloves. So I gave him. moms rubber garden gloves and then he grabbed a pole off the deck. He put a pole on top of the snake and then he grabbed the snake behind the head and picked it up. Mom screamed. then took some pictures.
Andrew’s mom showed up and Andrew walked back to his house with the snake. At Andrew’s house, we made it a big cage. He was going to name him Fang but chose Slitherin instead. Then we played. That’s it.
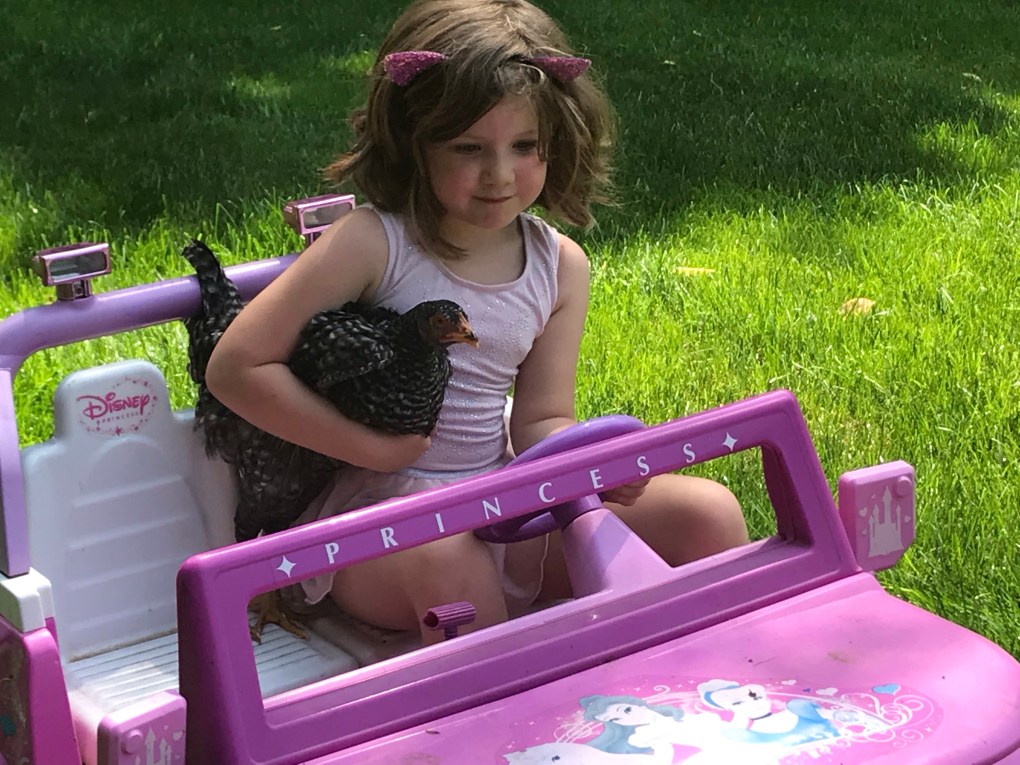
Grace has taken to driving the hens around… not sure if they like it as much as she does 🤣
The past two weeks have been busy one on the home front and with work for me. It’s weeks like these that I’m thankful to be doing this whole garden homesteading thing with the Norris family.
Work has ramped up between creating two online courses, preparing for our first virtual summit for educators, and meeting with customers to plan for next school year, I feel like I’ve been glued to my MacBook for two weeks straight. And, though Brian Sr. had a couple of days where he started to feel better, he quickly took a turn down hill with severe pressure and nausea. We’re hoping for more answers and relief next week given this new medicine he’s on. On top of that, I’ve discovered I’m now allergic to poison ivy (turns out it’s bound to happen when you spend three weekends with a weed eater killing that stuff). So much itching!
Last week I didn’t get out to the garden once but often looked out the window and would see Clint and Vinny watering the garden, hanging with the hens, or eating lettuce and spinach off the plant. Grace, Ella, and Brian Jr. often joined them. They even dropped off some radish on Father’s Day! So grateful for them!
The kids tried radish for the first time, Grace was the only one who liked it even a little. I really enjoy some fresh slices on my sandwich but look forward to a few suggestions from some of our Facebook friends, especially roasting them!
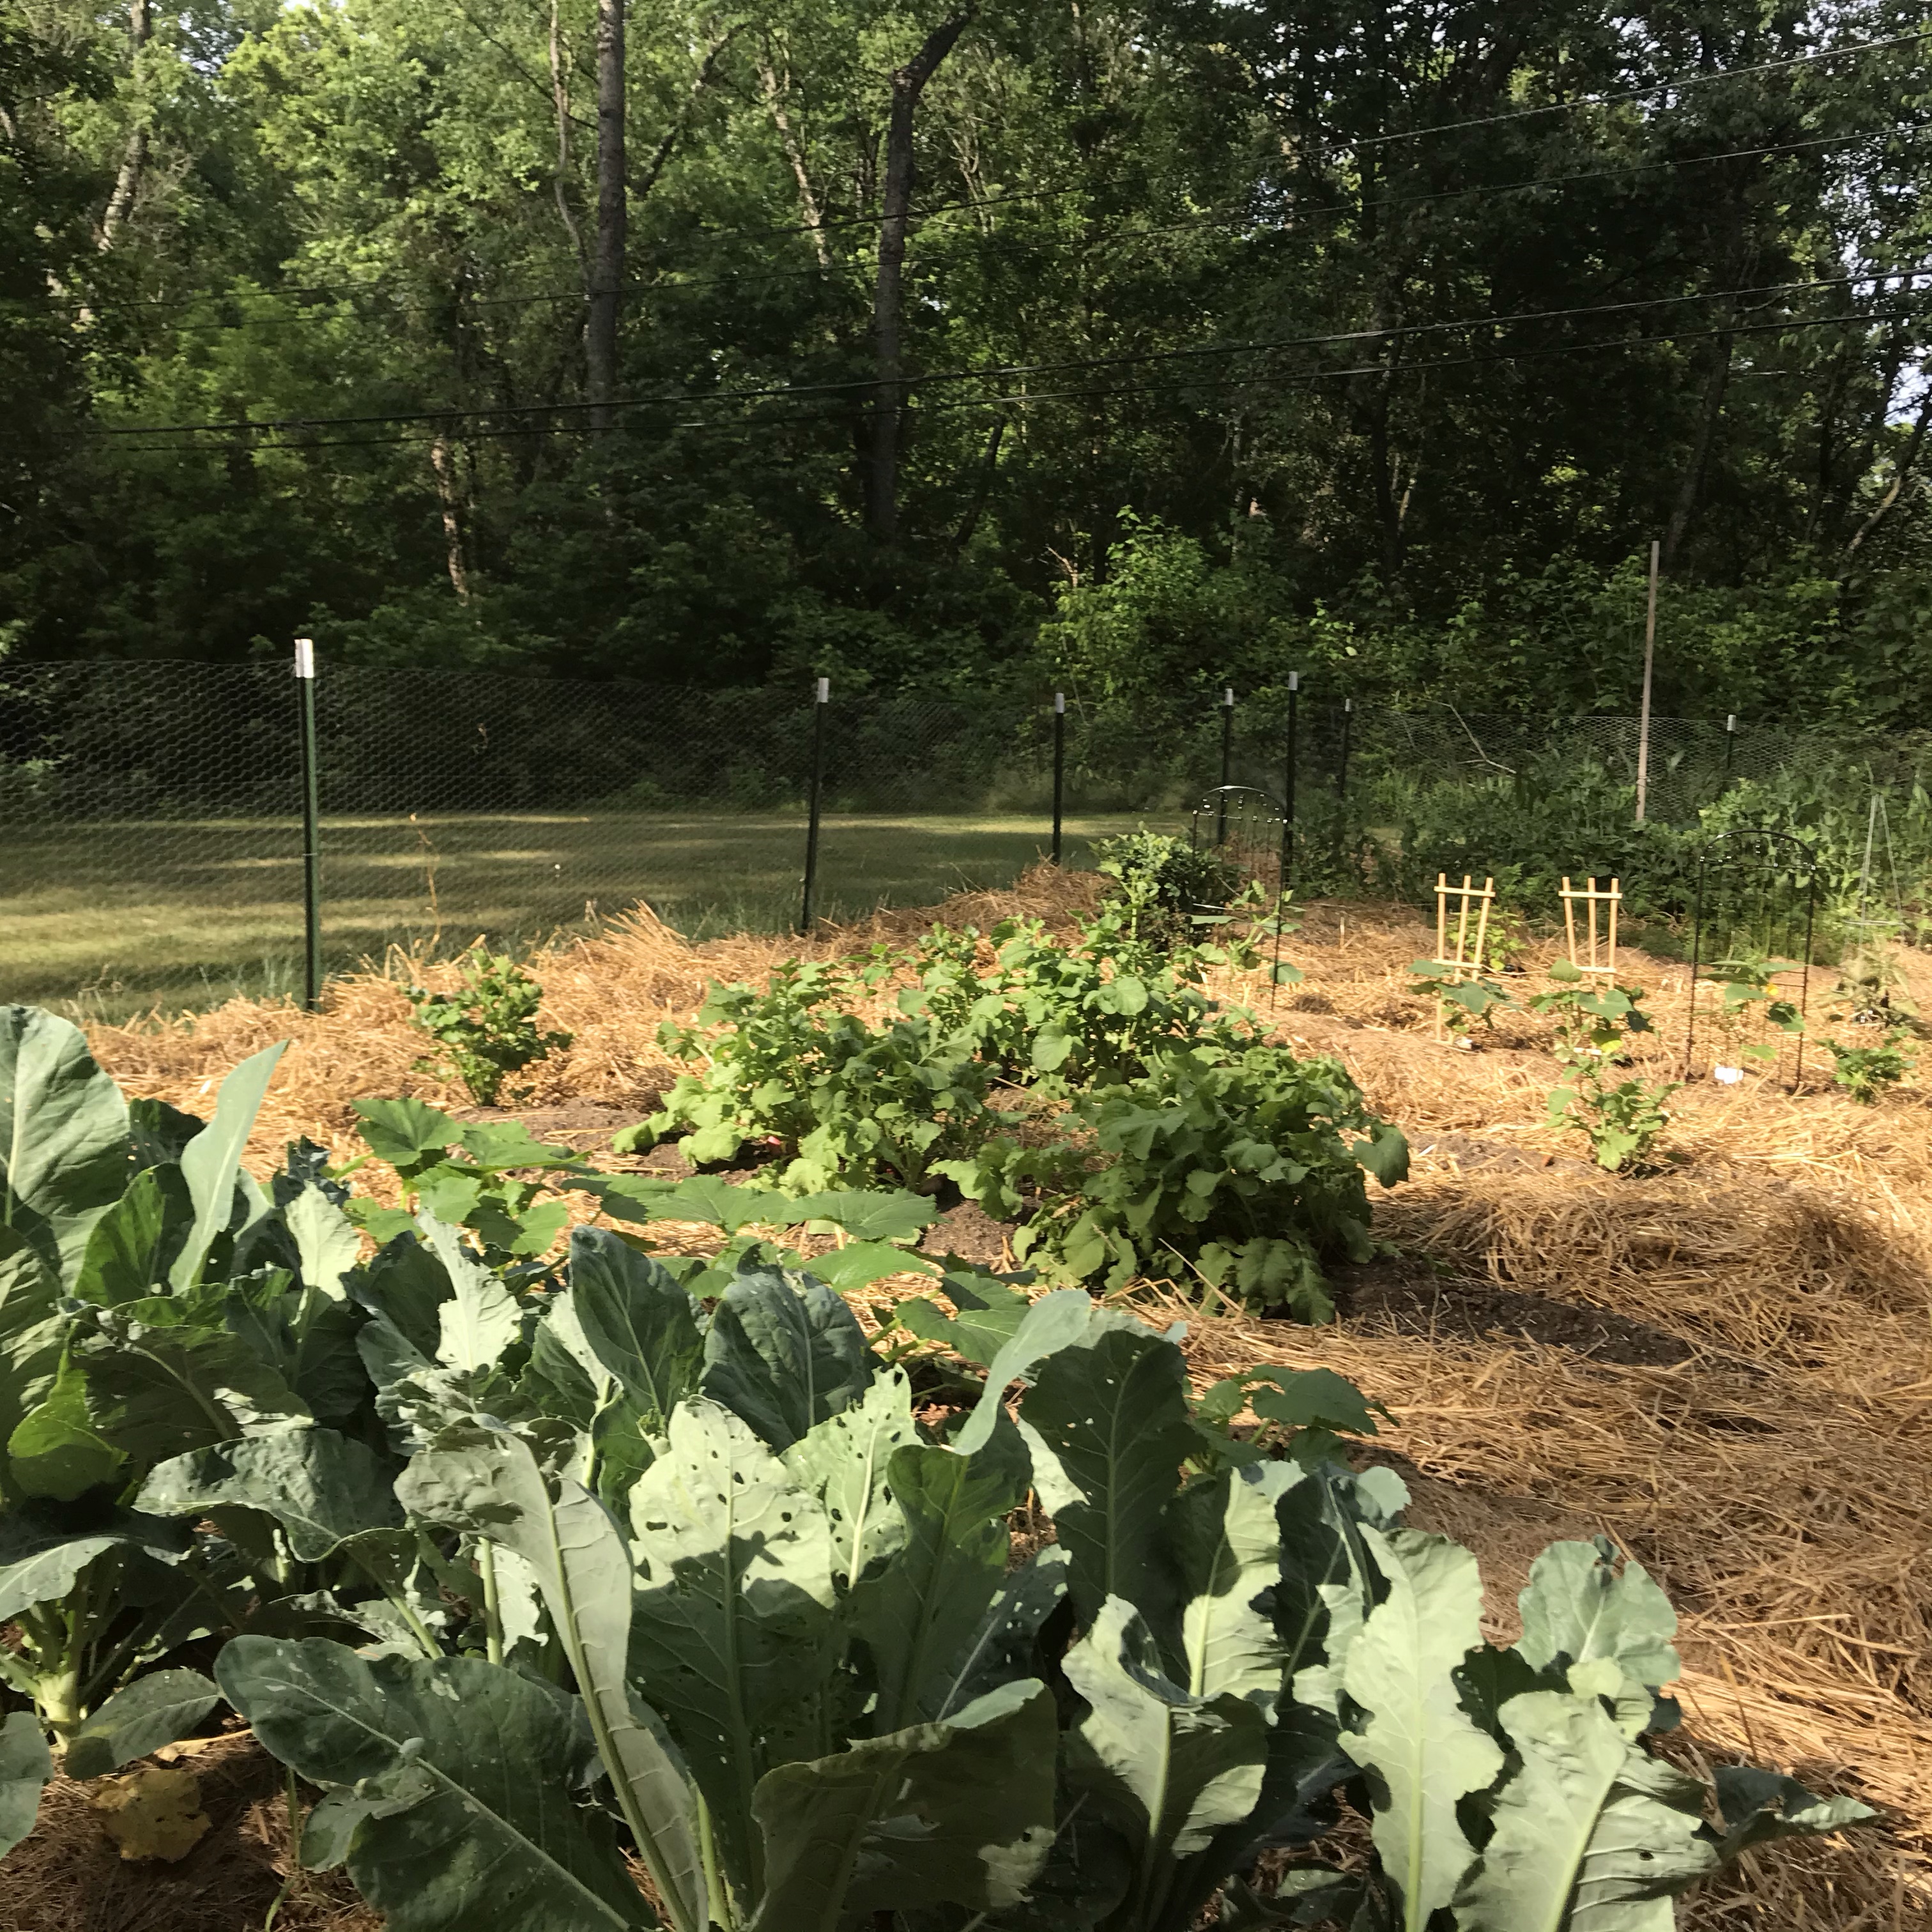
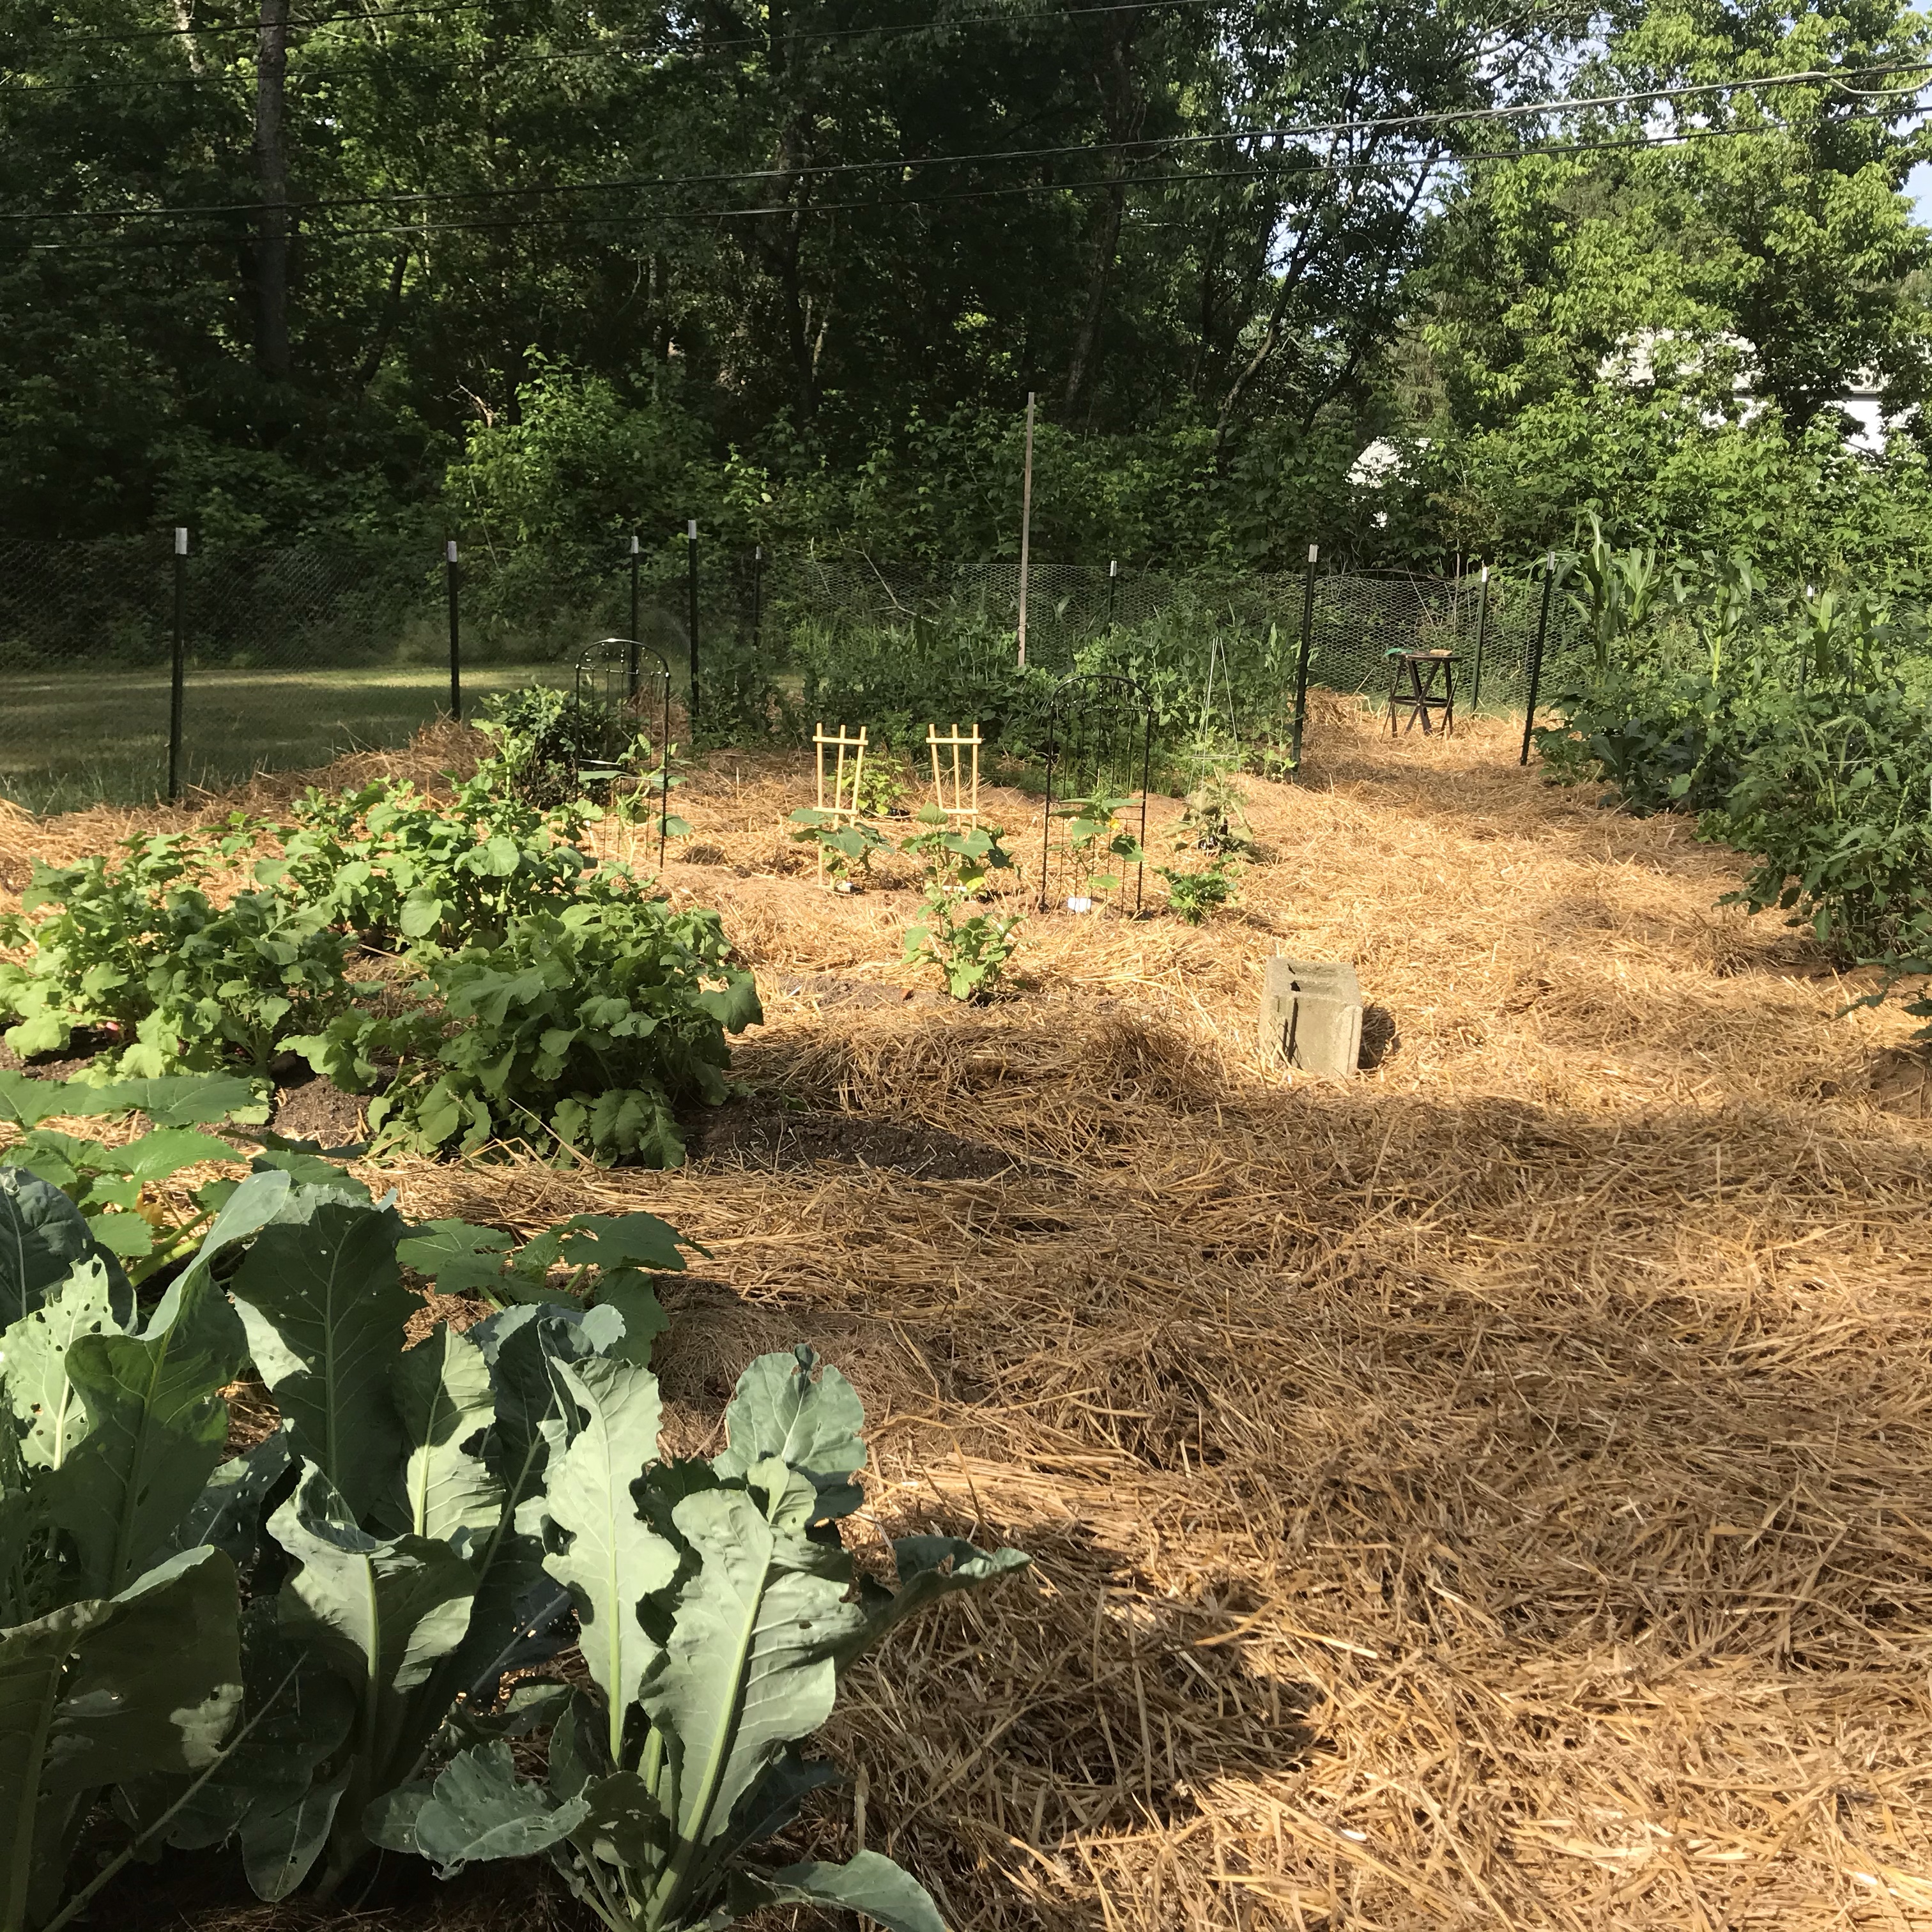
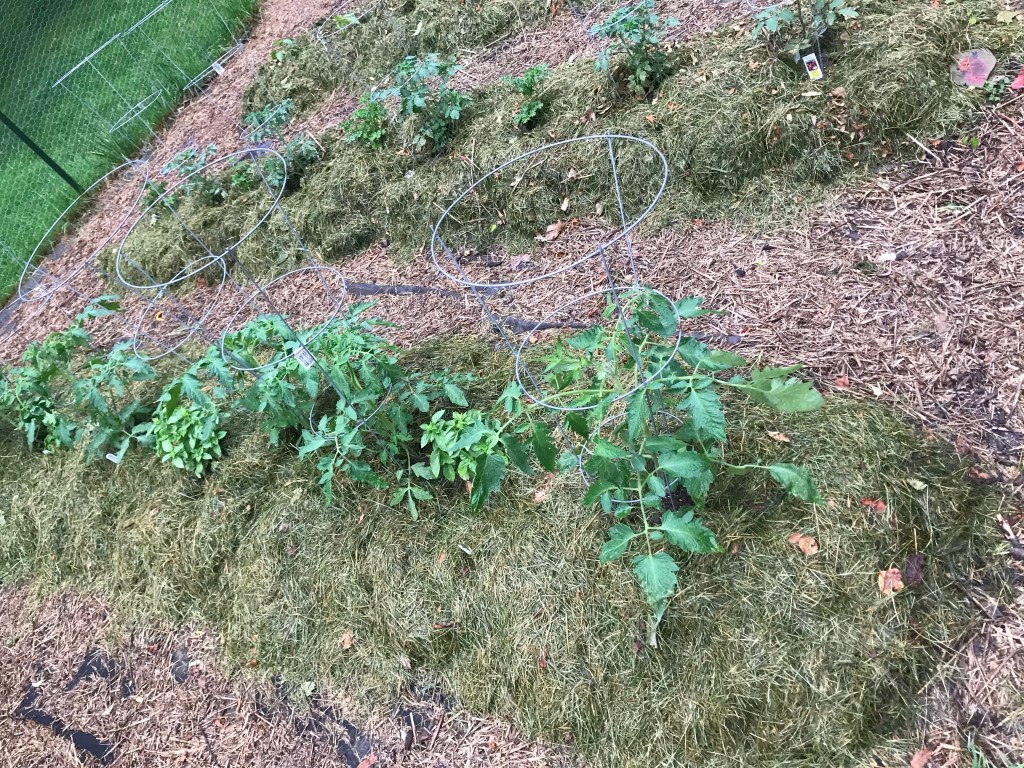
By the time I got out to the garden this Friday, it was in desperate need for some harvesting! It’s amazing how much of a different the grass mulch has made for our crops!
Tarin, who has been busy with work herself, joined Ella and I in the garden for some picking. We got quite a haul!
On Saturday, we harvested rhubarb and I picked up some straw to recover our walking paths. Grace took pictures:
It’s about time for a second planting of carrots and some other crops. I’ll have to do some research on what would be good to plant.
Sunday, I spent time in the house gardens, adding cobblestone to a some of the paths, and reconfiguring the front garden by removing a bush and widening the area around our front outdoor table. I plan to add stone or pea gravel to level the space out.
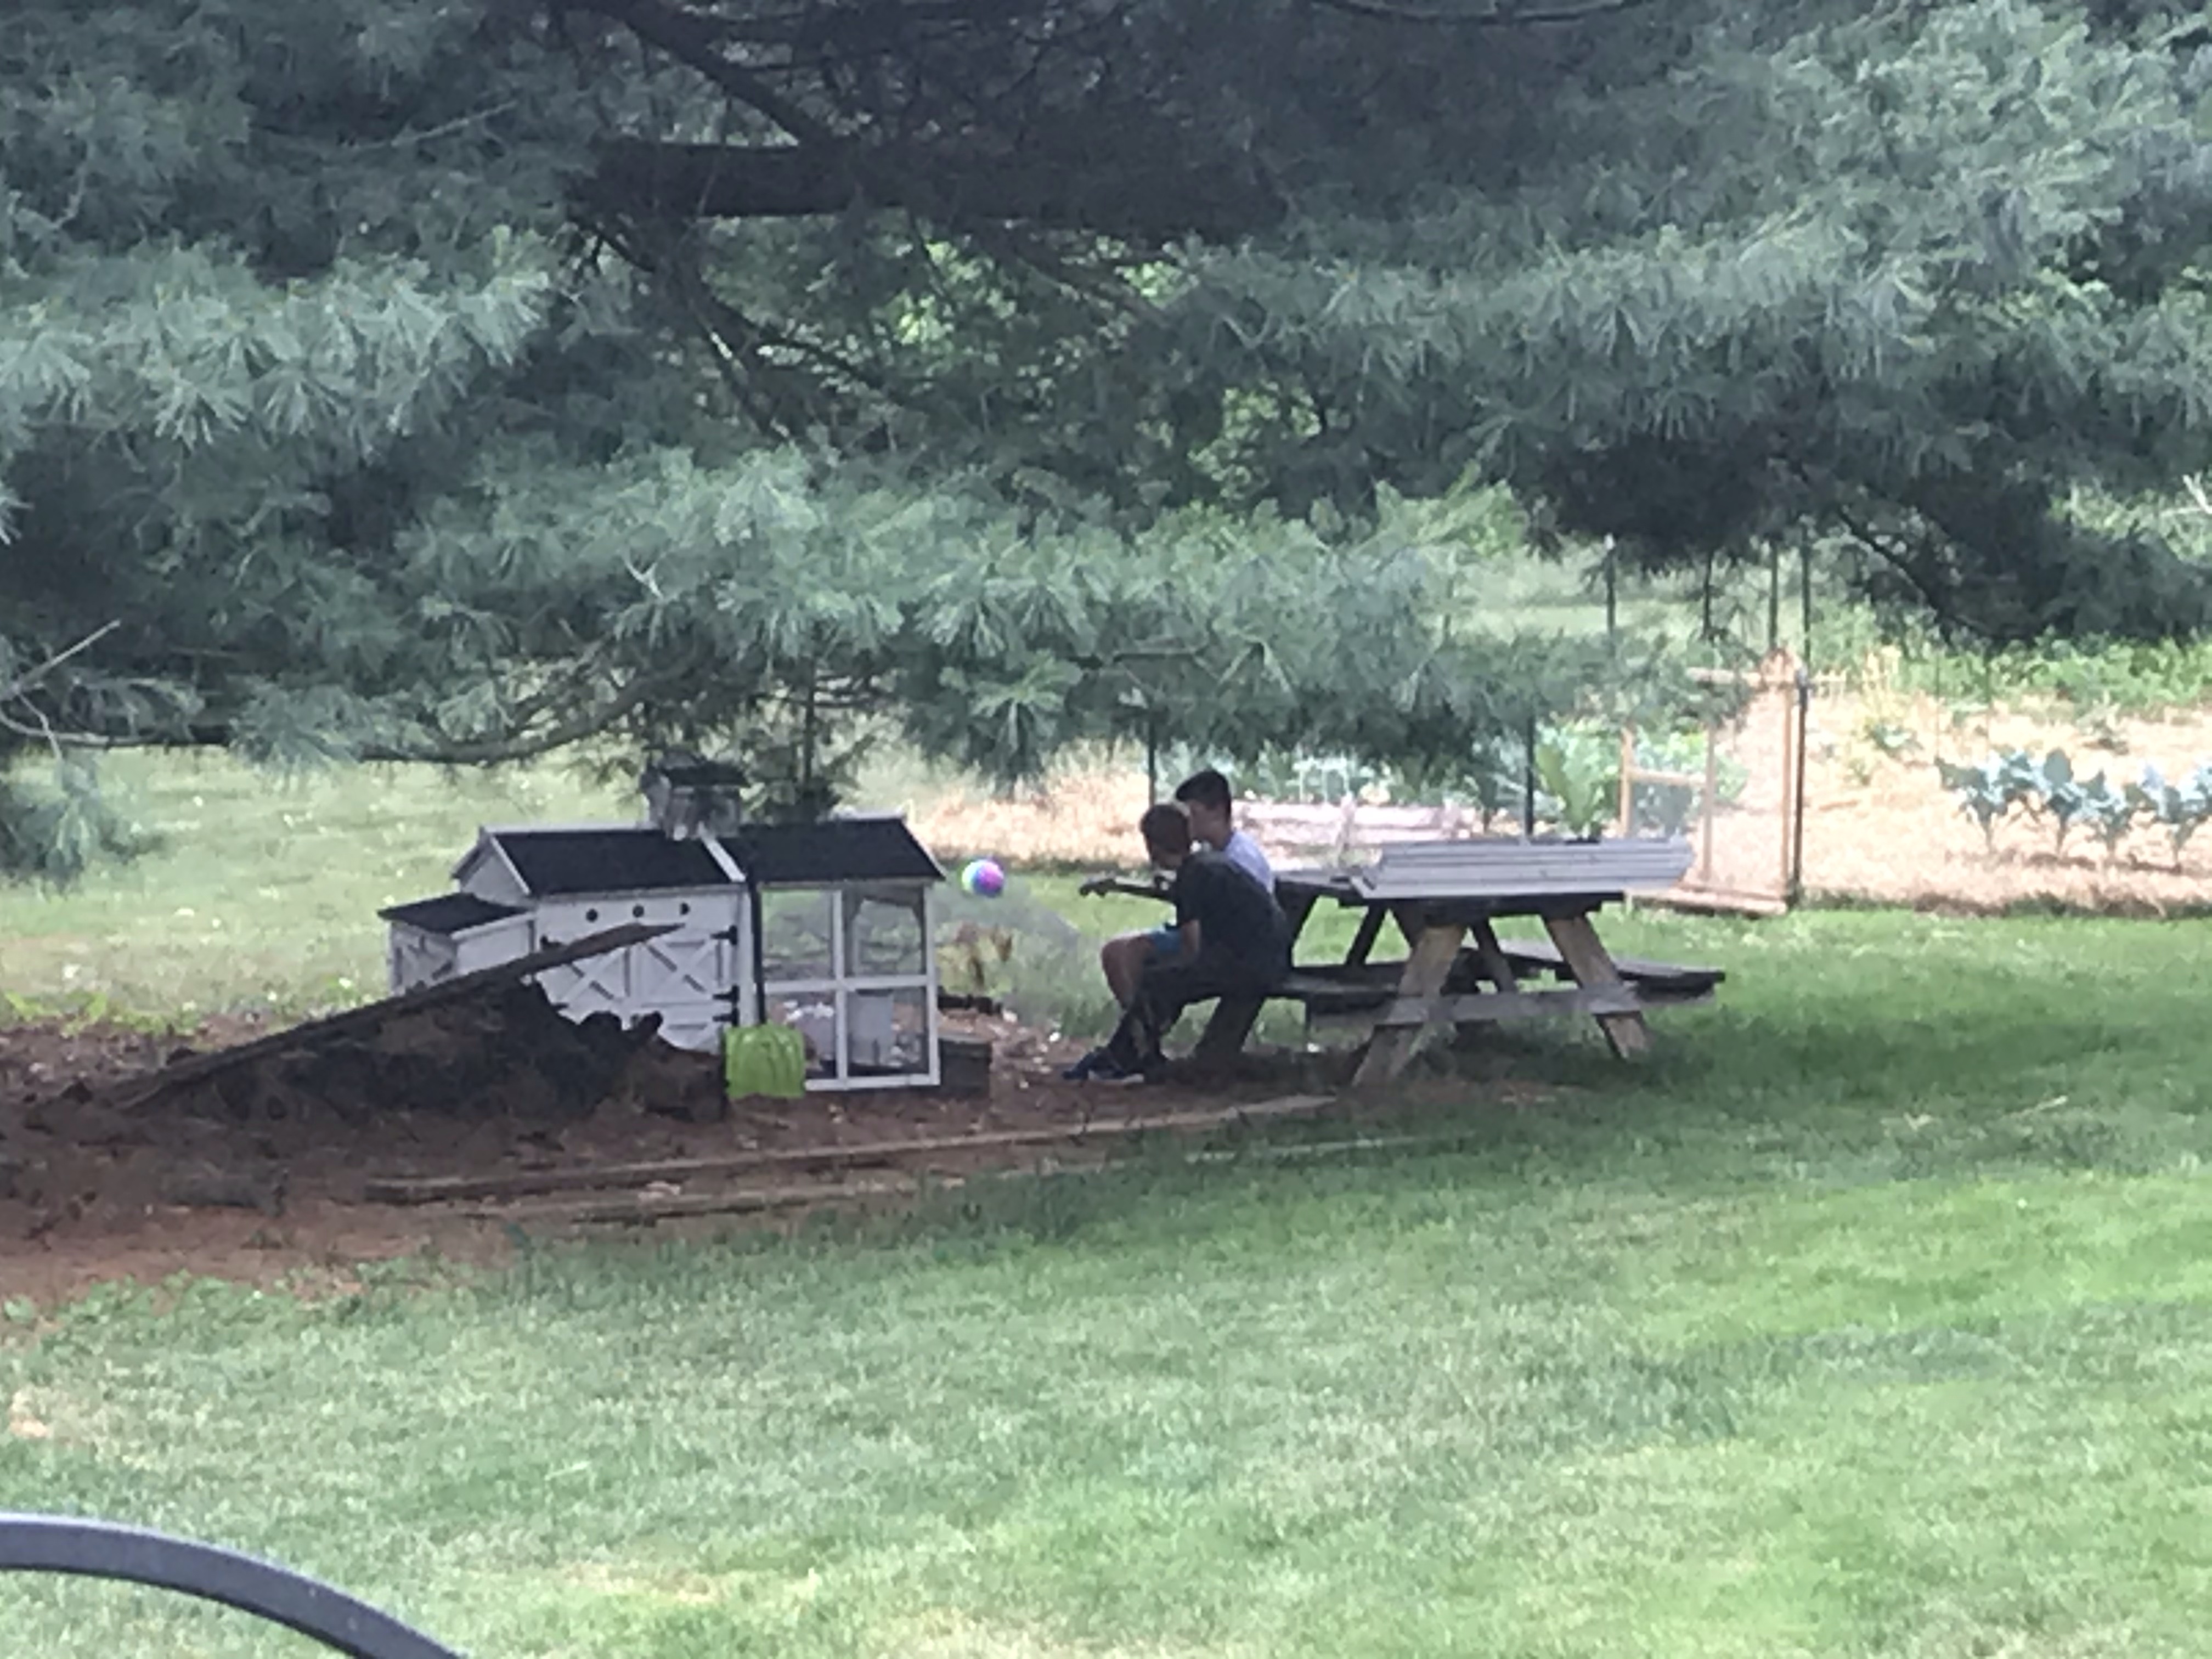
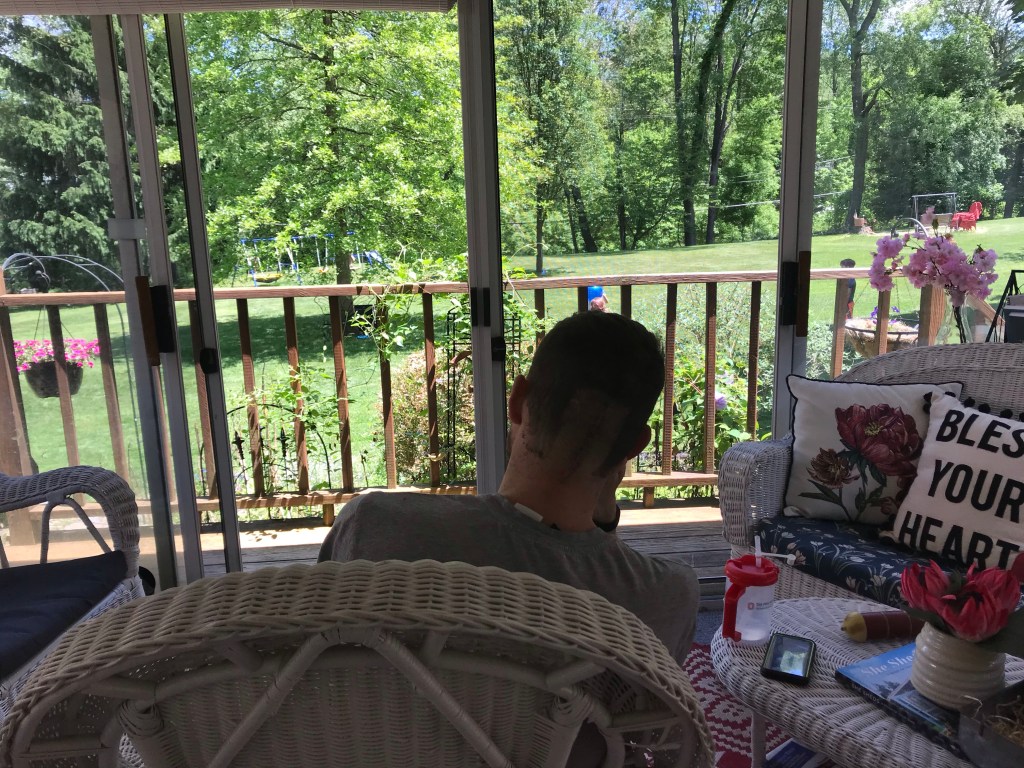
While I worked, Sr. relaxed inside, the girls played by the creek catching salamanders and Brian Jr. played ball in the yard and took breaks to play guitar for the hens. It may be a little crazy, but life on the homestead is good!
Last week, fall finally showed its beautiful temps here in central Ohio and I decided to make the most of it. Thursday afternoon I spent a few hours unloading pea gravel between meetings (since it was cool and breezy enough to do so without breaking much of a sweat). On Friday two of my calls … Read More
Last time I shared with y’all I was fresh into redoing the backyard, so excited about the possibilities. It’s been a month and a half and until this weekend the project hadn’t gone any further. Luckily the stars aligned and I had the energy AND the time. I told Sr. that all I wanted for … Read More
Last summer, despite Sr.’s disapproval, I put a pool up. He was against the idea for two reasons 1. He’s not a fan of pools(unless there’s a slide going into the pool, he doesn’t see the point) and thinks they attract mosquitos. 🙄 2. He thought I’d ruin the grass. While it didn’t attack mosquitos, … Read More
This week we had beautiful weather! A little rain, not as much as I hoped for–isn’t it funny how when you have a garden, you start to pray for rain? It’s way too much of a chore to pull the hose all the way out to the big garden to water. There are signs of plant production everywhere! Clint and Vinny were enjoying the butter crunch lettuce straight from the plant while out watering one day.
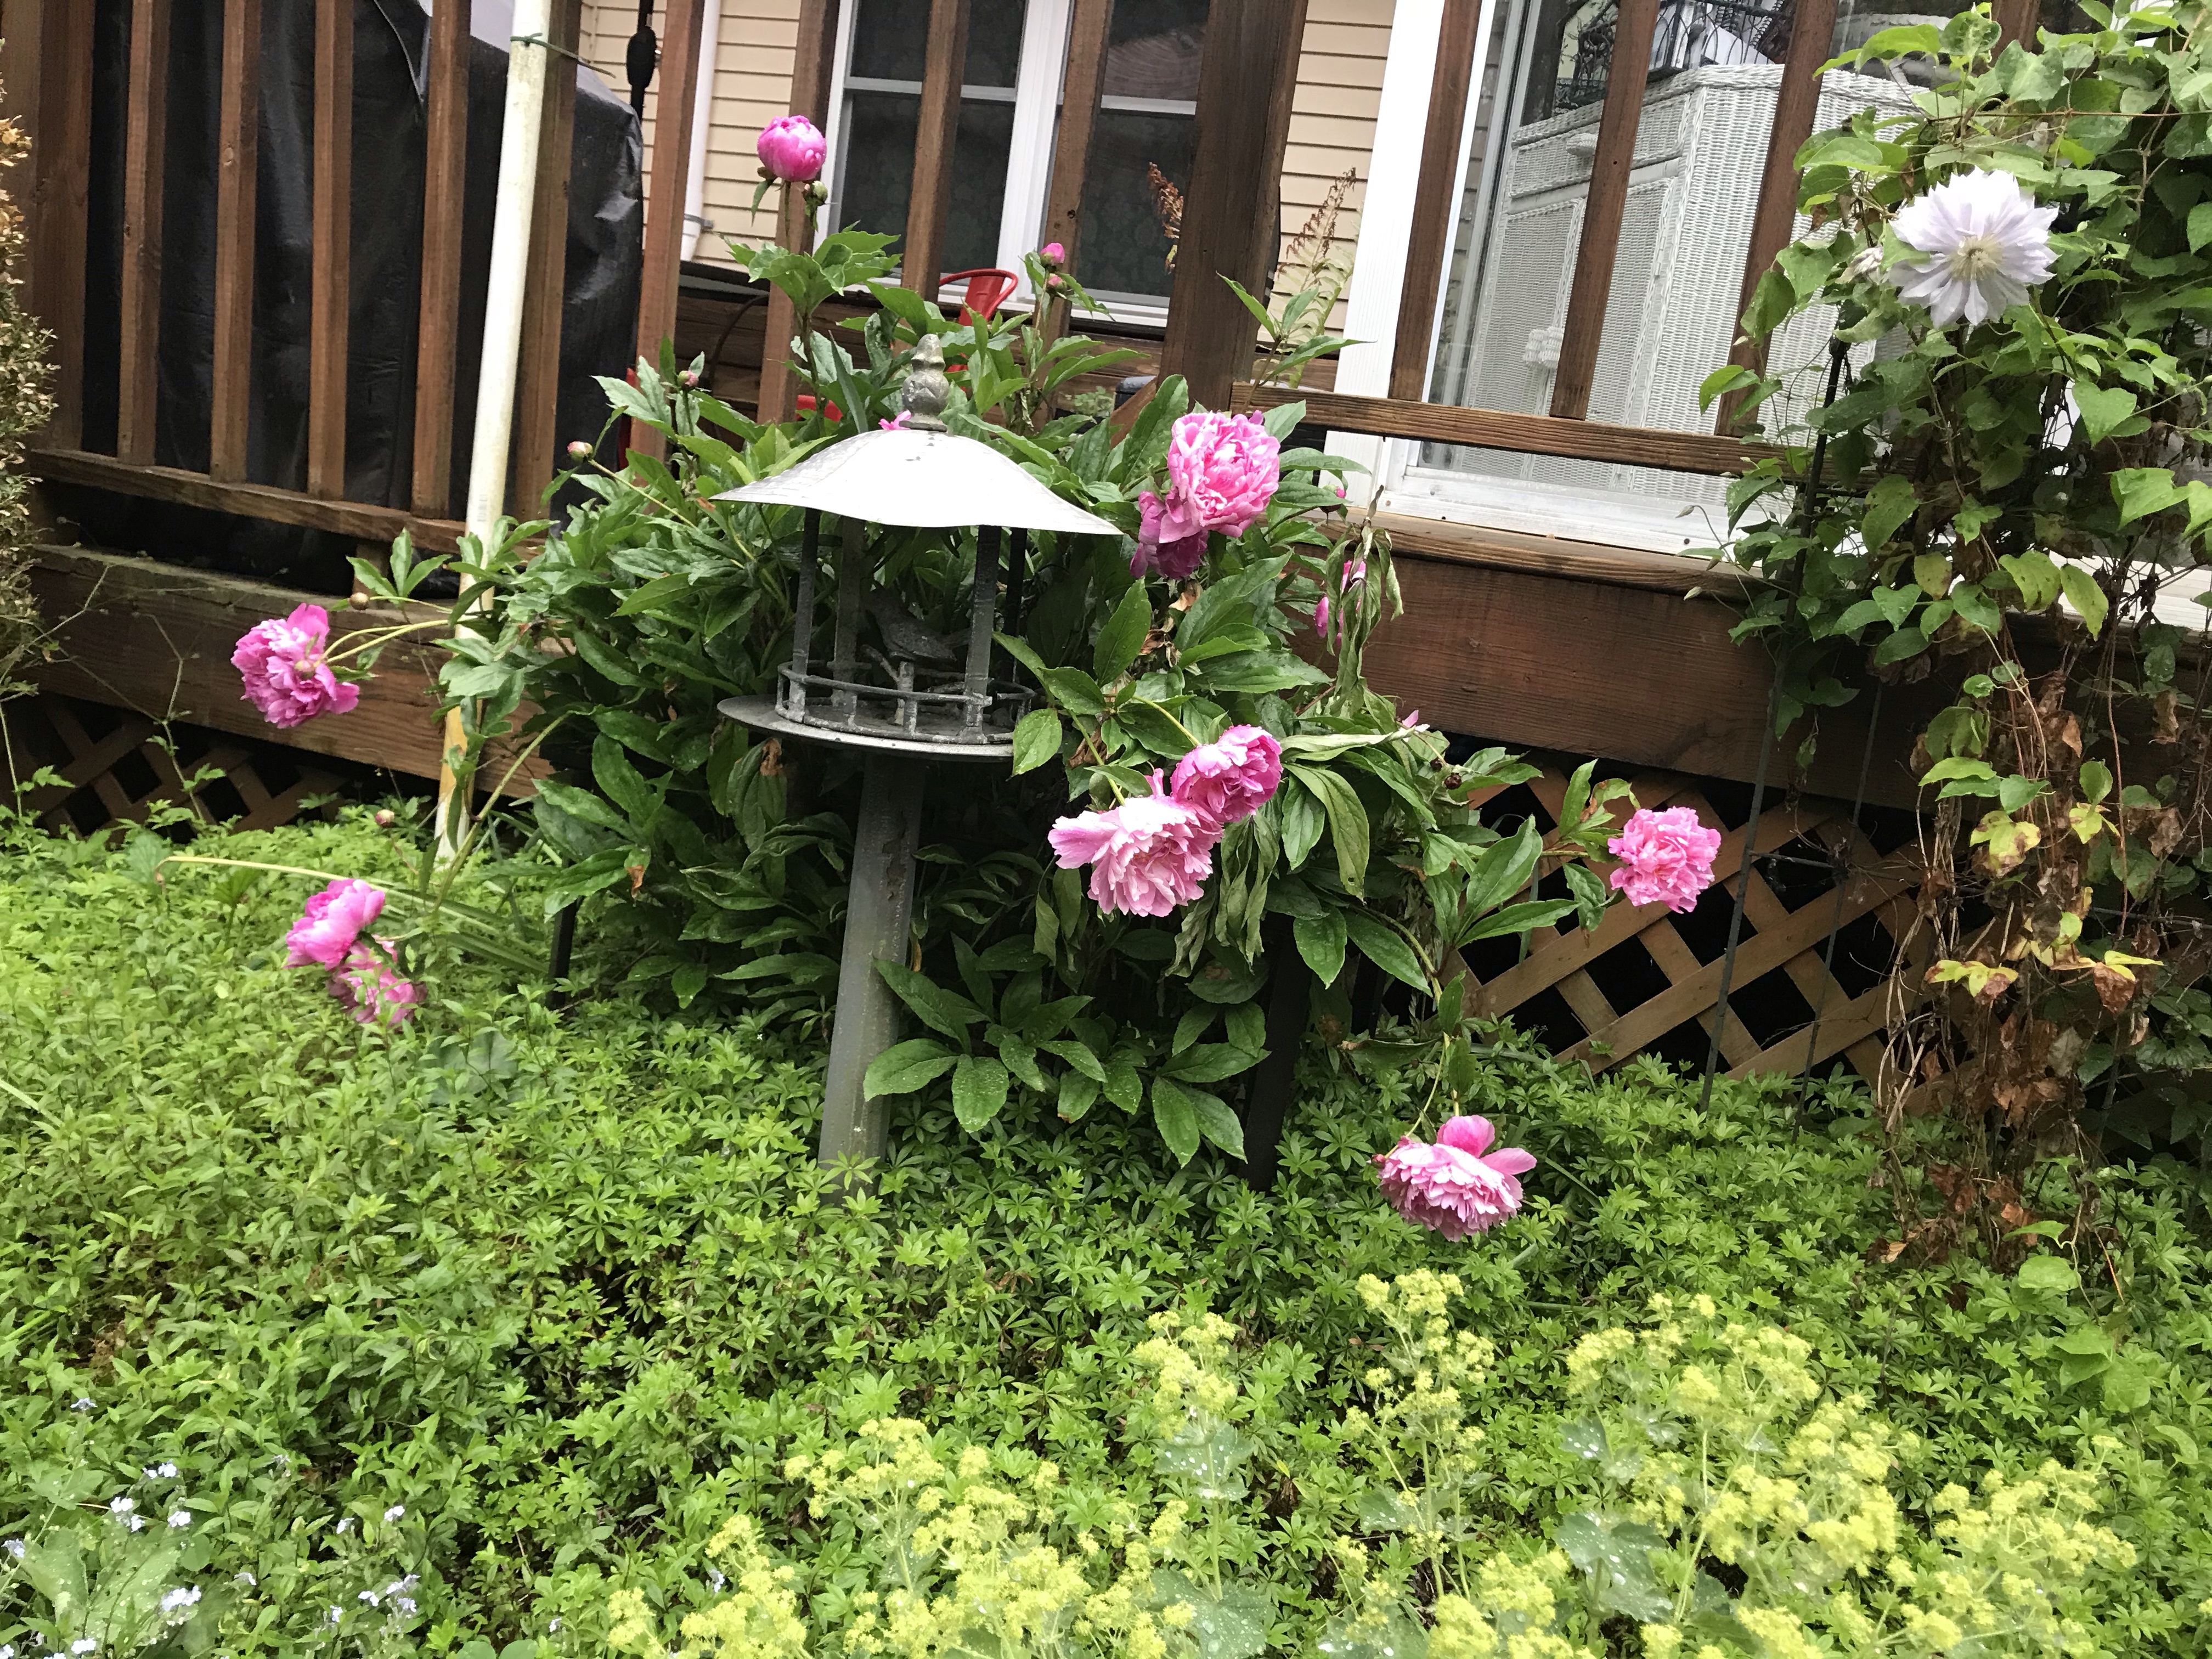
The flowers are still blooming every day. I took a stroll through the house gardens and cut a few roses and flowering herbs for a summery bouquet.
The hens got more adventurous as they roamed towards the front yards. If you drove by the homestead on Tuesday morning you probably saw me running around like a madwoman with a lime green snow shovel shooing chickens out of the brush behind the coop (it’s full of poison ivy) and yelling orders at the kids on how to wrangle them so they. Trying to keep them all our of the poison oak and ivy and get the hens put up before my next meeting was exhausting.
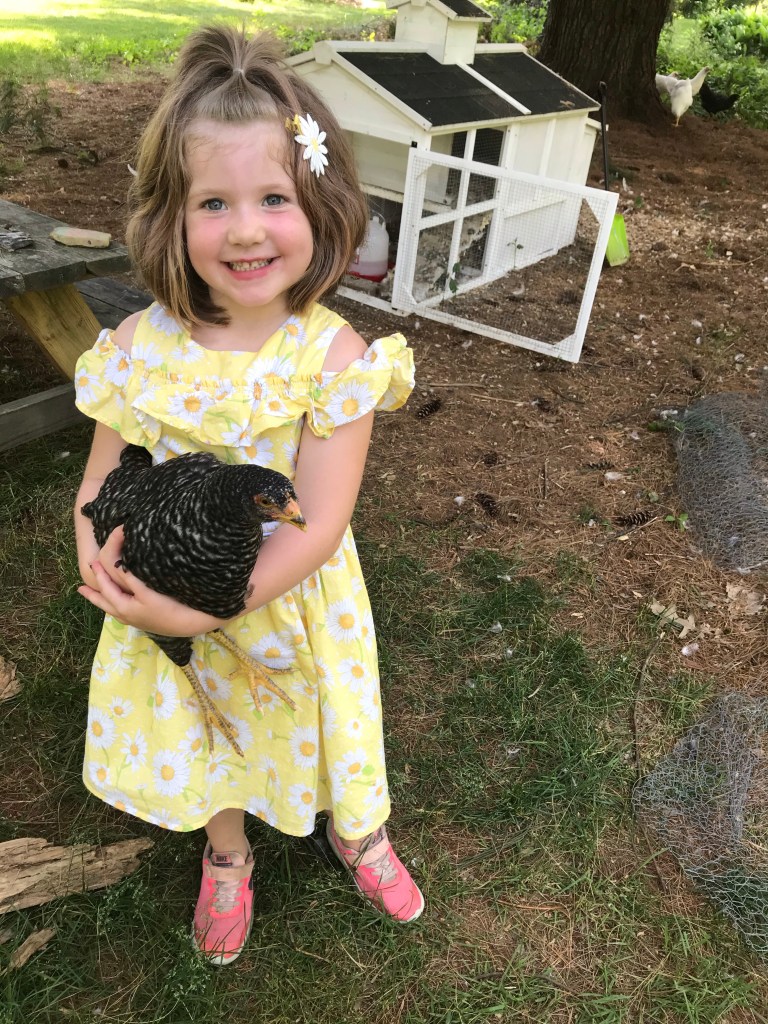
Sweet Grace – You can find her most days with a pretty dress on, chicken in tote, and shoes on the wrong feet.
I was able to use Sr.’s lawn sweeper (yes thats a thing) and swept up more grass clippings from our two yards to mulch the rows. I also added some enriching soil builder we had left over from planting the peach tree and blueberry bushes.
Sr got his 17 staples out and this weekend brought a slight improvement in Sr.’s pain 🙌🏻 and we explored new scenery for our walk.
Black Hand Gorge Trails
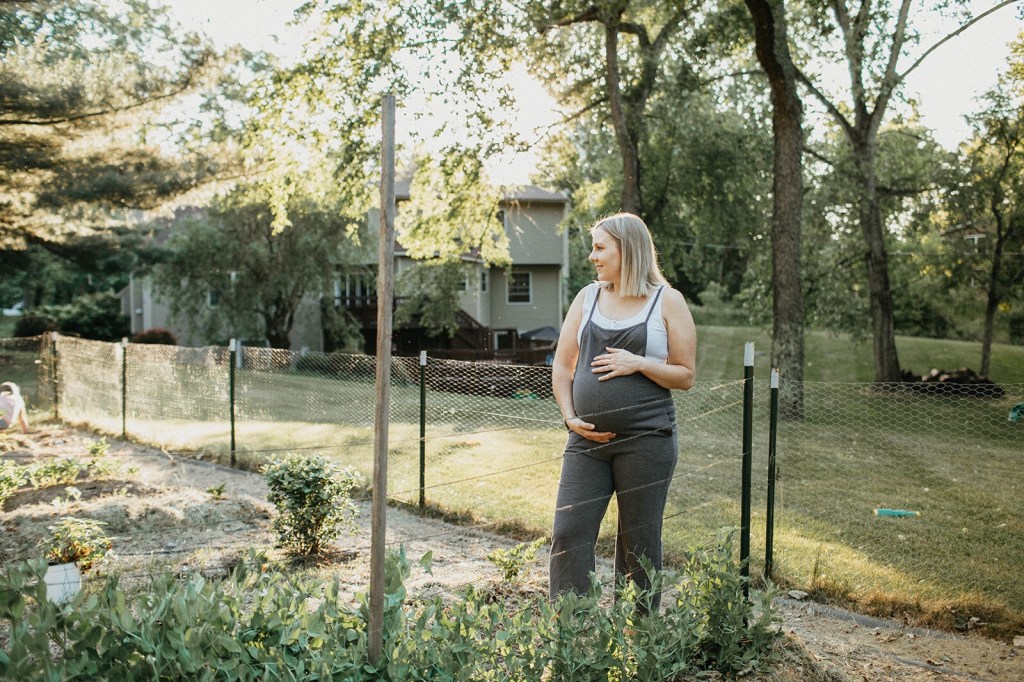
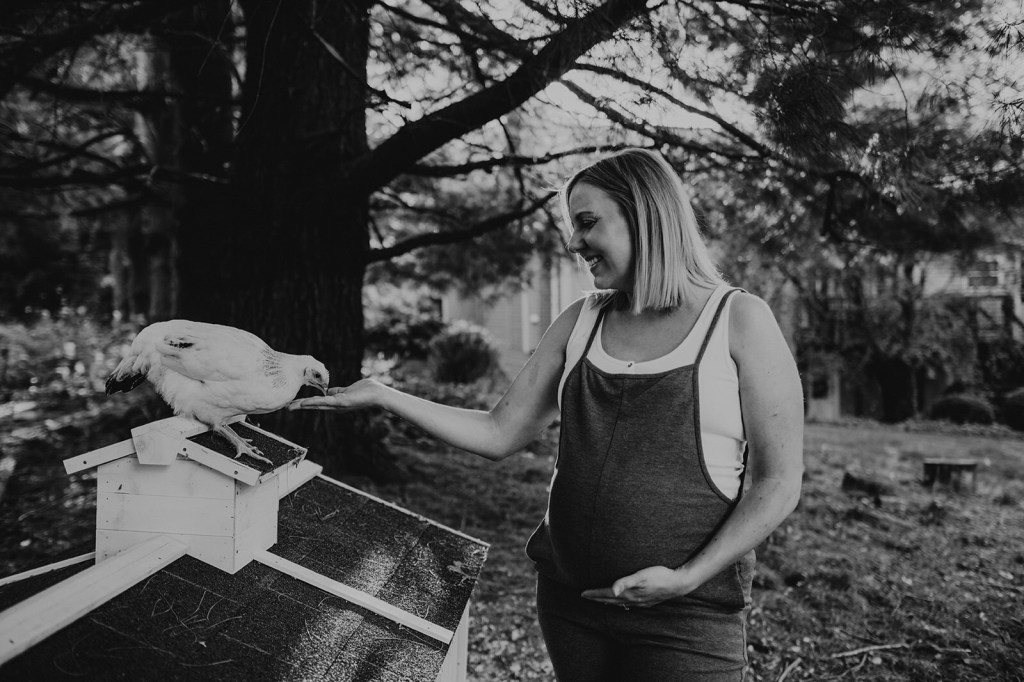
Vinny turned FOUR and Tarin did a maternity shoot in the garden with the chickens!
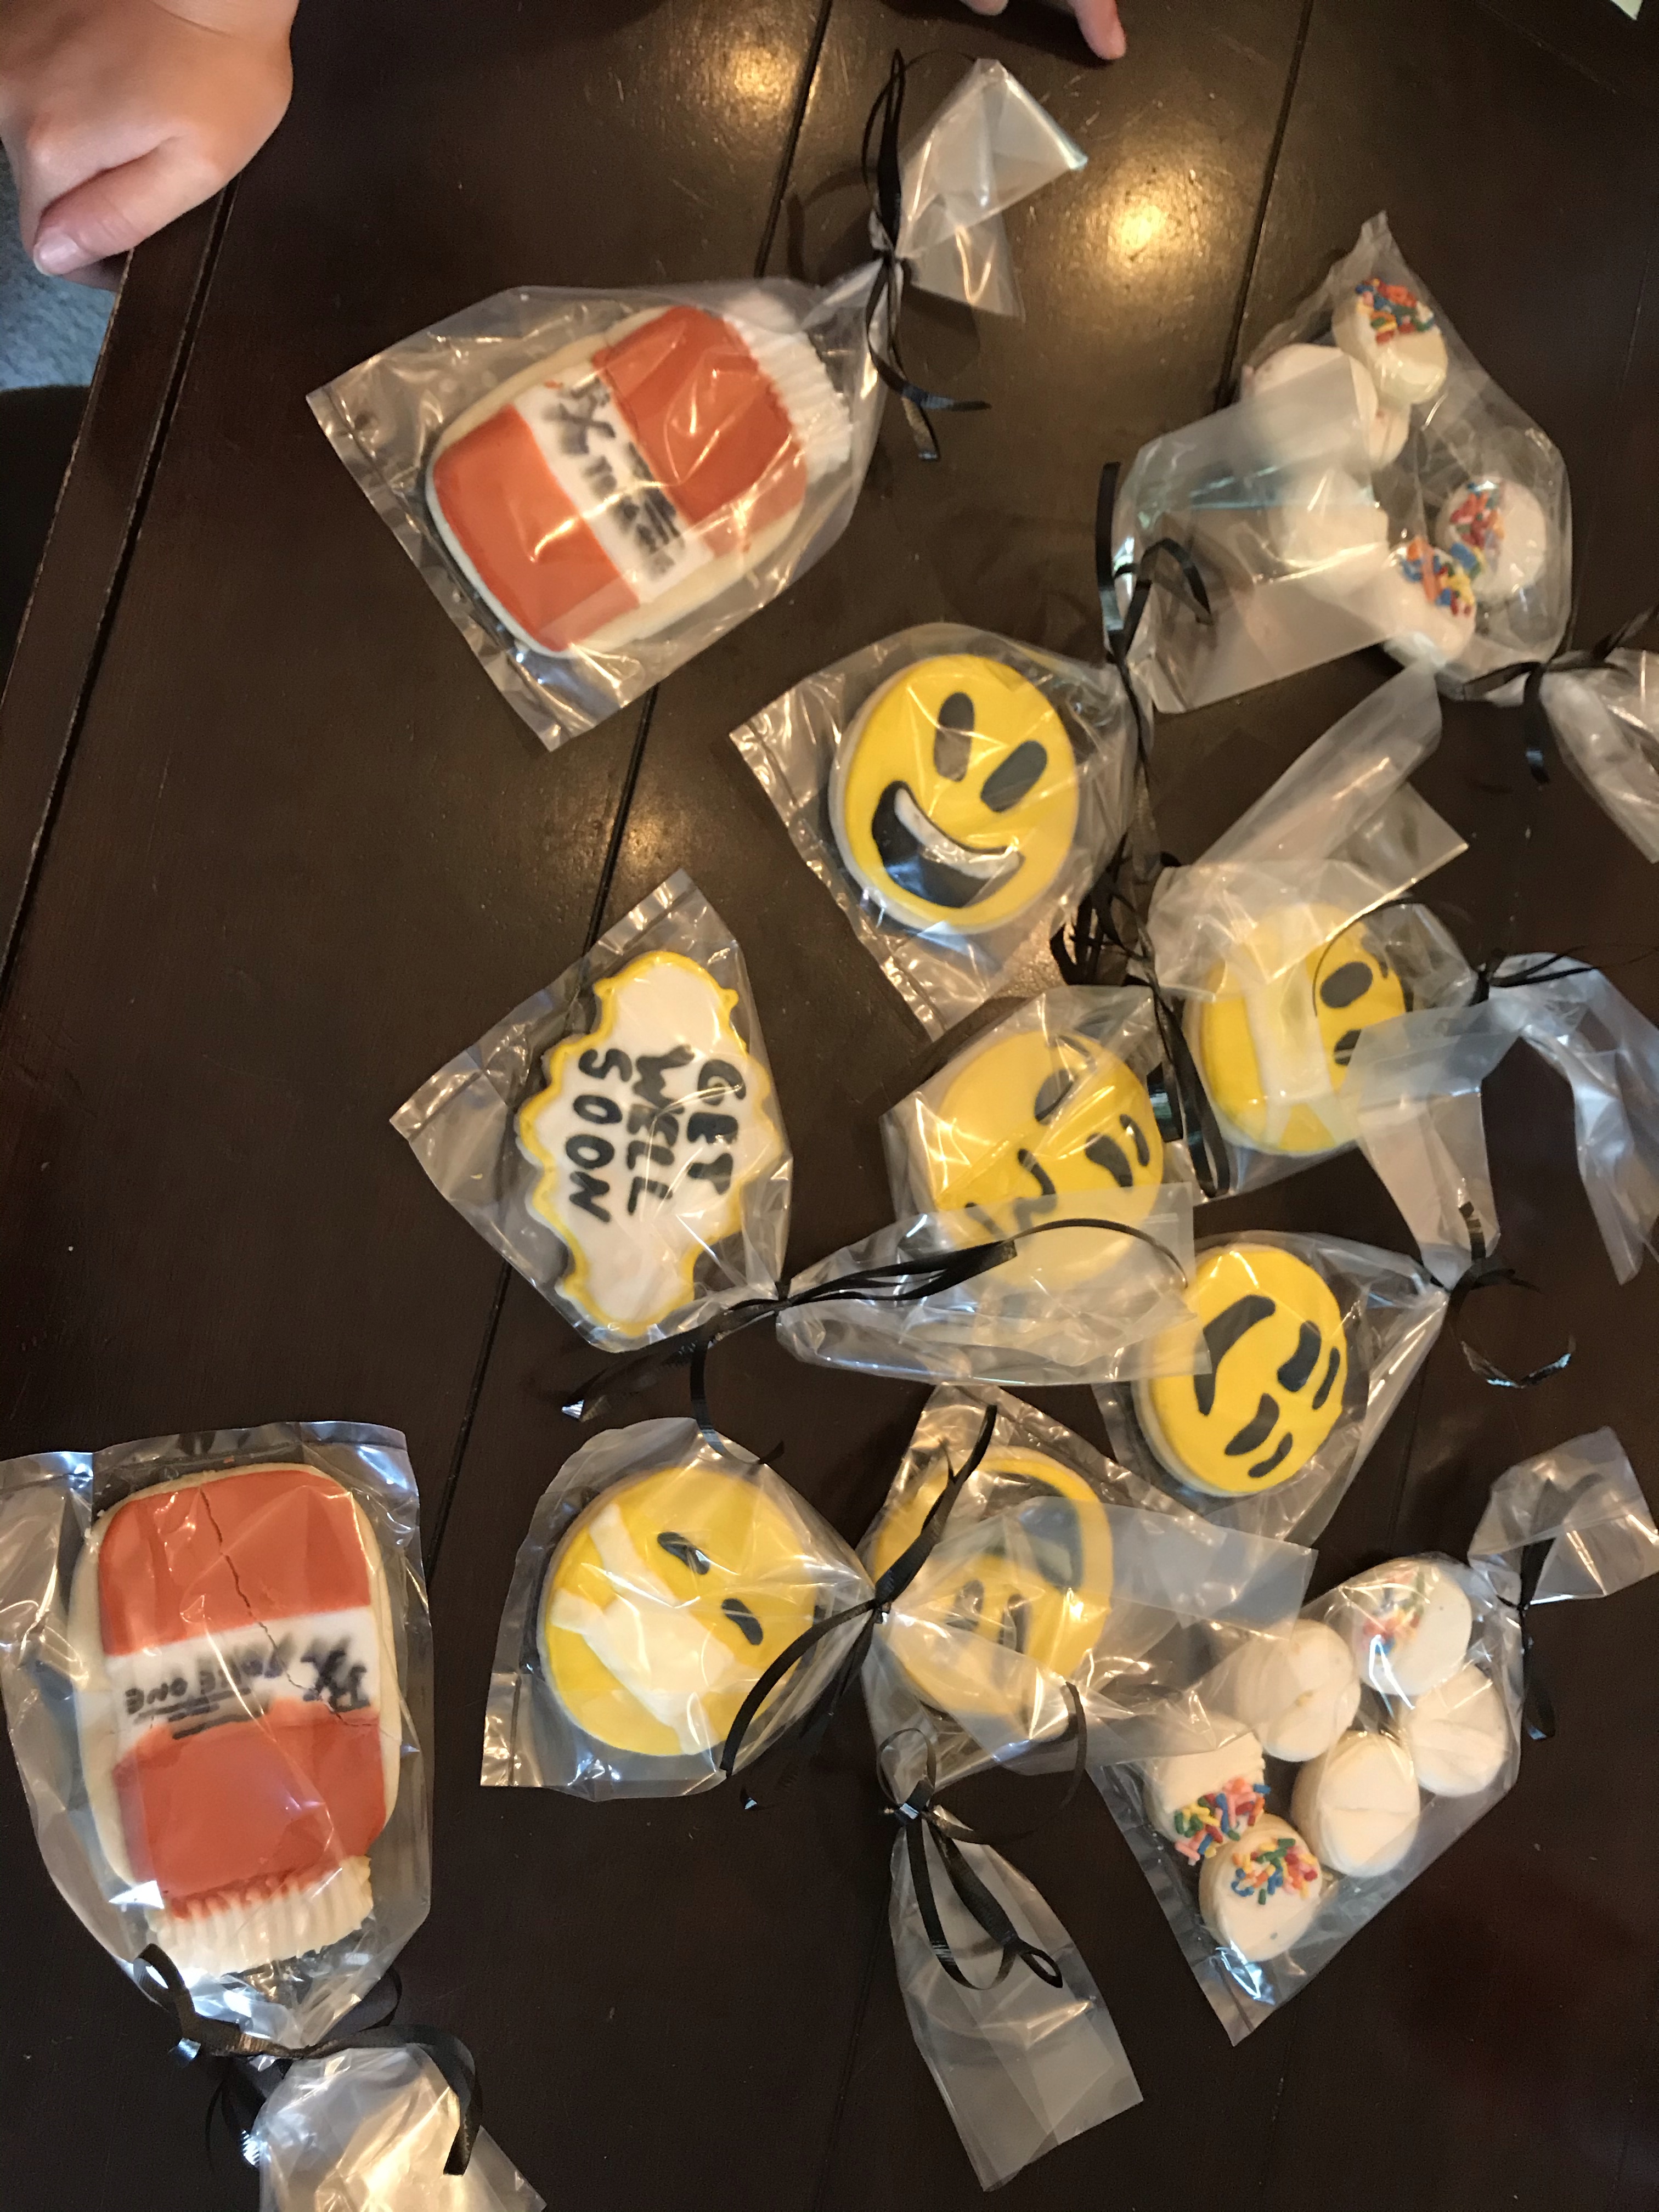
The week Brian Sr. came home from his brain surgery and we were blessed with so much help on the Camp Farm from mowing the yard to delicious dinners. Honestly, I haven’t had to think about dinner all week. It’s been glorious, and super helpful as I pick up Sr.’s activities. So. much. laundry. We are so thankful for the continued support. Check out these awesome cookies my friend and colleague, Kyle made and sent to us from Houston!
As for Sr., it’s been pretty rough with severe nausea and pain. Mornings are the worst for him and walking is still pretty taxing as his neck is regaining strength and balance is still off. He’s supposed to work up to walking 5 miles a day. The first day he could gather strength to get out side and walk, he only made it across the street and back. We have a long way to go but each day he makes it a little further down the neighborhood and this weekend, he was able to walk with out his walking stick.
Ella and Grace have been playing entrepreneur all week, with an “Amazon delivery” adventure and having lots of meetings. It’s quite the business of the future. I don’t even have to order the items, the just show up in bags with “invoices”. And they are things I love, like my favorite books or high heels from my closet. 🤣
Little Miss Grace has gotten quite good on a bike and earned herself a shiny new one! And Jr. finally earned enough to get his new bike–thanks to his cat sitting job and helping in the yard and garden.
The hens continue to grow and have proven themselves capable of being able to roam free in the back yard mostly un supervised… I guess this means they’re now free range!
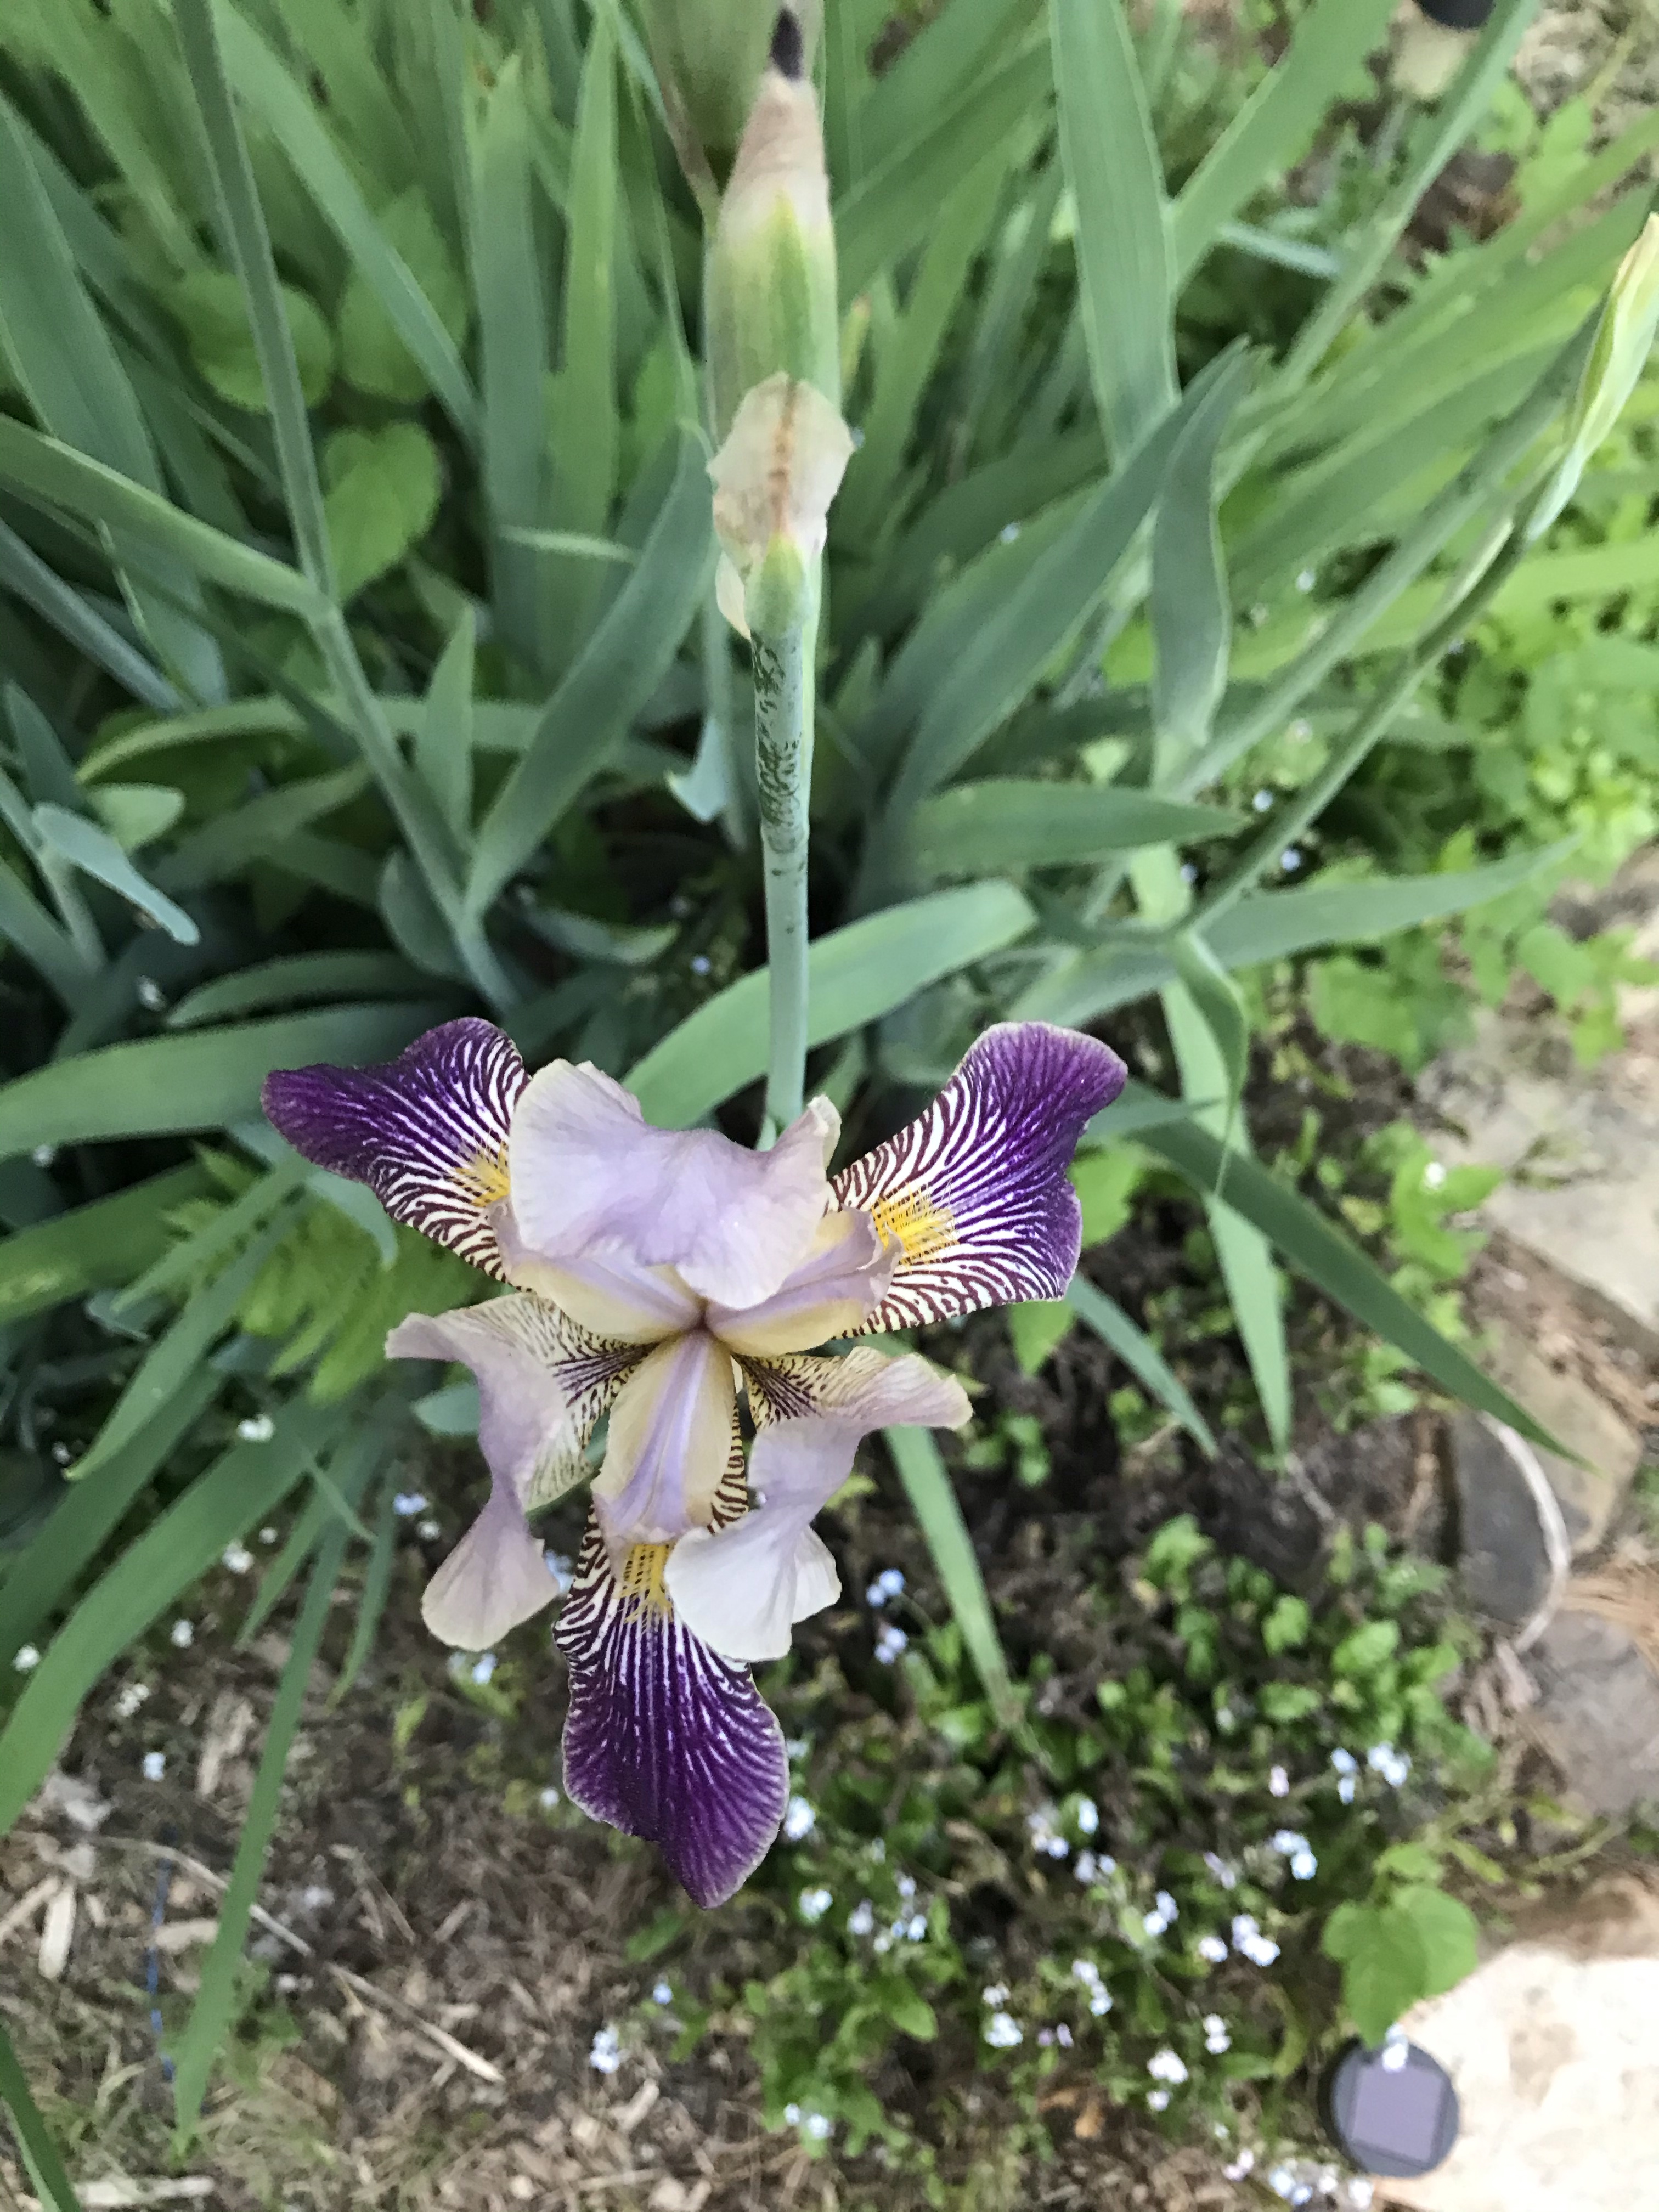
In the gardens, plants have been loving the sunshine this week. We’ve seen tons of growth in both the house gardens and big garden. My favorite peonies came into bloom and Ella and Grace helped me make a trellis for the peas and to support the green beans.
With all the extra sun, the soil in our growing rows was starting to dry out and crack. We hadn’t gotten around to adding mulch to the rows, or even deciding what kind of mulch we’d use, so I added grass clippings from our last mow. I’m hopeful this will be a good, free, solution.
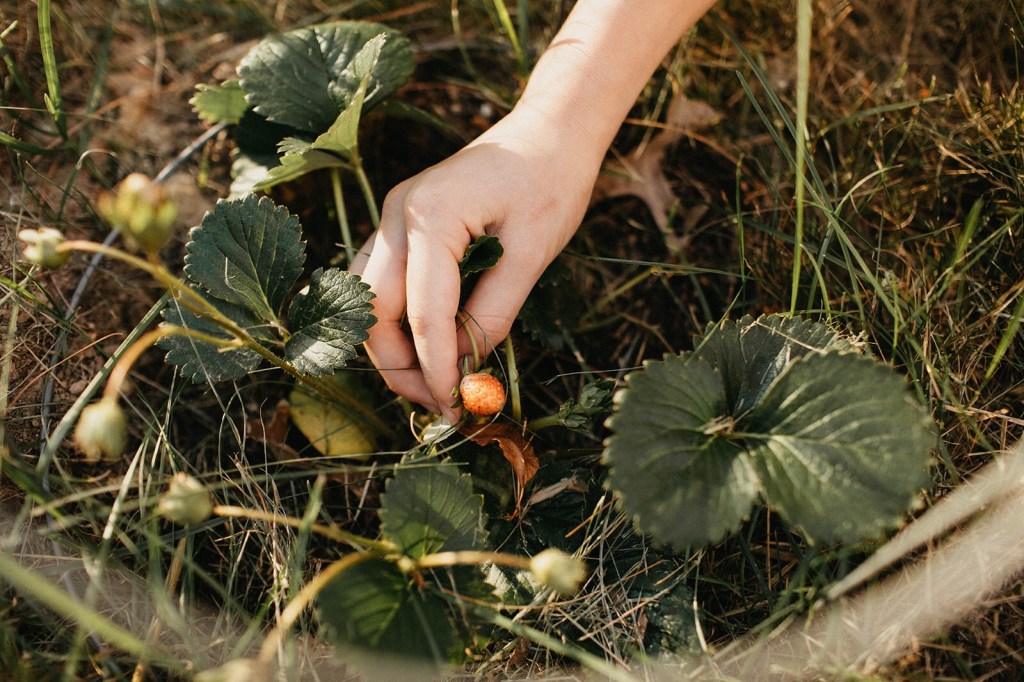
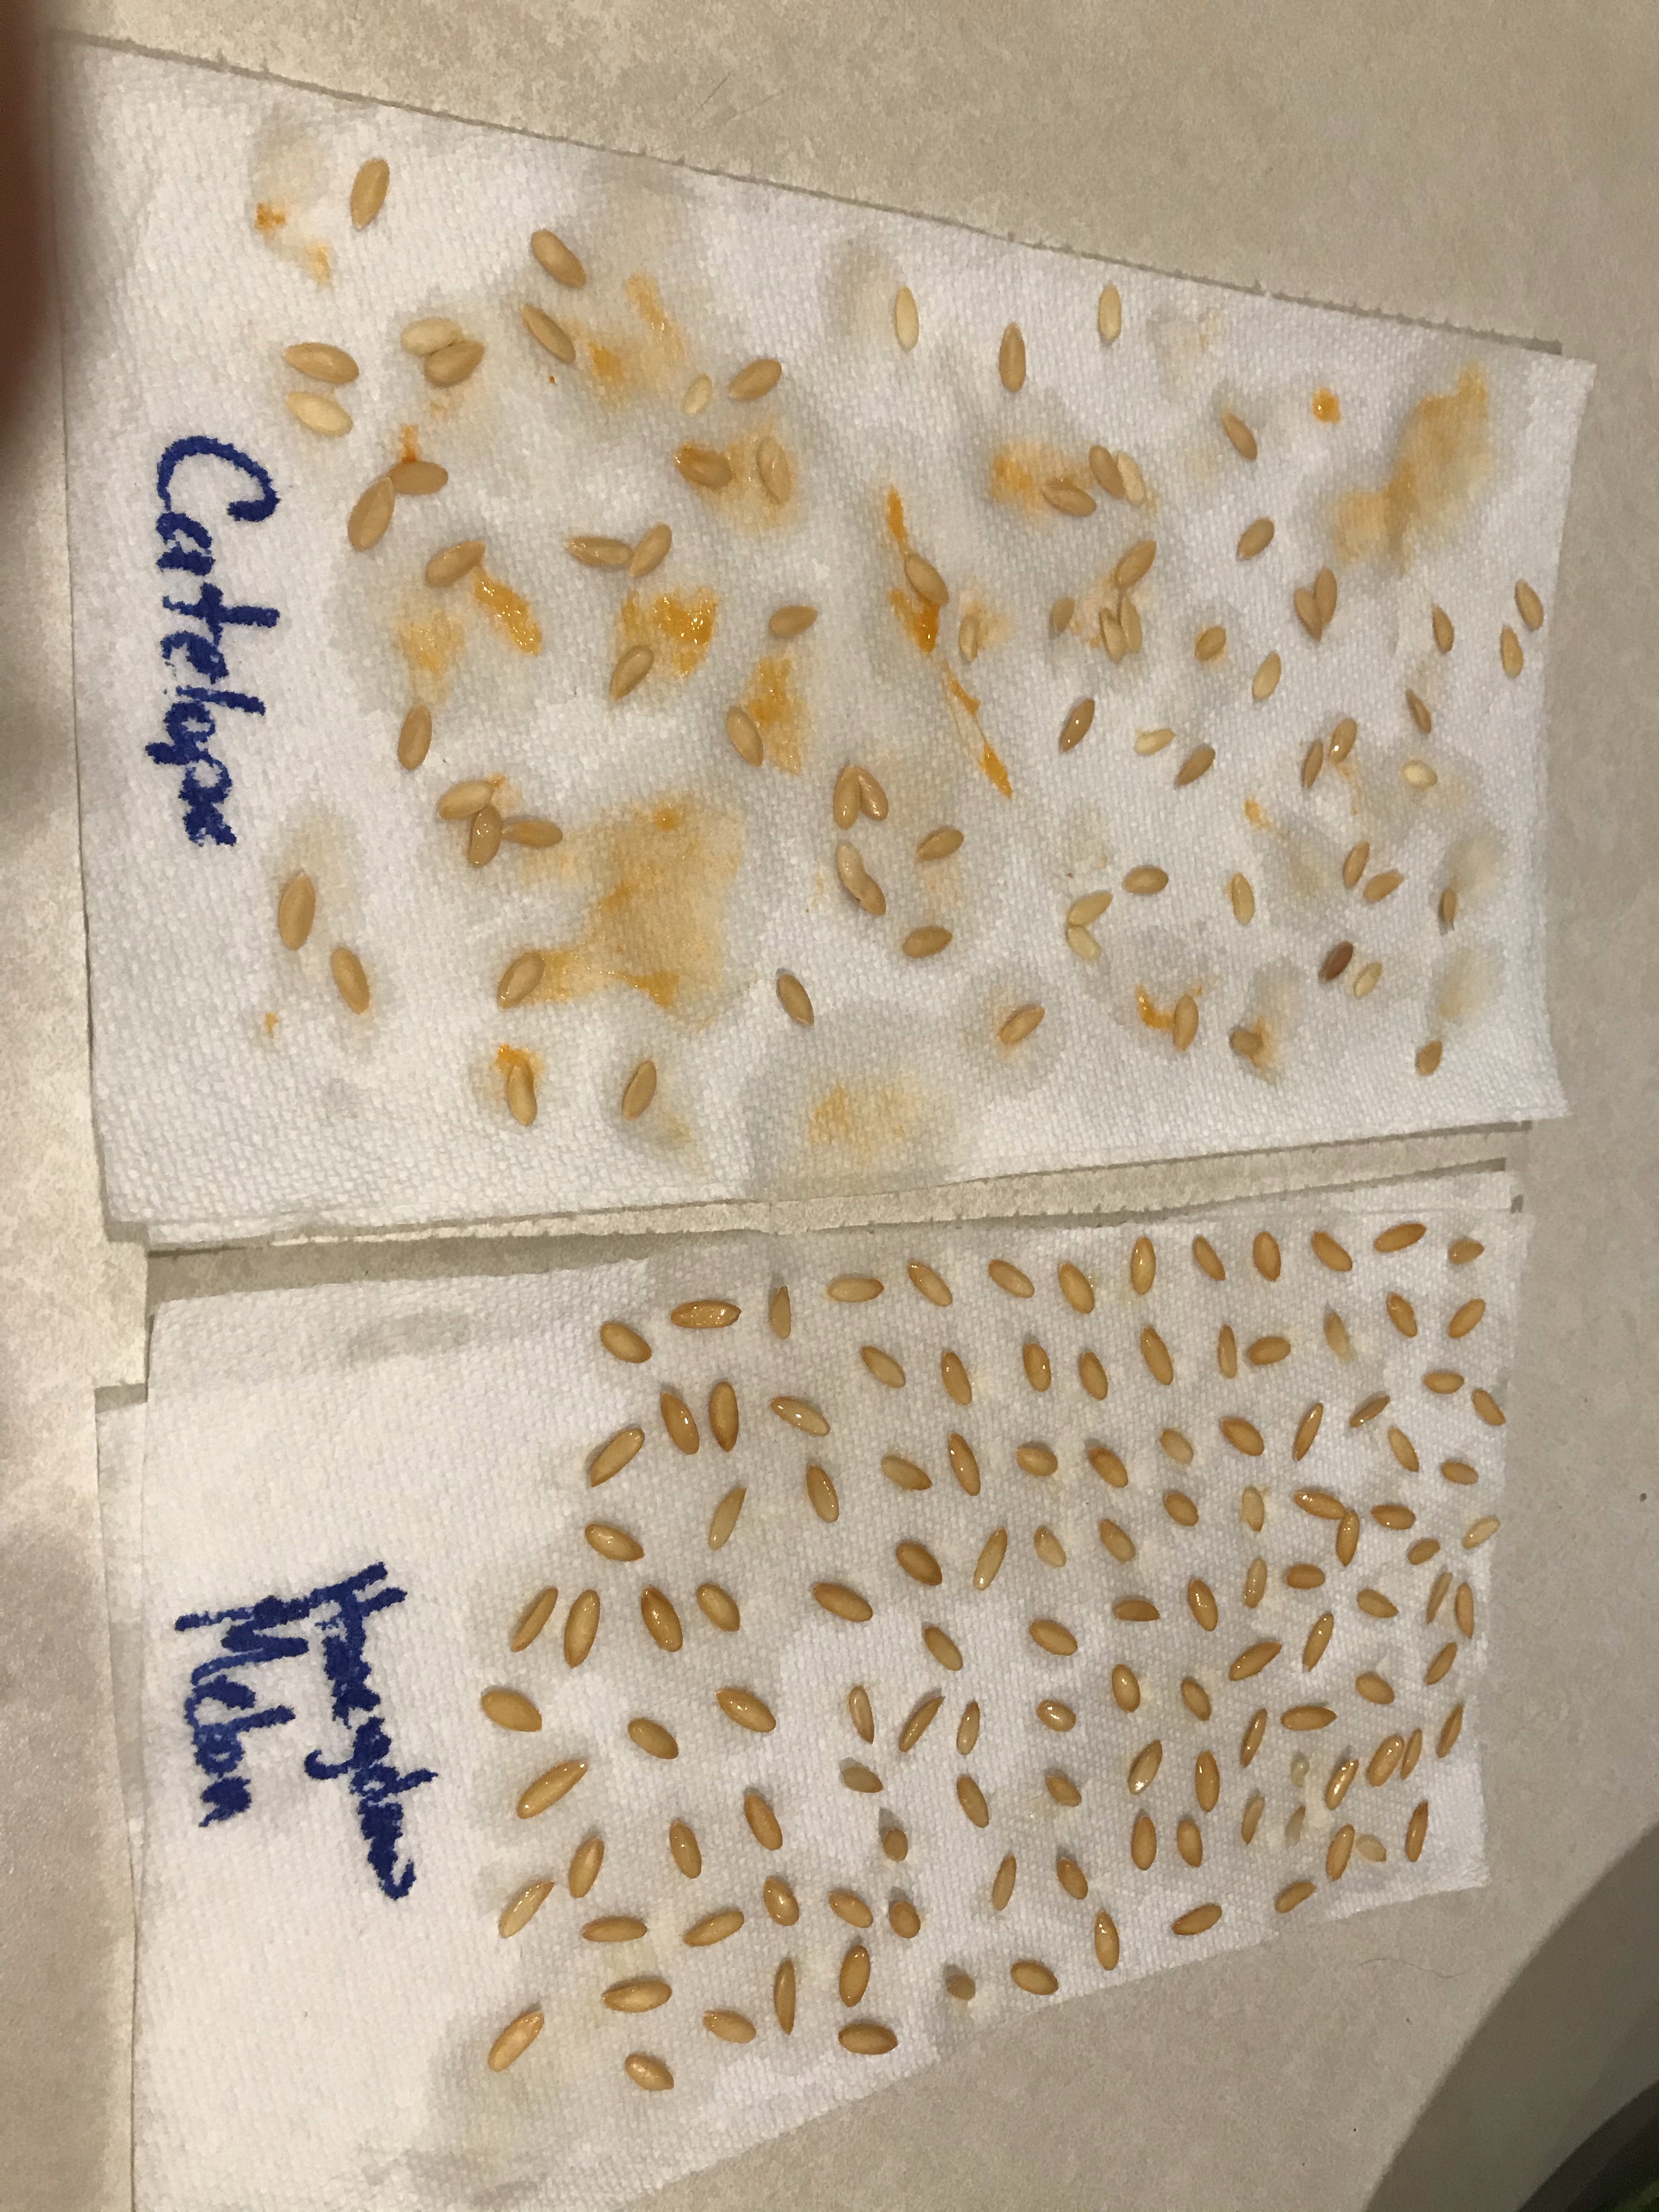
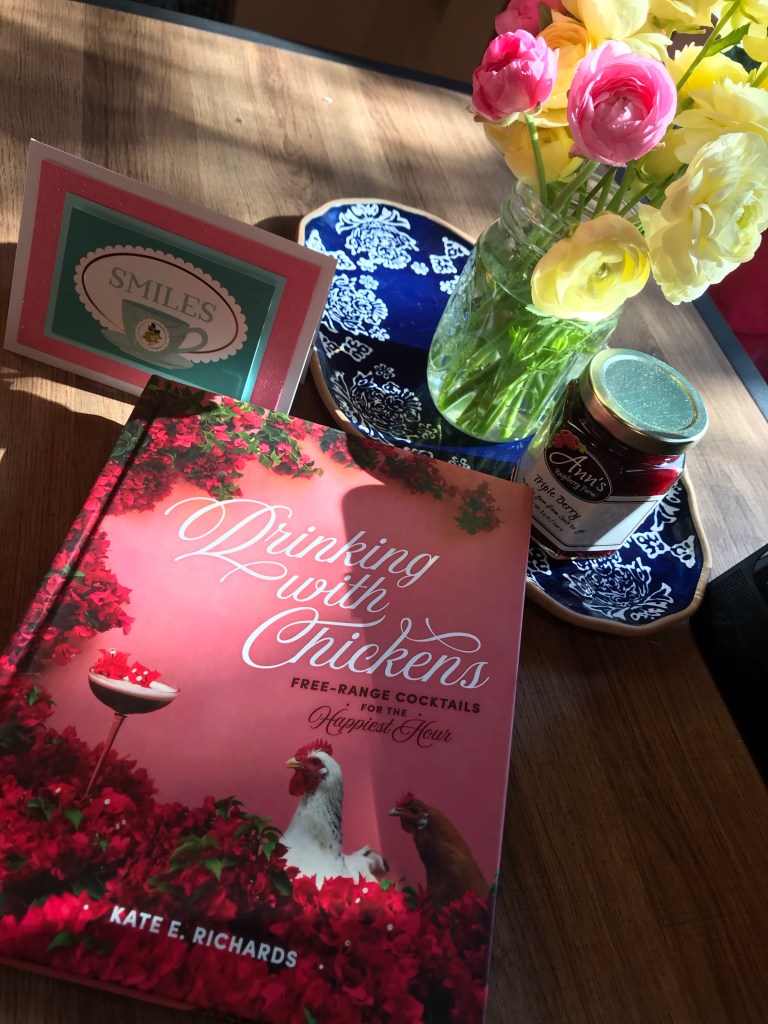
Grace found our first strawberry and the girls helped me pull seeds out of a few melons and cucumbers for later planting since our first round of them didn’t take after all the heavy rains a few weeks ago. My sweet friend, neighbor, and fellow gardener, Amiée, brought us a few of her extra cucumber plants as well as a few extra goodies! I mean, I couldn’t be more excited about this book, y’all!
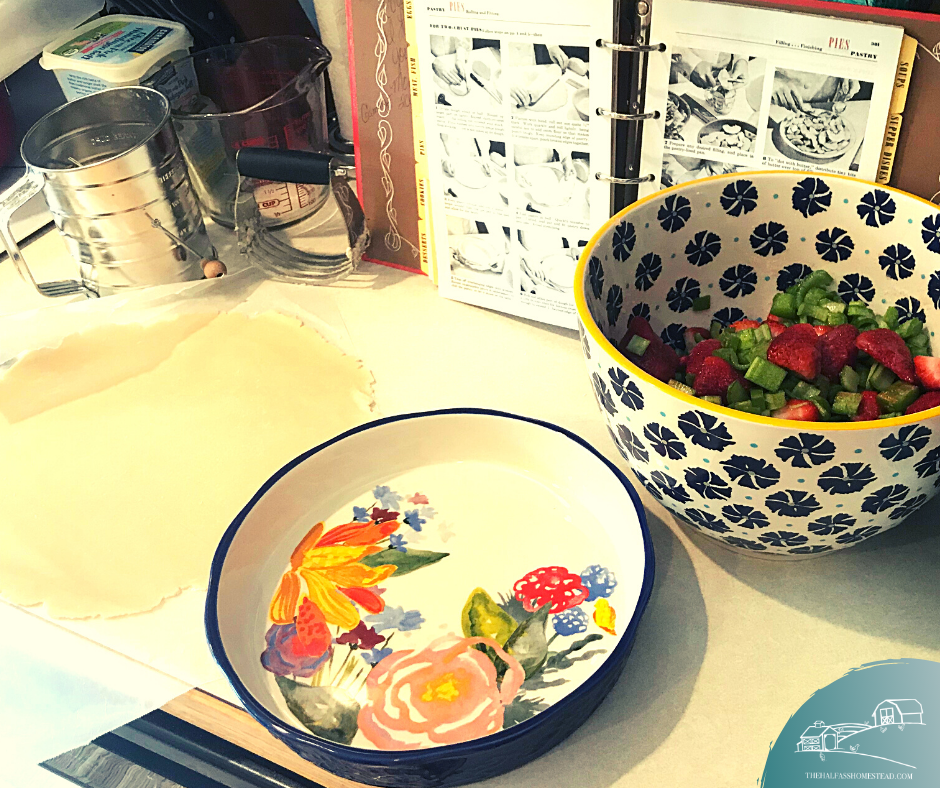
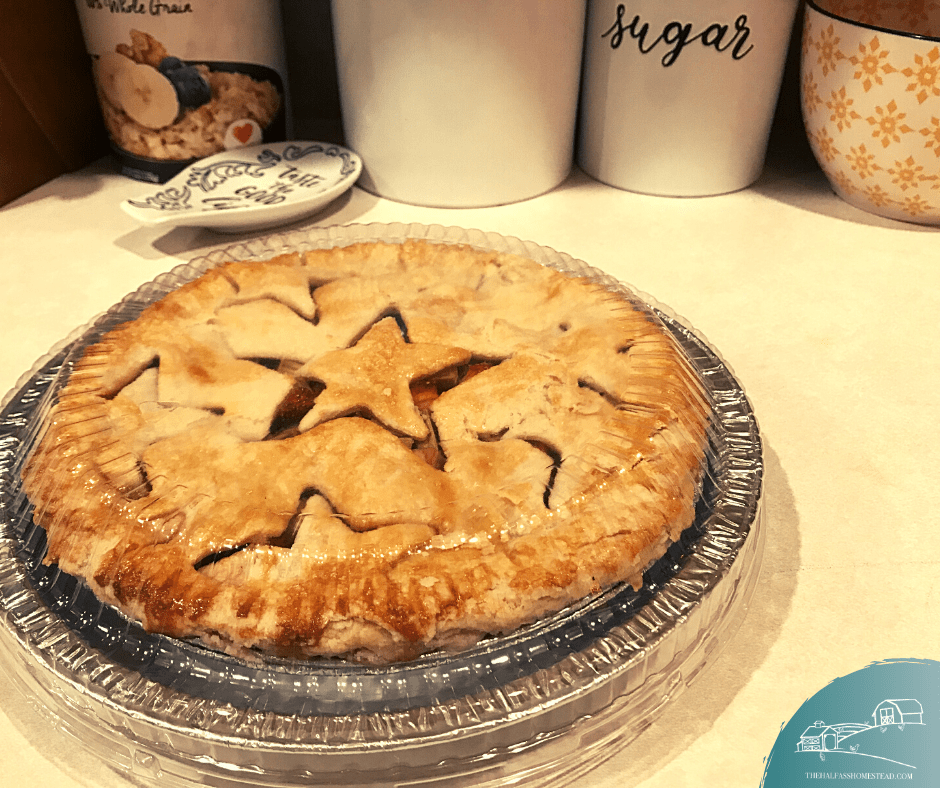
Last week the girls and I baked our first strawberry-rhubarb pies of the season. If you’ve been reading the blog from the start you know how much I love this pie. I’ve been perfecting my recipe since we moved here and I first discovered we had rhubarb growing in the house-gardens. This of course was the start of our “cooking show” videos. We shared the first video with you earlier this week on how to make my favorite pie crust. Before we jump to the video let me tell you how to make this pie… and why I make it the way I do.
The first time I made this pie, it came out all watery and soupy, a little too tart and not very pretty. I played around with strawberry to rhubarb ratios which made it a little sweeter and prettier–I have green rhubarb so it looks like strawberry-celery pie; more strawberries adds more color. However, I still had a messy, soup of a pie. The additional strawberries actually made this problem worse. I mean, call me crazy, but I think you should be able to use your pie spatula and not a spoon to serve your pie. My search continued.
Many recipes that addressed the soupy issue called for plain gelatin, something I’ve never carried min my pantry. Finally, last year I came across this recipe which called for corn starch (something I always have in my pantry) to battle the watery juices from the strawberries. This recipe also had two big differences to the previous recipes I tried–half the sugar is brown sugar and the use of orange juice.
The brown sugar adds a richer sweetness, due to the molasses, and actually retains moisture so it helps make a more dense pie filling. I actually prefer dark brown sugar over the light brown sugar the original recipe calls for and use the dark in my pies. I also add a little more vanilla for some more depth.
I also LOVE the citrus notes the orange juice adds to the pie. The orange pairs so nicely with the strawberries. I like it so much I incorporate more OJ in my own recipe. I’m also pretty picky when it comes to orange juice, I like Simply Orange’s High Pulp. It makes a difference, I promise!
2 1/2 to 3 cups chopped rhubarb (chopped in 1/2 inch or smaller pieces)
1/3 cup granulated sugar
1/3 cup dark brown sugar
1/4 cup cornstarch (use up to 1 Tbs more if needed)
2 Tbs orange juice
2 Tbs butter
A pinch of salt
Tools and Equipment
Large bowl
Spoon for stirring
Measuring cups and spoons
Knife
Pie dish
Basting or pastry brush
Cookie/baking sheet
Cooling rack
Instructions
Pre-heat oven to 400 degrees.
Prepare filling. In a large bowl, mix together strawberries, rhubarb, sugars, salt, orange juice, and corn starch.
Prepare pie dish. While the filling settles, roll out your crusts. (If you don’t have your crust made yet, no worries, the longer that filling mixture sits they more those flavors blend.) Place bottom crust in the dish.
Fill the pie. Give your filling mixture one more stir (add more corn starch if it’s really juicy, however, you’ll have some juice that you’ll leave in the bowl). Add a few pieces of butter on top o the filling.
Close the pie. Cover the filling with your top pie crust. Get creative with this! You can use cookie cutters to add a design, do a classic lattice, or fun edging. Take your beaten egg and brush it on the crust. Sprinkle with sugar.
Bake. Place the pie on the cookie sheet and bake the pie for 20 minutes. Then reduce the oven temperature to 350, keeping the pie in the oven, and continue to bake for 20-25 minutes.
Cool. Allow the pie to cool for 2-3 hours – place on a cooling rack to help it cool faster.
Enjoy! Our favorite ways to eat the pie warm with vanilla ice cream or cold for breakfast but there’s really no wrong way to do it!
Now for the video. I feel like I should add some context first. This video features several high-speed clips as the girls were kind of over the whole baking and recording thing after a one-hour intermission between the pie crust video and pie filling video to make more crust (I forgot we were making more than one pie so had to whip up a double batch of crust before moving to the filling). Therefore, the filling video took WAY longer than it should have (even with kids) but includes some silly song and dance action for your entertainment.