It’s light, it’s flaky, and it’s super simple!
Last week, we made the first pies of the spring/summer season.

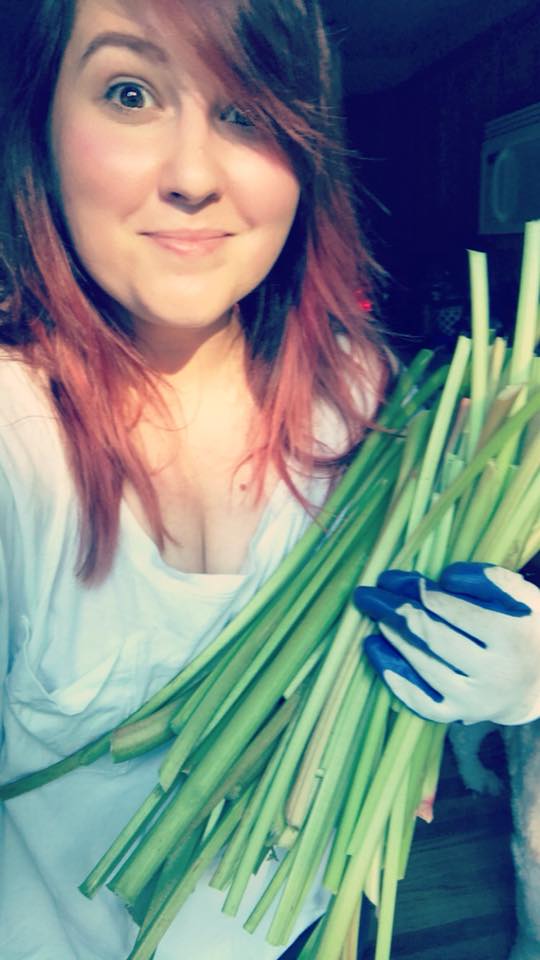
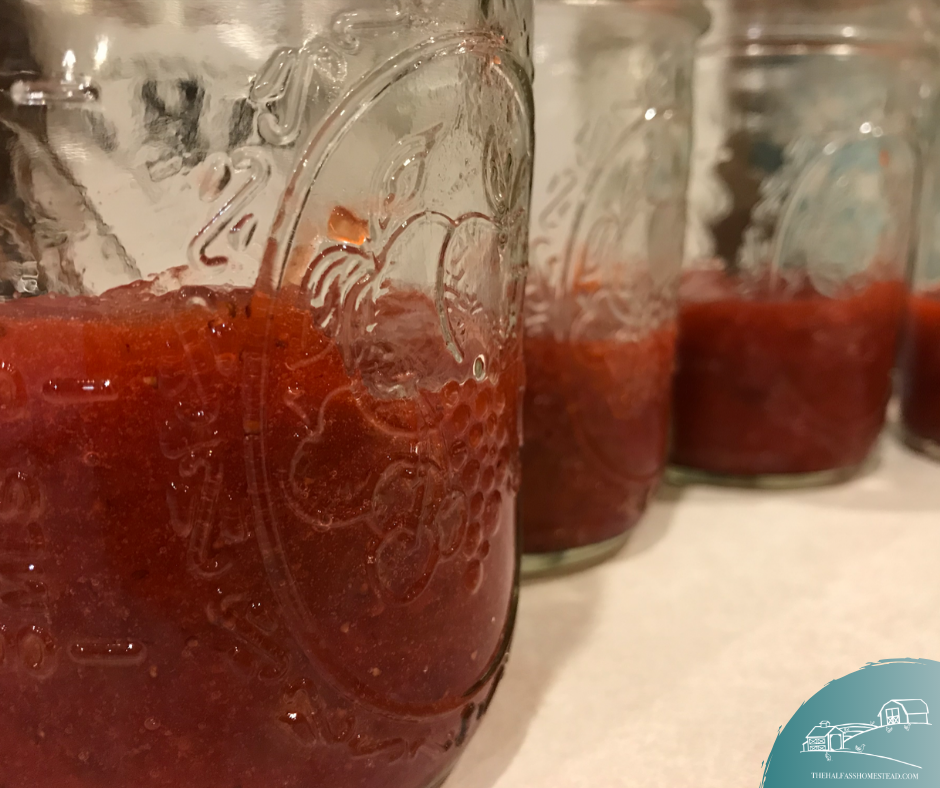
I love any season with pie, but summer fruit and berry pies are some of my favorites. Strawberry-Rhubarb pie is at the TOP of the list.
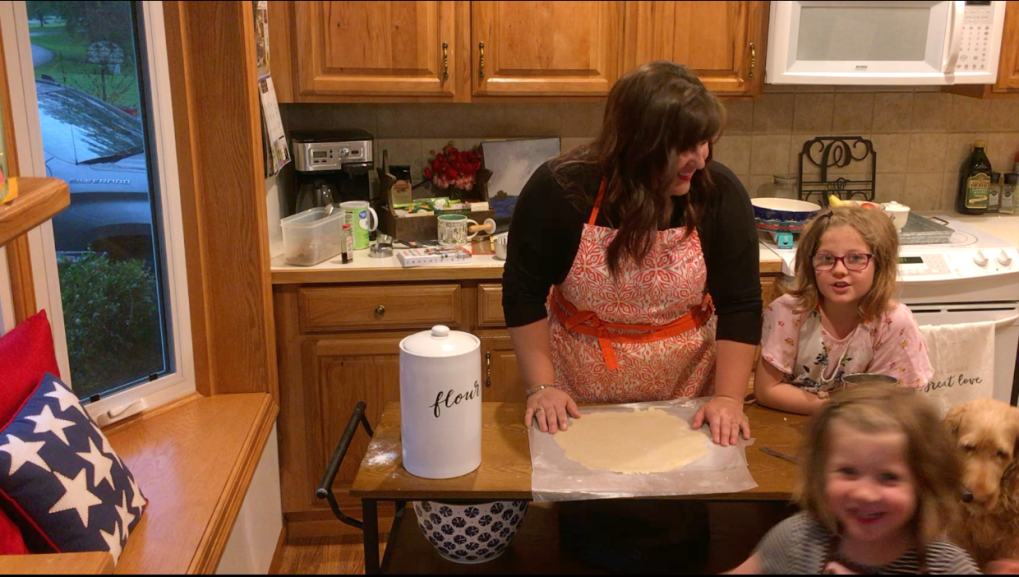
When we started this blog and I told the girls we could share recipes on it, they instantly went to wanting to make cooking videos. When I agreed to this, I assumed they meant the hand cooking videos that are so popular with Pinterest and social media these days.
But, of course not, they wanted a full on cooking SHOW type of video. Cue visions of me bringing out my inner Julia Child!
So, I bought myself a great little island for Mother’s Day (I’d been wanting one a few years now anyway) and set up the camera equipment…. on a Monday…. after me working and the kids learning from home ALL day…. not my best idea.
Despite being extra tired, and saying things wrong, like 3/4 cup instead of 1/3 cup (I was tired), it turned out pretty cute (the girls make that part easy). Long, but cute. I’ve posted the video below but let me give you the recipe first.
Cory’s Favorite Flaky Pie Crust
This recipe makes enough crust for one pie with crust on the top and bottom or two pies with crust on the bottom only.
Ingredients
- 2 Cups flour, sifted
- 2/3 Cup PLUS 2 Tbs shortening, chilled if you’ve got your shit together but don’t sweat it if you forget
- 1 tsp salt
- 6-8 Tbs cold water
- 1 egg
Cooking tools and equipment
- 1 medium bowl for mixing
- Measuring cups and spoons
- 1-2 pie dishes (one if you are using crust on the top and bottom of the pie.)
- Flour sifter
- Pastry cutter (aka pastry blender) or a fork works too
- Fork
- Rolling pin
- Wax paper or a rolling mat (optional)
Preparation
Start by sifting your flour into your bowl. Add salt and mix gently. Measure out half of the required shortening and use the pastry blender to cut it into the flour mixture until you have pea-size clumps. Next, cut the remaining shortening to the dough until it resembles cornmeal. Once the shortening is fully incorporated, add cold water one tablespoon at a time and stir. You’ll add cold water until the dough is moist.
Once the dough is ready, use your hands to grab the dough from the bowl and roll into two flattened rounds. This is where Betty Crocker would say to chill the dough… I say press on my friends!
On a piece of wax paper, or a rolling mat, rollout your dough to to correct size (about one inch wider than your pie dish). Transfer to your pie dish, fill and bake according to your pie recipe. You can also transfer it to a flat surface and place in the fridge if you don’t have your filling prepared. You can also leave it on the wax paper, roll loosely, and place in the freezer if you’re wanting to have some crust ready for a rainy day.
You’ll use the egg once you’ve got your pie ready for the oven. Just mix up the egg with a fork then brush it on top of the crust and sprinkle with sugar to give it a nice brown finish.
If any of this is unclear, it’s probably because I am not a food blogger and never follow any recipe to a T. You can check out this article for a similar, more official recipe.
And now, for the video: