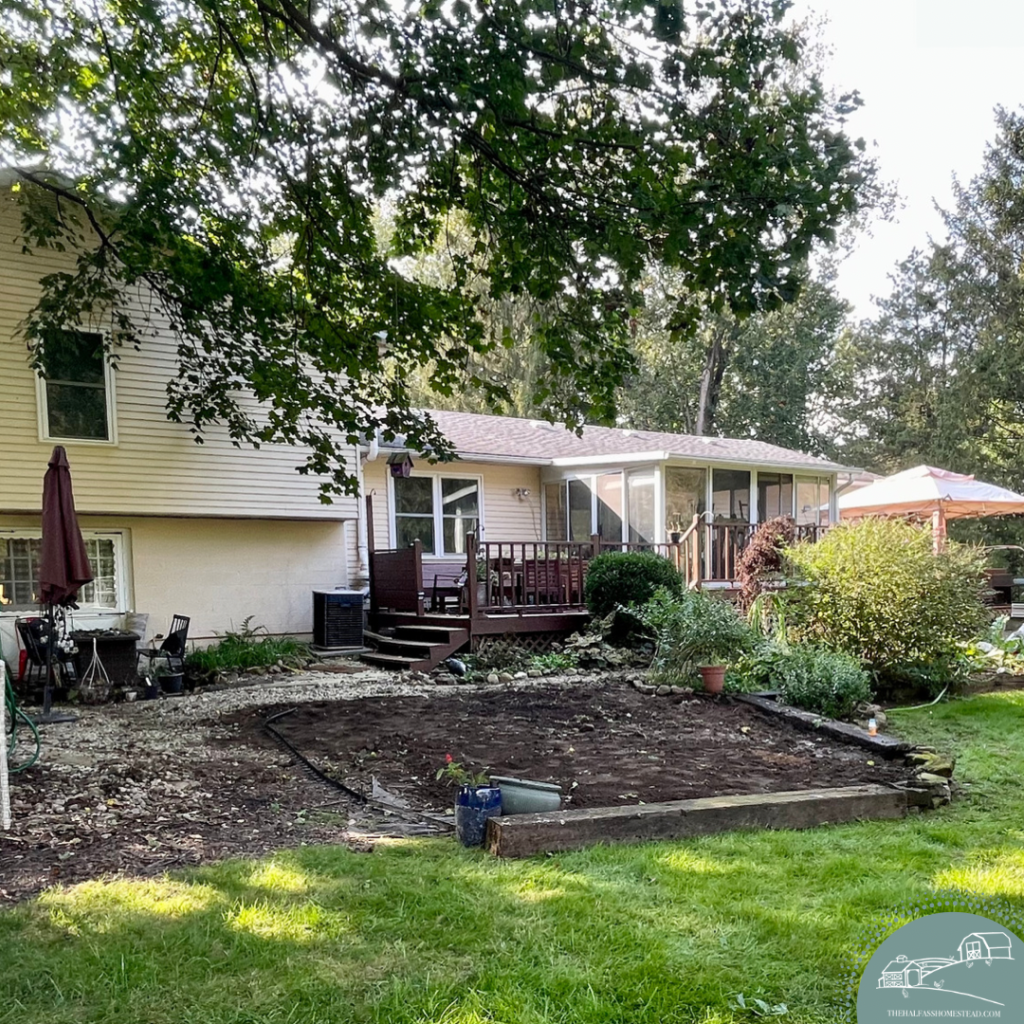

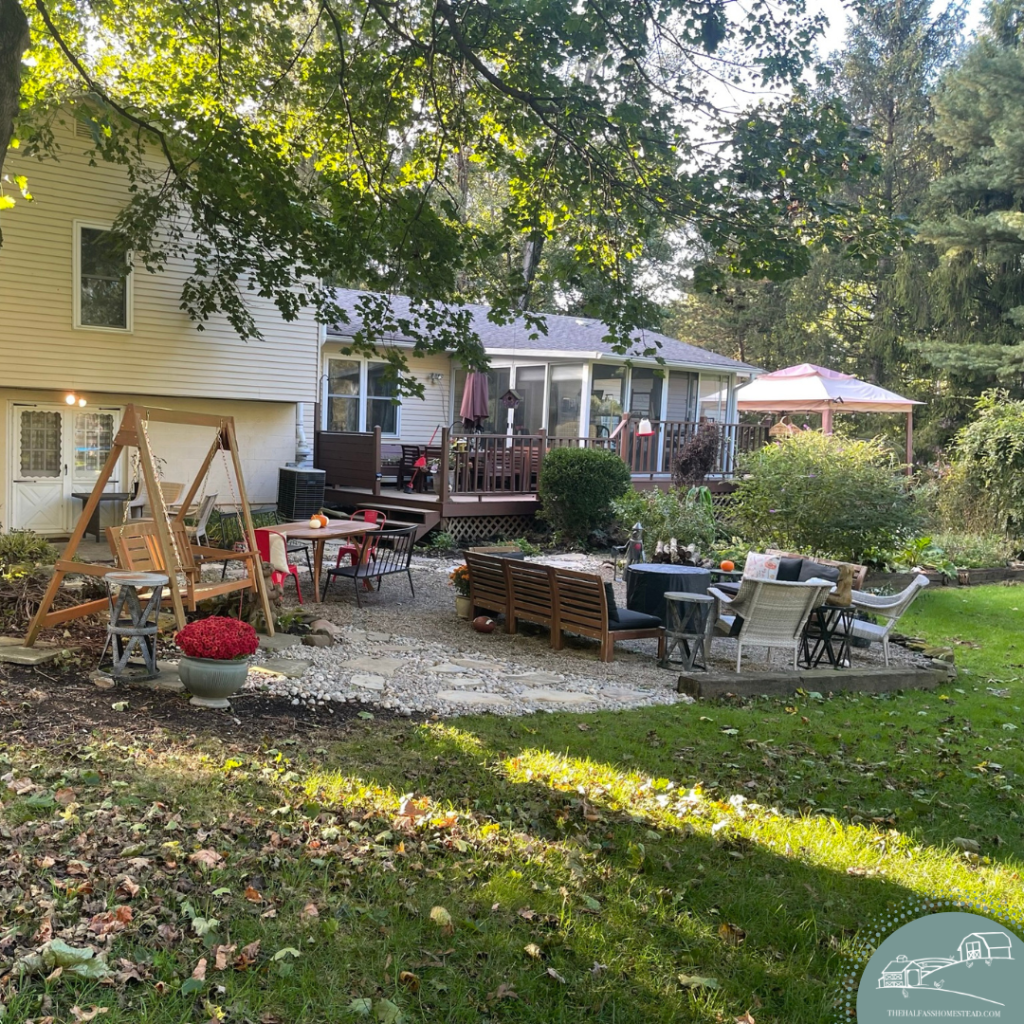
Last week, fall finally showed its beautiful temps here in central Ohio and I decided to make the most of it. Thursday afternoon I spent a few hours unloading pea gravel between meetings (since it was cool and breezy enough to do so without breaking much of a sweat). On Friday two of my calls were canceled so I took the day off to finish the job. One more day, another yard of pea gravel, 12 bags of cobblestone, 2 bunny statues, and 583 pounds of stepping stone later, and I have a beautiful, still not finished but fully functional backyard space right off the deck and living room patio.
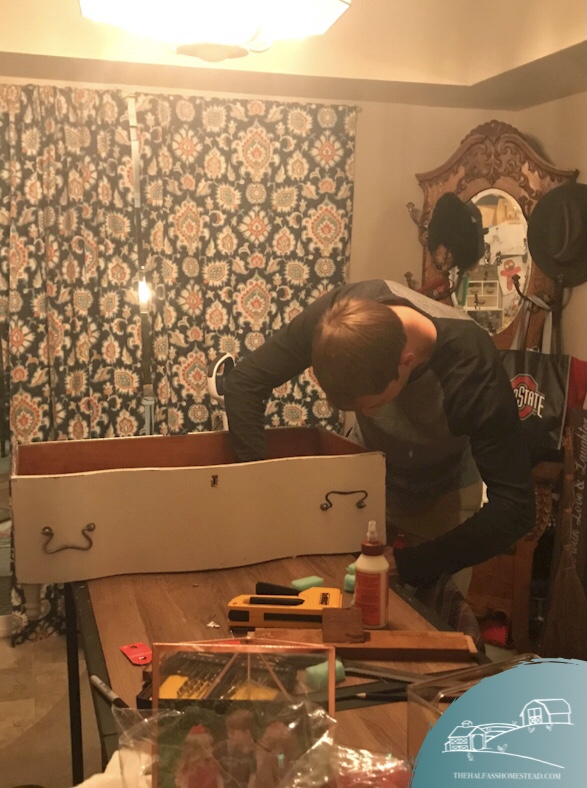
I wasted no time, even pumping while I shoveled and raked. Bladen played in his outdoor high chair while I worked and my brother Josh made sure the floodlights stayed on for me and even helped me put my new table together that had been sitting in the garage since April.
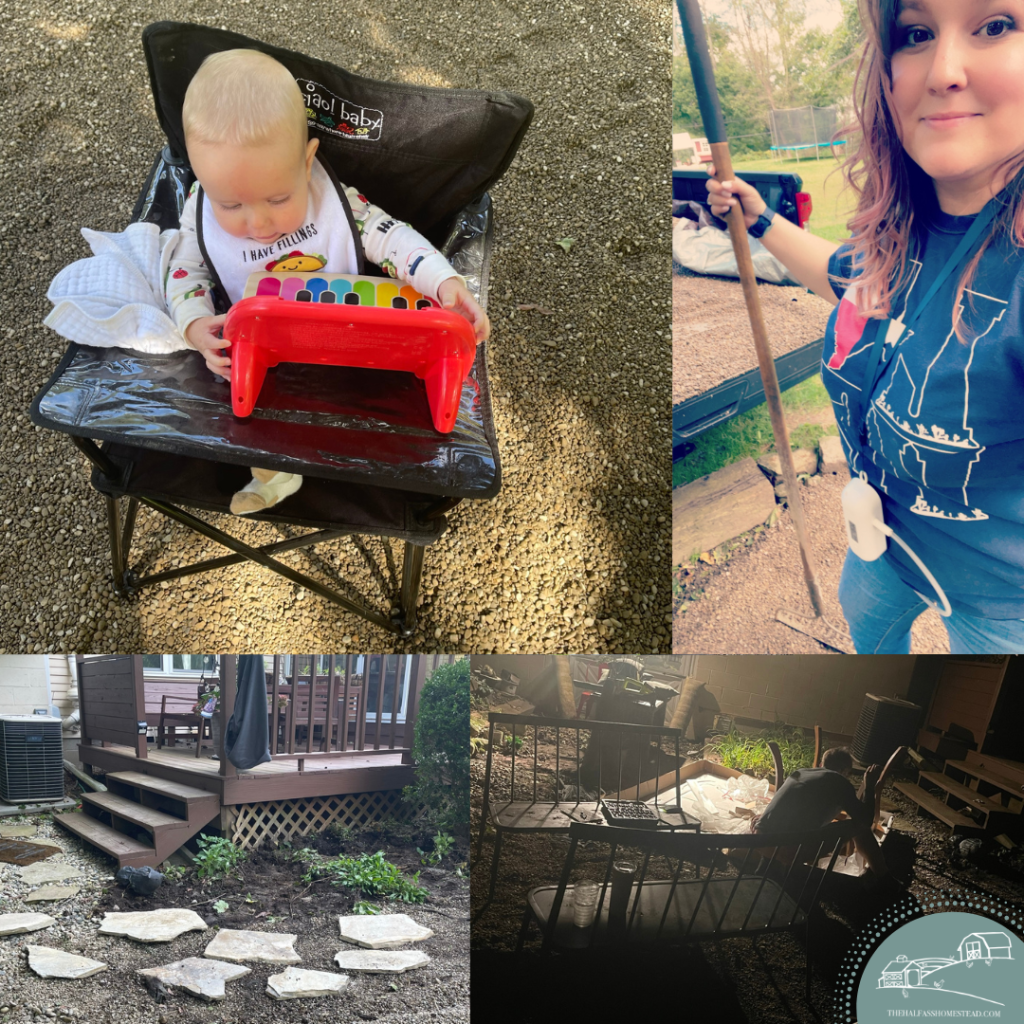
One more day, another yard of pea gravel, 12 bags of cobblestone, 2 bunny statues, and 583 pounds of stepping stone later, and I have a beautiful, still not finished but fully functional backyard space right off the deck and living room patio.
I present to you my new favorite spot in the backyard. I placed every 👏 single 👏 rock 👏 and 👏 stone 👏 here 👏 !


With only a few alterations to my original vision (see it here) and a few more final touches needed, I couldn’t ‘t love it more. Here’s why:
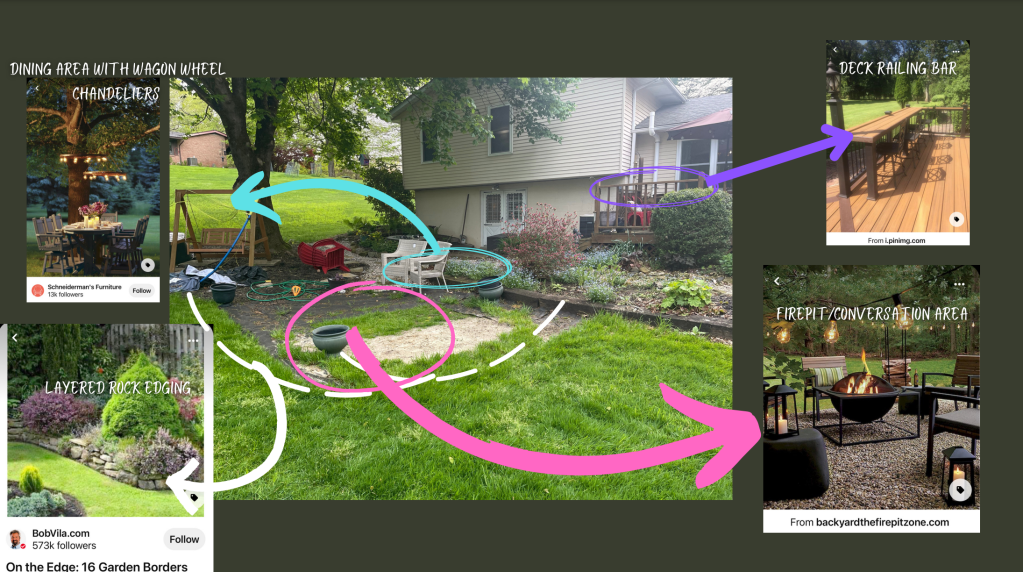
- Flow & Connection. The space flows nicely from the existing garden beds and walkways. I extended the stepping stone and cobblestone pathway from the soon-to-be wrap-around corner stairs off the deck to the concrete (soon-to-be covered) patio off the living room, to the pathway around the tree trunk, and out to the yard. This created continuity and a visual flow from one space to another, as well as a separation between the walkways and the outdoor “room”. On the deck overlooking this space is another outdoor dining table; I shared in my original post that this felt disconnected from the other side of the deck where the main outdoor eating space was. Now that I’ve got a table under the tree, our larger gatherings will stay connected–allowing people to see and talk to each other.

Easy, smokeless heat. Originally I planned on getting a bowl-shaped fire pit for the space but hadn’t purchased one yet and the kids were so excited to have a fire in the new space so I moved the old fire ring to the new space. But Sr. had other plans. He wasn’t a fan of a wood-burning fire under our beautiful tree. Plus we’ve (I) got an awful track record of wanting to have a fire right after a rain–when all our wood is wet. So he surprised me with a great little propane fire table. I love it! I can have fire any time I want AND we don’t all need to go wash off the smell of smoke when we come in.
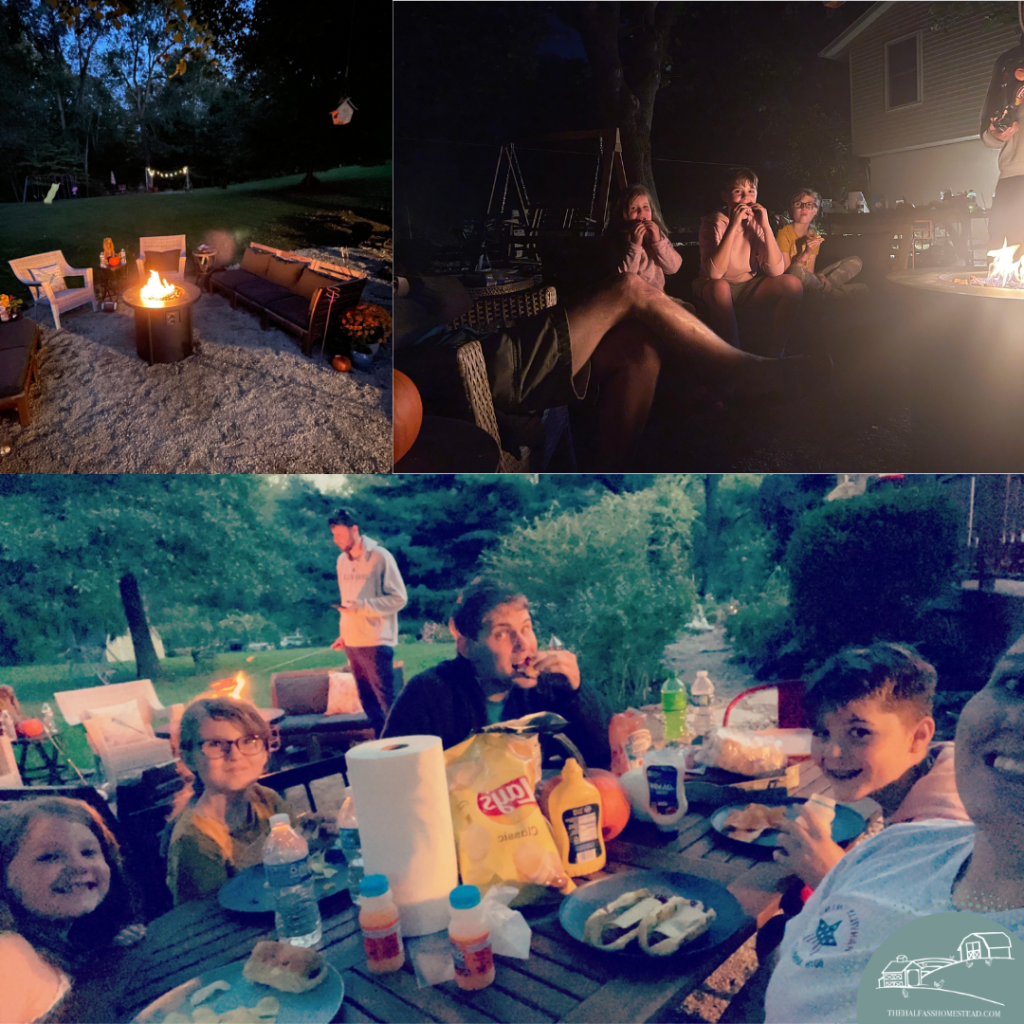
Room with a view. I think this is actually one of Sr.’s highlights–the t.v. in the living room is visible through the doors. We watched the Buckeye’s game the first night out there. The only thing missing was sound. Luckily, Jr. found out that our t.v. sound can hook up to Bluetooth so problem solved! Eventually, we’ll replace these doors and I think this idea will influence our decision on the design of those doors.
Shade. Not that this will matter the rest of this year with fall, and soon winter, but this tree provides the BEST shade and cool temps on hot, sunny days. Seriously, it feels 10-20 degrees cooler in the shade of that tree. The canopy is also mesmerizing to look up at as you relax with a nice beverage in the sitting area.
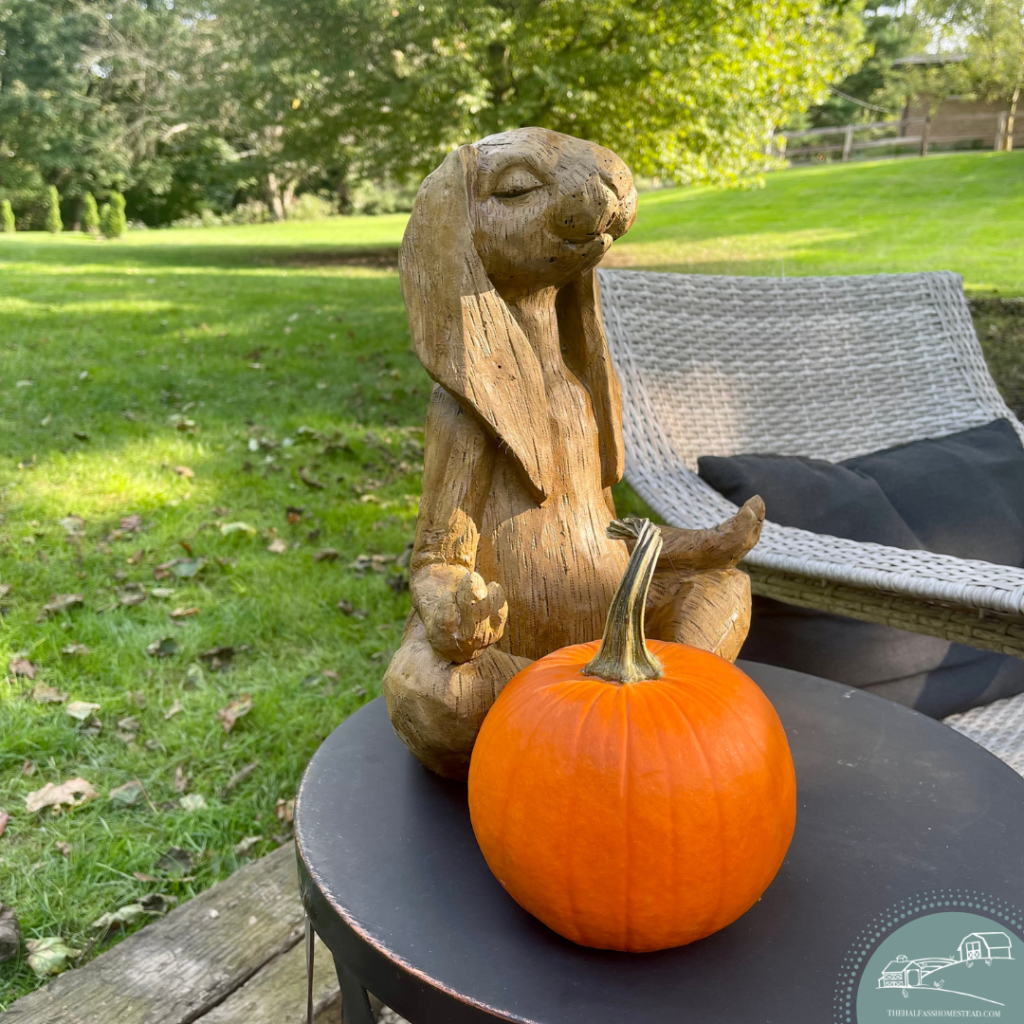
Bunnies. During my many trips to the outdoor and garden store for soil gravel and stone last week I fell in love with these two bunny statues. Of course, after just picking up a rooster statue for the new coop, my co-workers think I have a slight problem. They told me one more statue and they’re staging an intervention. 🤣 But you can’t tell me these bunnies don’t fit in the space perfectly.

So, what’s left? (Here is where you can help!)
Stairs
My brother Josh, who has been staying with us for a few months and helped me excavate the area this spring, had the idea to create more flow with stairs that wrap around the corner of the deck. He’s actually suggested many ways for us to open the deck up more since he started staying with us–I think the fact that when you come out of the sunroom, you have to go either right or left to get off the deck drives him nuts. Anyway, this is the first of his ideas that I’ve liked, and felt it was a manageable change. Of course, it means that the deck railing bar I envisioned won’t work since this is the rail where I would have put that, but I think it really would make a statement.
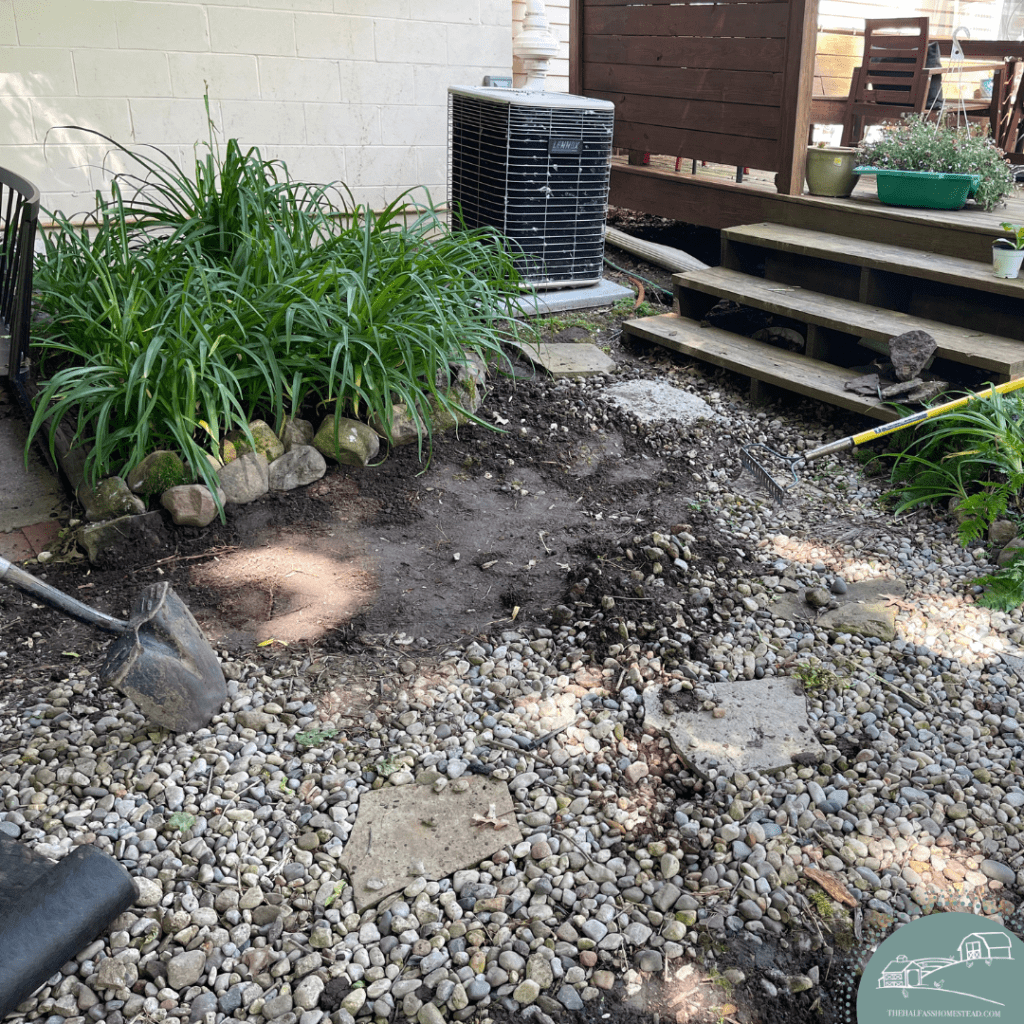
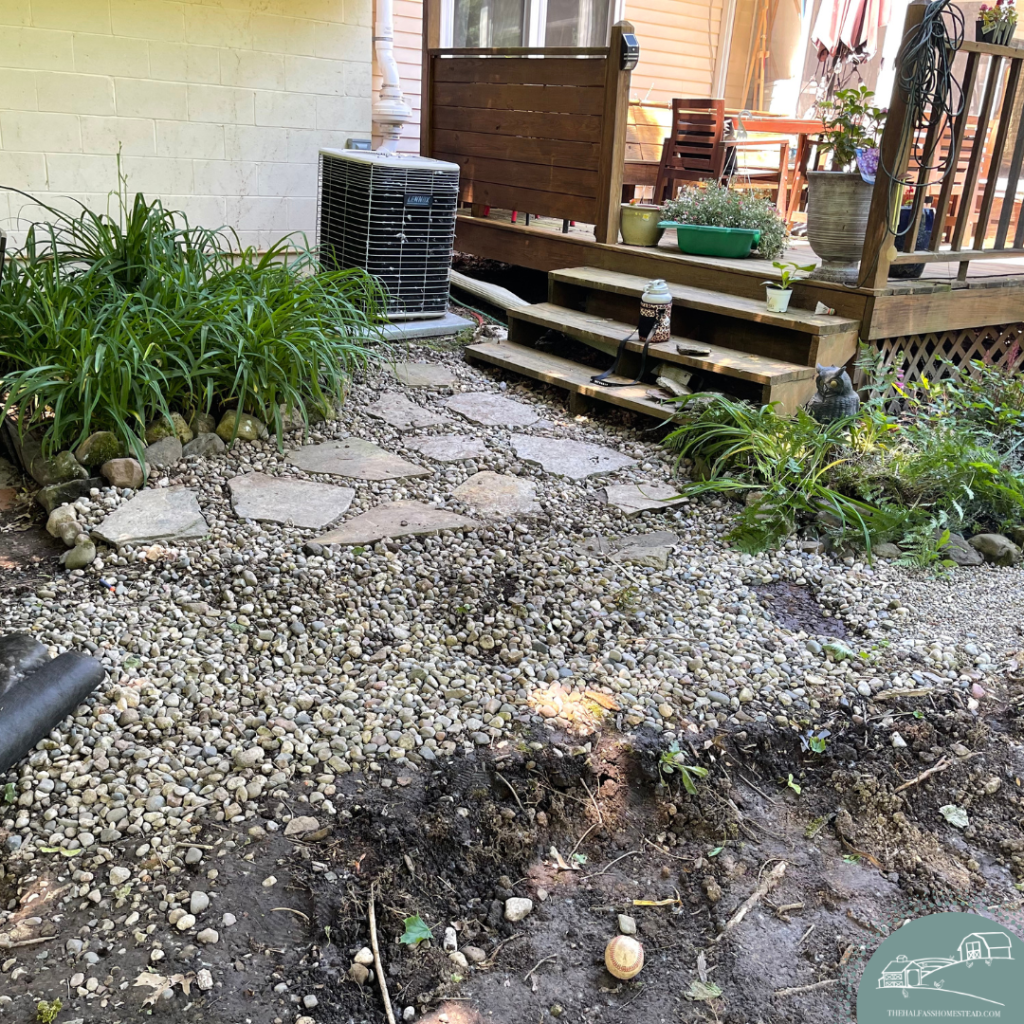
So, while I was tossing stepping stones and cobblestone around, I went ahead and placed them as if the stairs were there to match the stepping stone landing of the existing stairs. I also dug up the part of the garden bed where the steps would go. This actually worked out GREAT because I relocated the soil and plants to the small retaining wall I built up around the trunk of the tree.
Patio
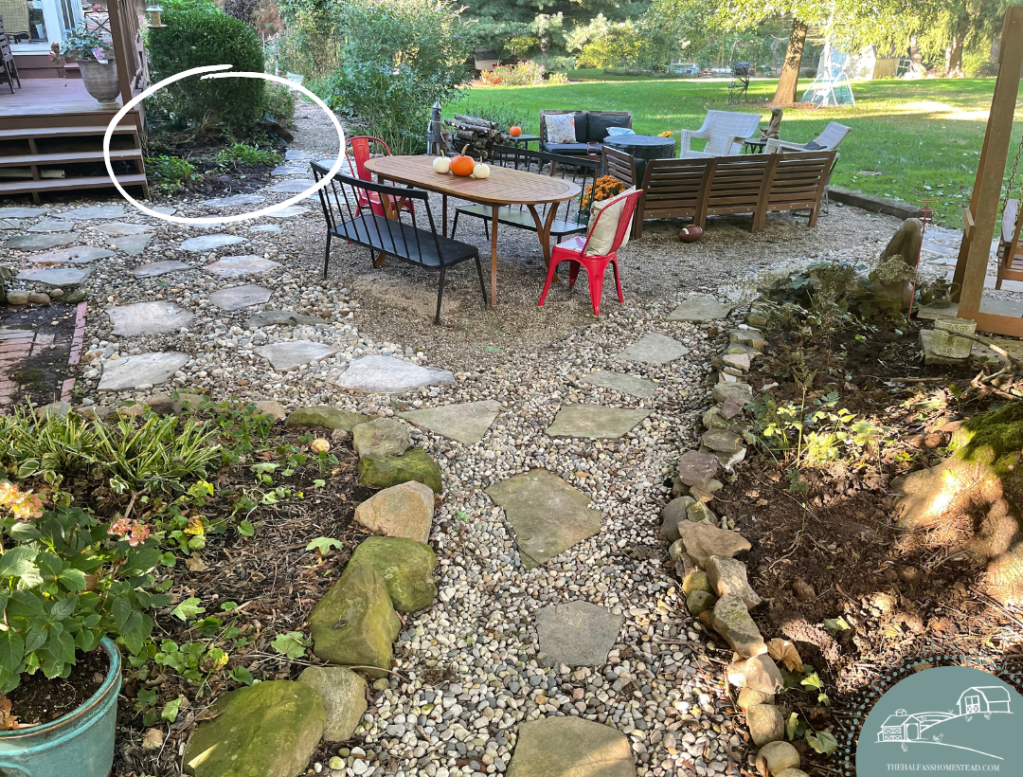
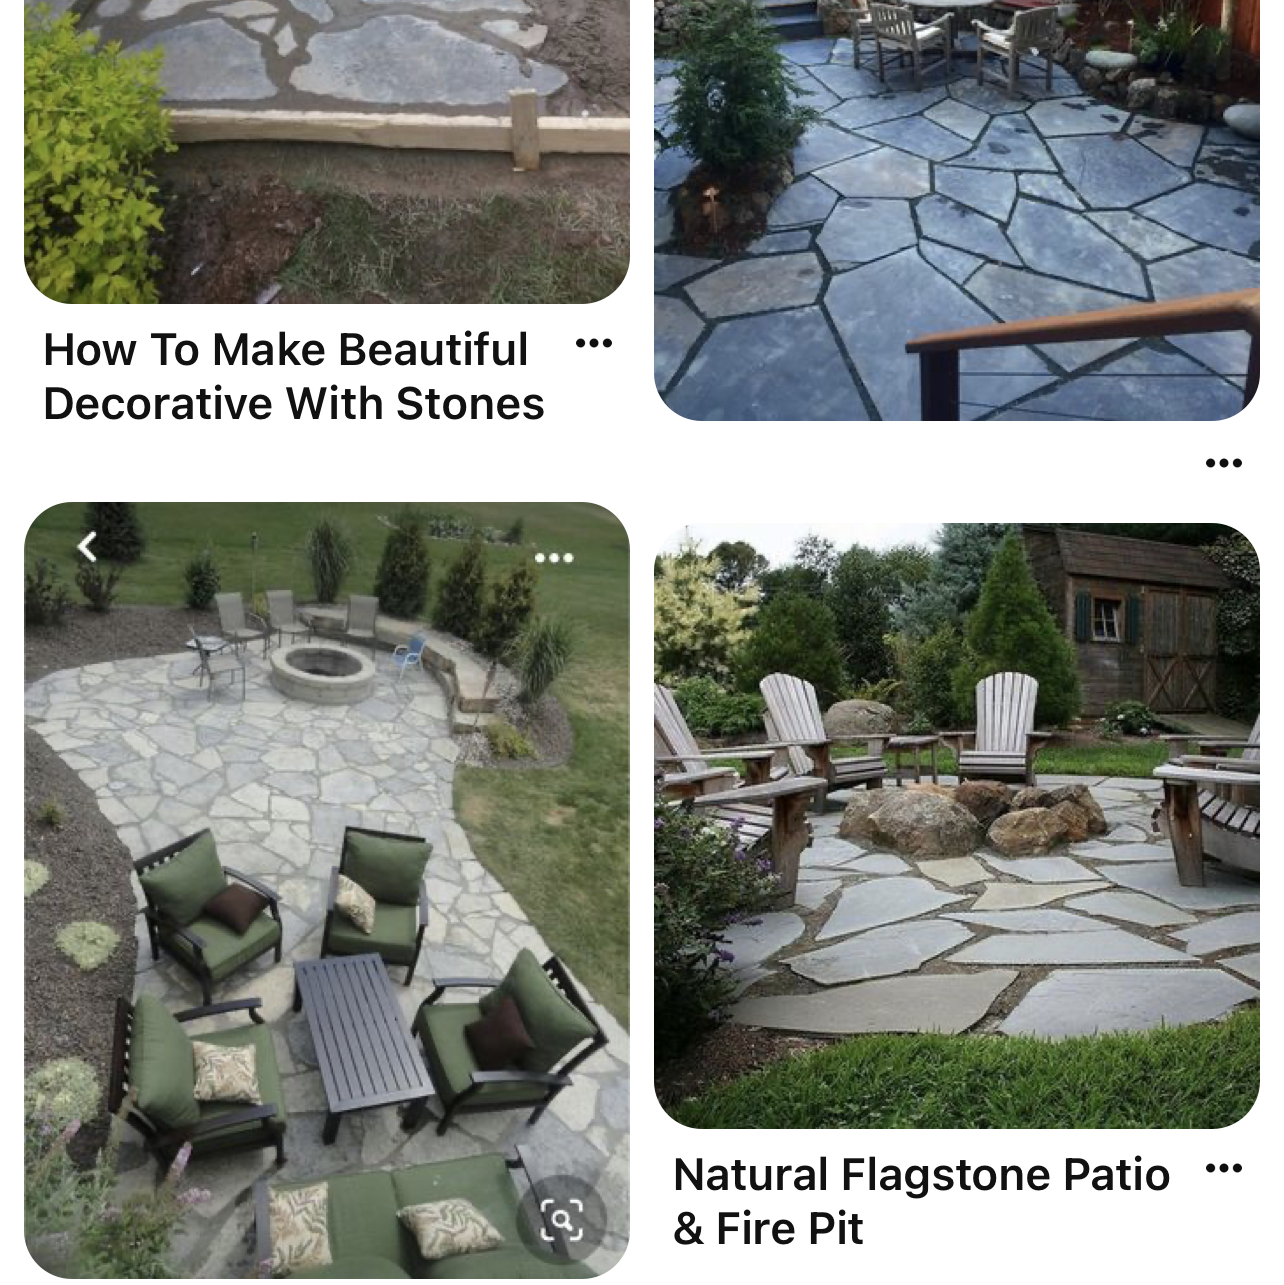
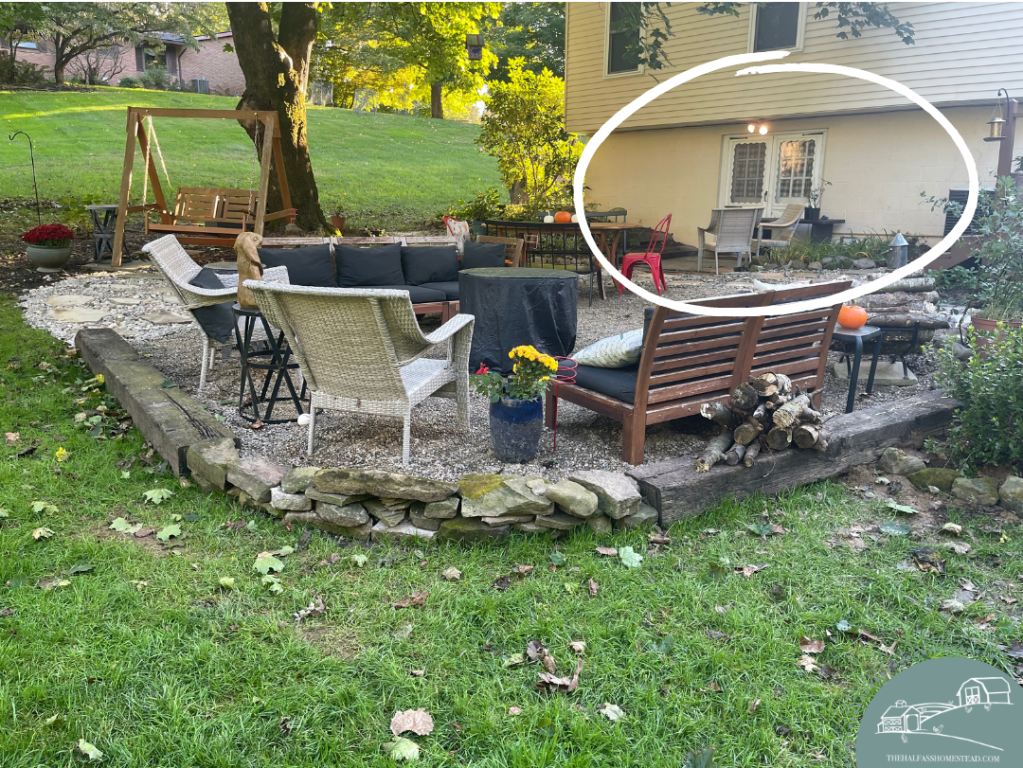
Another change I plan to make is to cover the existing concrete patio off the living room door. It’s list pretty blah and, where the bricks were added to extend the pad, water still sits, though not as much. I just can’t decide if I was to put decking material there or stone. 🤔 I’d love to know what you think.

Inspiration:

Lighting
Currently, we’ve used the floodlights above the doors to light the space but this is obviously temporary. I have several boxes of my favorite outdoor solar-powered string lights sitting in the garage, waiting for me to figure out what configuration I want to hang them in. It’s going to be gorgeous BUT I’m having trouble identifying the best placement for maximum solar powering–remember the great shade I was boasting about?
Mural
Lastly, there is the matter of the boring brick wall on either side of the door. It’s just missing something. It looks like there used to be some kind of ivy growing on the wall which is long gone now. I’ve considered a few different things to break up the wall space but the most appealing is the idea of painting a mural here (another one of Josh’s ideas!). When we moved into our childhood home, our mother drew a fun mural on the backside of the garage where the pool patio was. The whimsical frogs swimming in a pond and diving off lily pads. She had us help her paint it which was super fun and a memory I hold to this day.
I’m thinking of something floral and colorful and of course, getting the kids into the action. Currently, I’m just trying to decide if I want a more realistic or playful, more abstract look. To me, the realistic would feel like a giant painting as opposed to an abstract pattern that would have more of a wallpaper feel. Let’s do another poll! What do you think?
Inspiration: