
I’ve been working on my glass porch/sunroom makeover since late Fall. It all started with a darling mid-century sofa with an eccentric floral print. I recently got a gorgeous vintage chair that paired beautifully with the sofa and really made the room feel like it was coming together. The only issue was the coffee table, a Marshalls find from October, was too heavy for the room and didn’t seem to fit. Besides, we used it more for propping our feet on than holding items. I moved the coffee table to Grace’s room and swapped it for a great side table with mid-century vibes that I’ve had since my college years.
Of course, this still left us with nothing to put our feet on – and with my new chair’s comfortable matching ottoman the sofa seemed the less desirable seat in the room. I really felt we needed a light colored ottoman, preferably with storage for blankets. Then I remembered the drawer I had in the basement. It had been sitting on the floor for two years now, since last Christmas when we removed it from the vintage vanity we got Ella for Christmas. Both girls were dying for a vanity, like Fancy Nancy. I found a beautiful vintage vanity about an hour away.
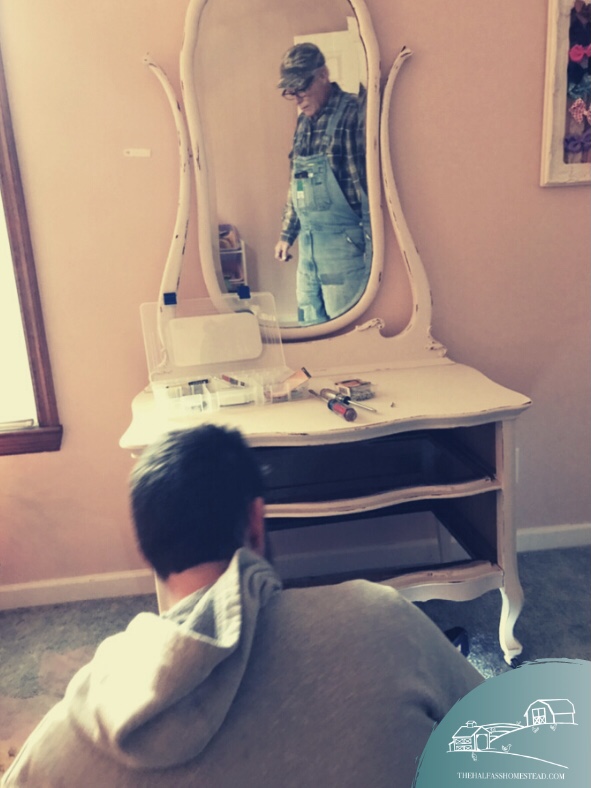

When we got it to Ella’s room Christmas afternoon, the bottom drawer had almost no more stability left and was barely functional so my father-in-law, Jeff, recommended we just remove the bottom drawer and leave the top on. My Mother-in-law, Becky, told me to keep the drawer and do some kind of up-cycle project with it, like a shelf or something. I didn’t see the vision she had at the time but I kept the drawer and bottom molding anyway. It’s been tucked away in a dark corner of the basement ever since–holding my favorite cowboy hat of Sr.’s and a few old frames. I actually only remembered it because I stubbed my toe on it while trying to hide gift for Christmas.
Anyway, I thought this might be the perfect base for an ottoman. Originally I considered a tufted look like this ottoman I found on Pinterest, but quickly pulled myself back into reality. I mean, it was a few days before Christmas! Who was I kidding? I was giving no more than a half-ass effort at best. Also, I had no idea what I was doing when it came to upholstery and tufting seemed a little too advanced.
The next day, I took my brother Josh (Josh was here for Christmas!) to the hardware and fabric store. I spent more on the one yard of “high density” 3″ foam than I did anything else.
For this project I used:

- 24 x 32 inch precut plywood
- metal brackets and hardware
- chalky finish spray paint in Antique white
- 1 yard 3″ high density foam
- 2 yard upholstery fabric (more than I needed but it was on sale for $9.99!
- Cotton batting
- spray adhesive
- 4 4″ table legs
- rotary saw
- bread knife
- power drill
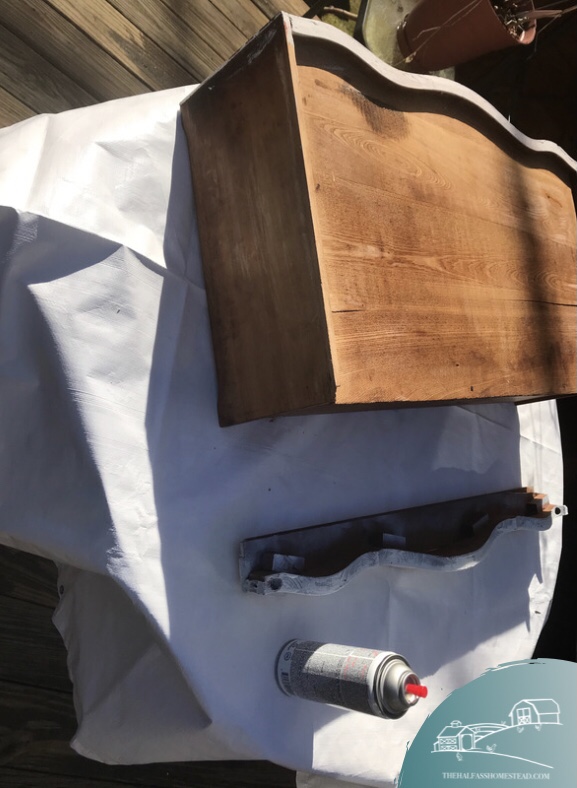
First, I measured and cut the plywood down. This would butt up against the back of the moulding and serve as the lid. Then I used the spray paint to paint the bottom of the board, the legs and the other 3 sides of the drawer, the front was already painted. It was the perfect mild, sunny December day for sippin’ whiskey and watchin’ paint dry.


Once everything dried I traced the lid on the foam and used a bread knife to cut the foam into shape. There with blocks supporting the lip on the molding I needed to cut out as well.

Next was measuring my fabric and batting. I had been thinking about how I’d attache the cushion to the lid all day and still hadn’t decided but felt like I could try to attach it with the spray adhesive first. Of course, this meant that I’d have no great way to stretch the fabric over the foam. I tried it anyway but ended up with more mess than success. My finger kept sticking to the spray trigger and ripping it off the bottle. I felt like Clark Griswold trying to read the magazine after handling the Christmas tree.

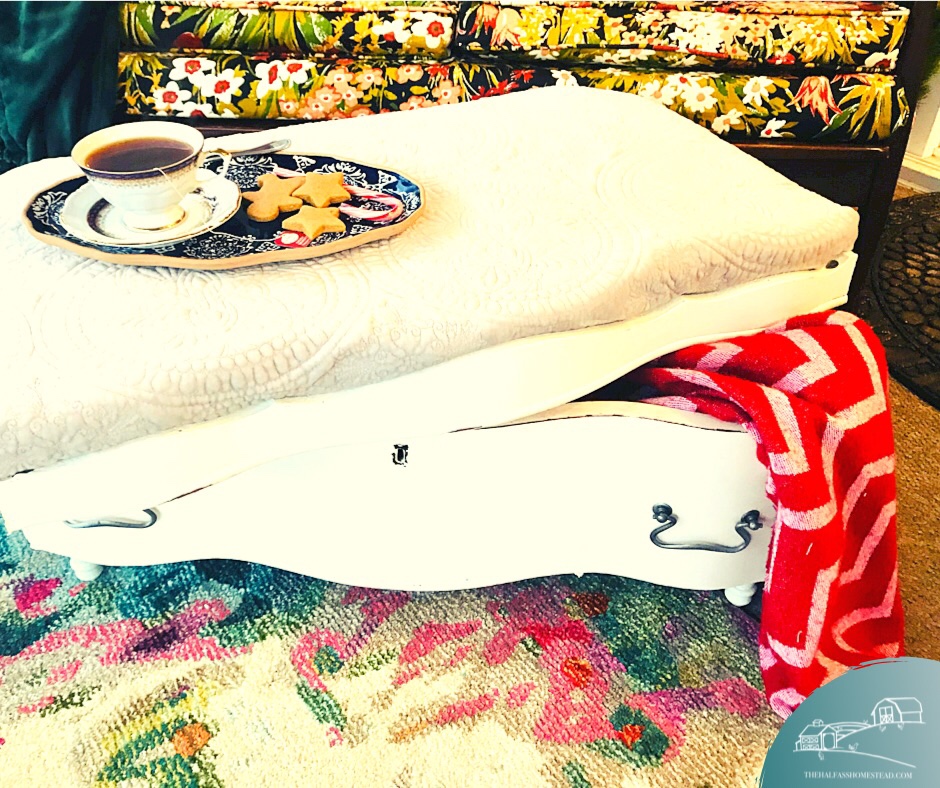
Not only that but the velvet fabric was too bulky for the adhesive, or my patience. I quickly changed tactics and found the staple gun. This was much more satisfying. Unfortunately, at least as mush as I have figured it out so far, wrapping the cloth round the lid base means I wont be able to add the hinges I planned for. Never the less, the fabric looks much better and the top is light enough to just lift or shift out of the way to grab a blanket from the drawer.
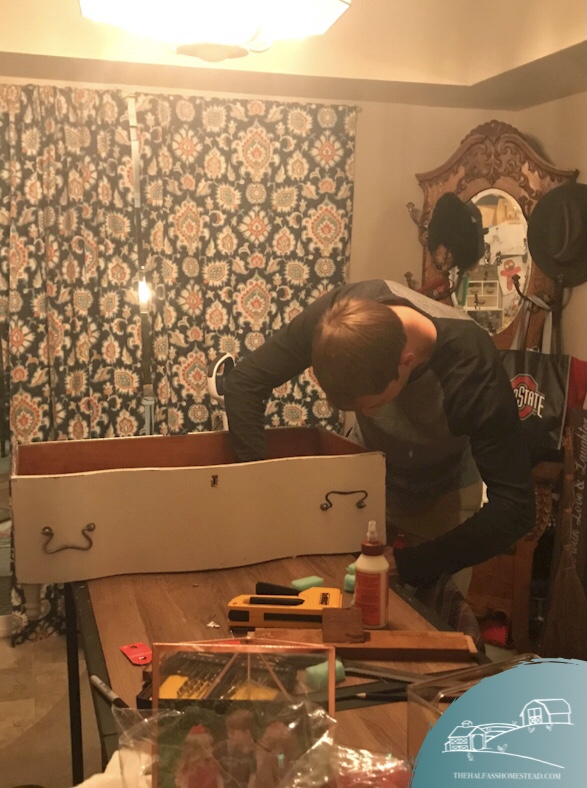
Josh helped me add the legs by extending the thread posts so they could be attached to the bottom.
And voilà!!

I couldn’t be more please with the project, though I’ll likely do a little adjusting–to my corner seams for example or adding a little trim detail. It’s just the right height and the perfect size for the space.

2 thoughts on “Vintage Drawer to Ottoman Project”