This week on the Half-ass Homestead June 22-28, 2020

Grace has taken to driving the hens around… not sure if they like it as much as she does 🤣

The past two weeks have been busy one on the home front and with work for me. It’s weeks like these that I’m thankful to be doing this whole garden homesteading thing with the Norris family.

Work has ramped up between creating two online courses, preparing for our first virtual summit for educators, and meeting with customers to plan for next school year, I feel like I’ve been glued to my MacBook for two weeks straight. And, though Brian Sr. had a couple of days where he started to feel better, he quickly took a turn down hill with severe pressure and nausea. We’re hoping for more answers and relief next week given this new medicine he’s on. On top of that, I’ve discovered I’m now allergic to poison ivy (turns out it’s bound to happen when you spend three weekends with a weed eater killing that stuff). So much itching!

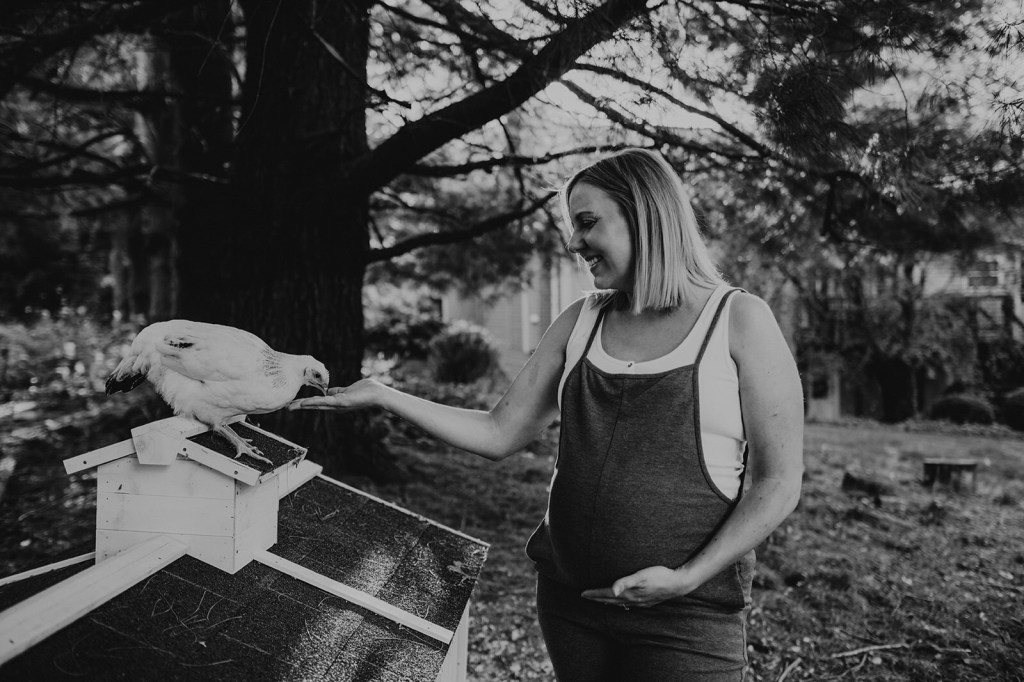
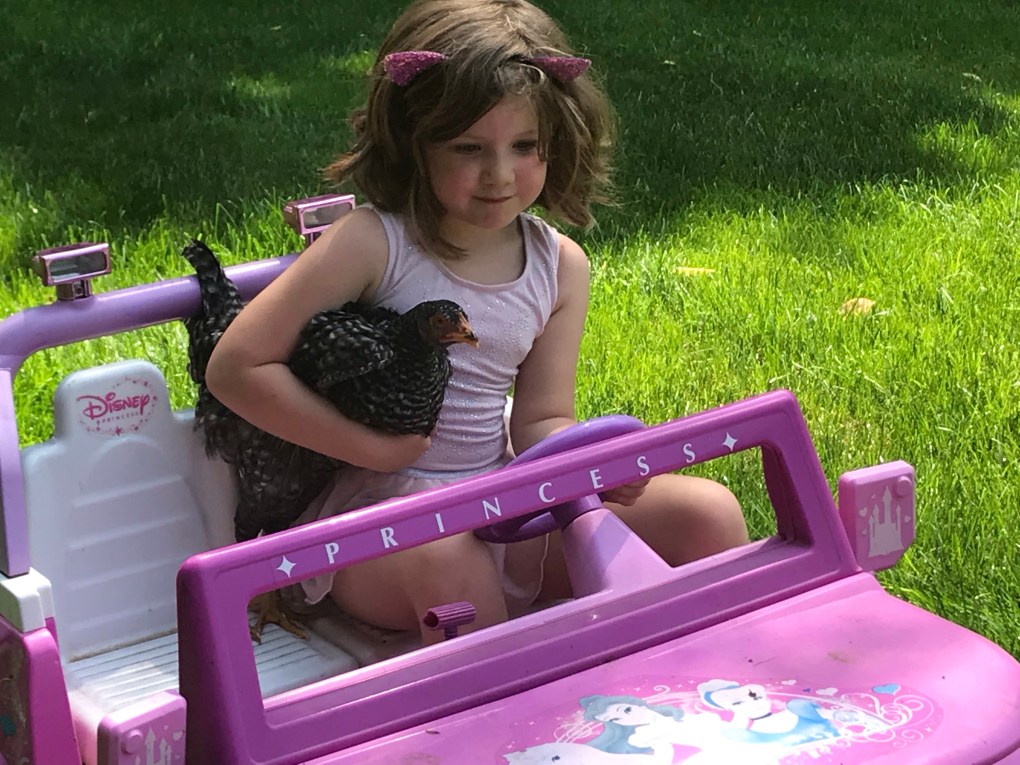
Last week I didn’t get out to the garden once but often looked out the window and would see Clint and Vinny watering the garden, hanging with the hens, or eating lettuce and spinach off the plant. Grace, Ella, and Brian Jr. often joined them. They even dropped off some radish on Father’s Day! So grateful for them!

The kids tried radish for the first time, Grace was the only one who liked it even a little. I really enjoy some fresh slices on my sandwich but look forward to a few suggestions from some of our Facebook friends, especially roasting them!

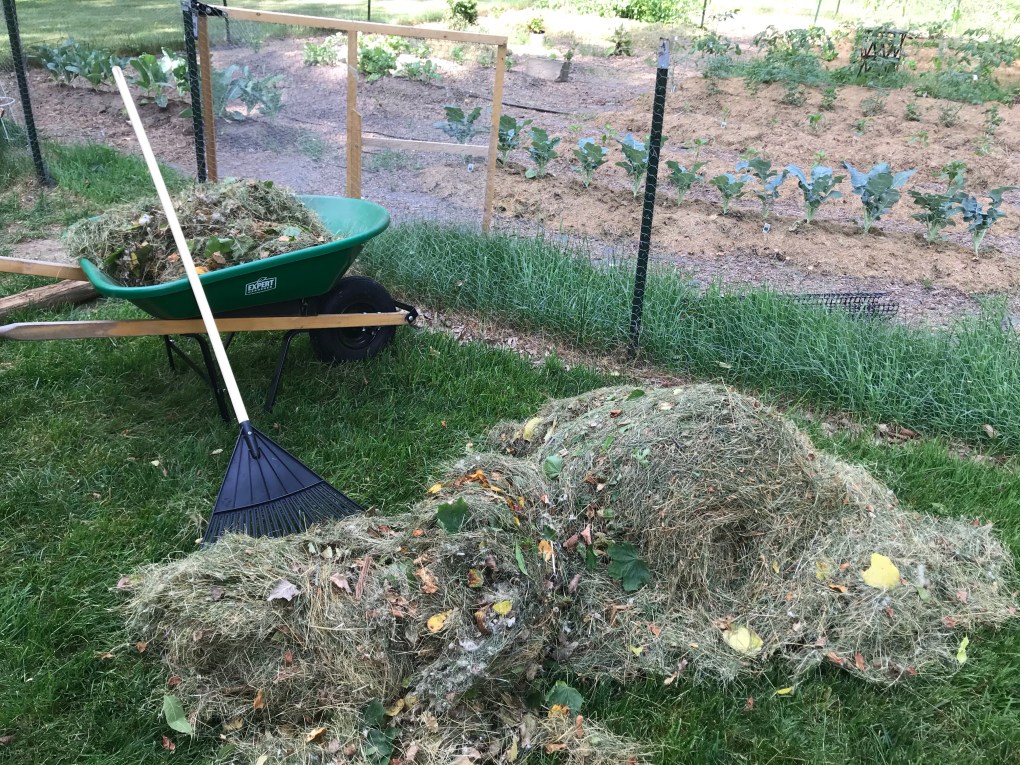
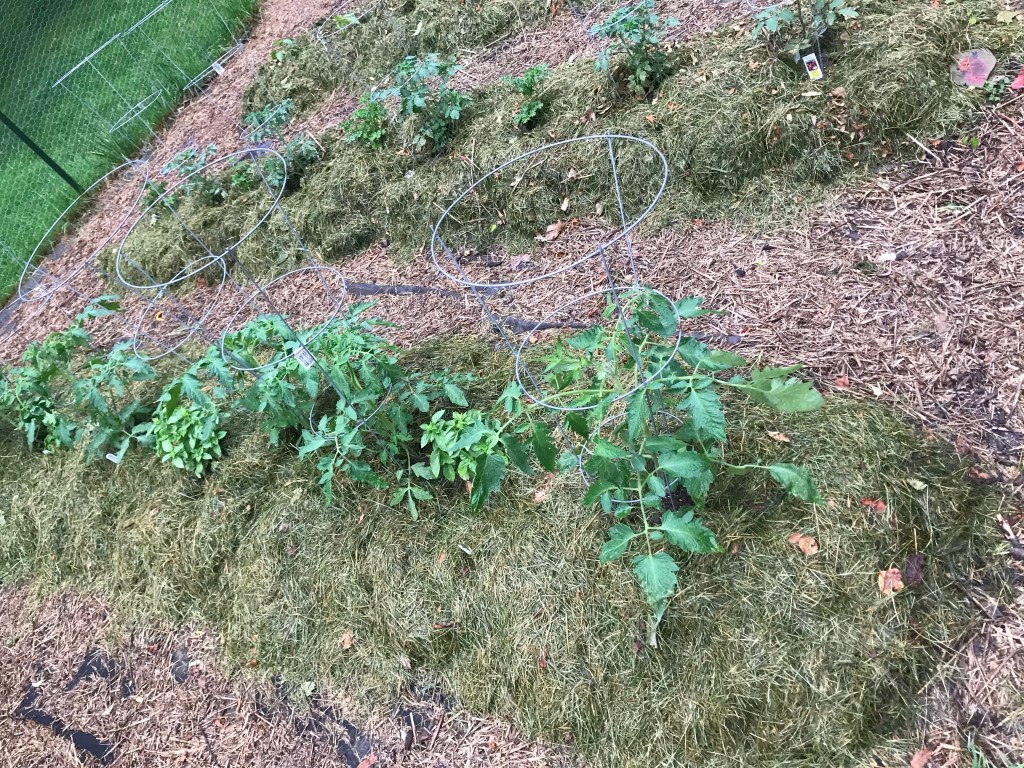
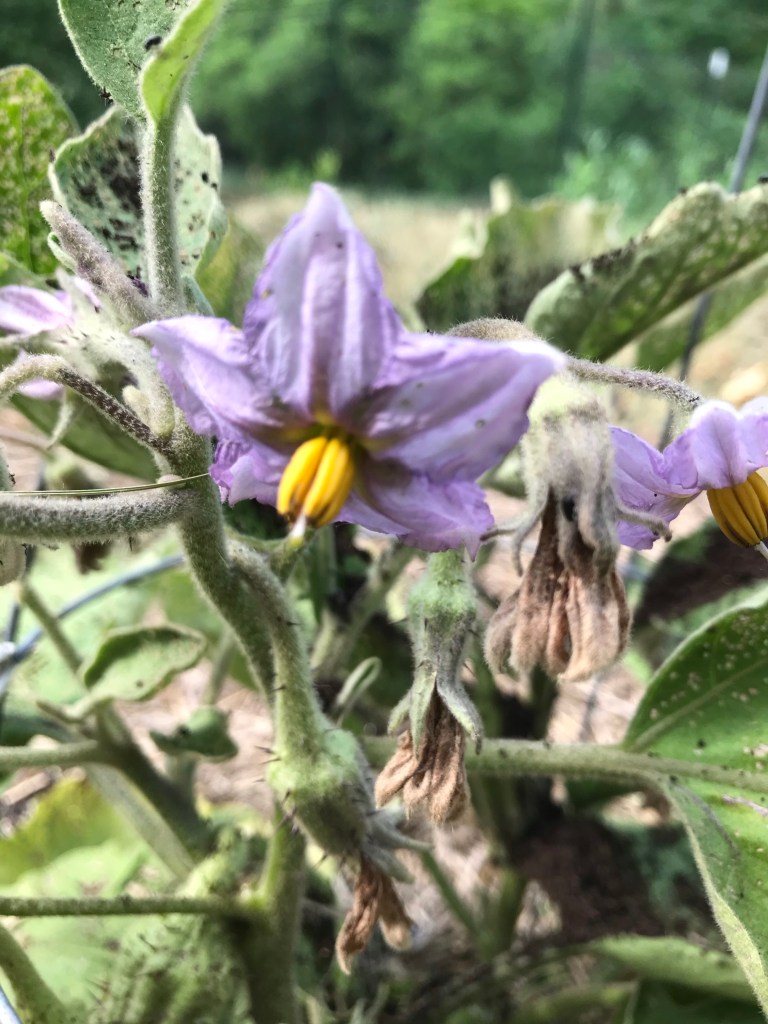
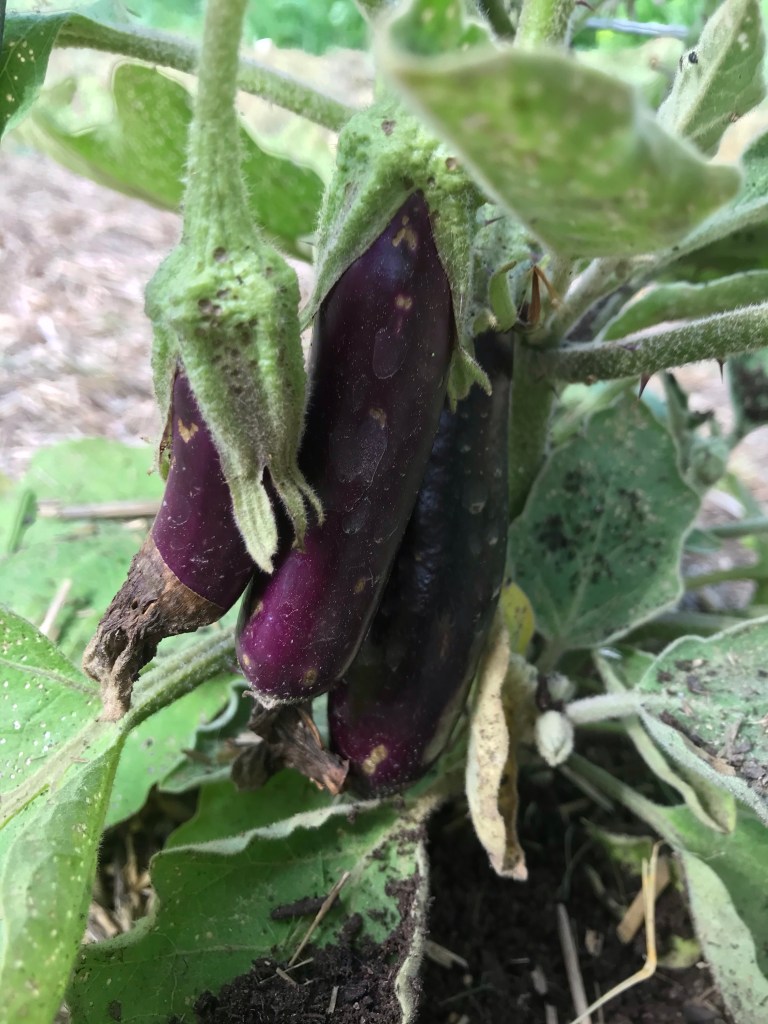
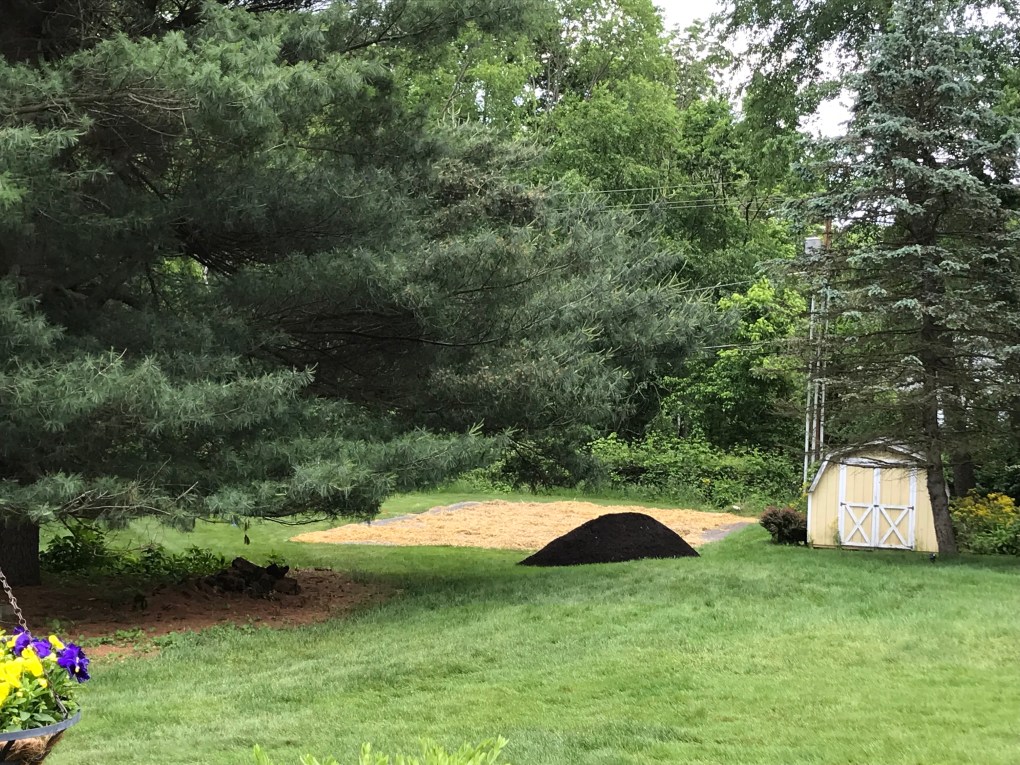
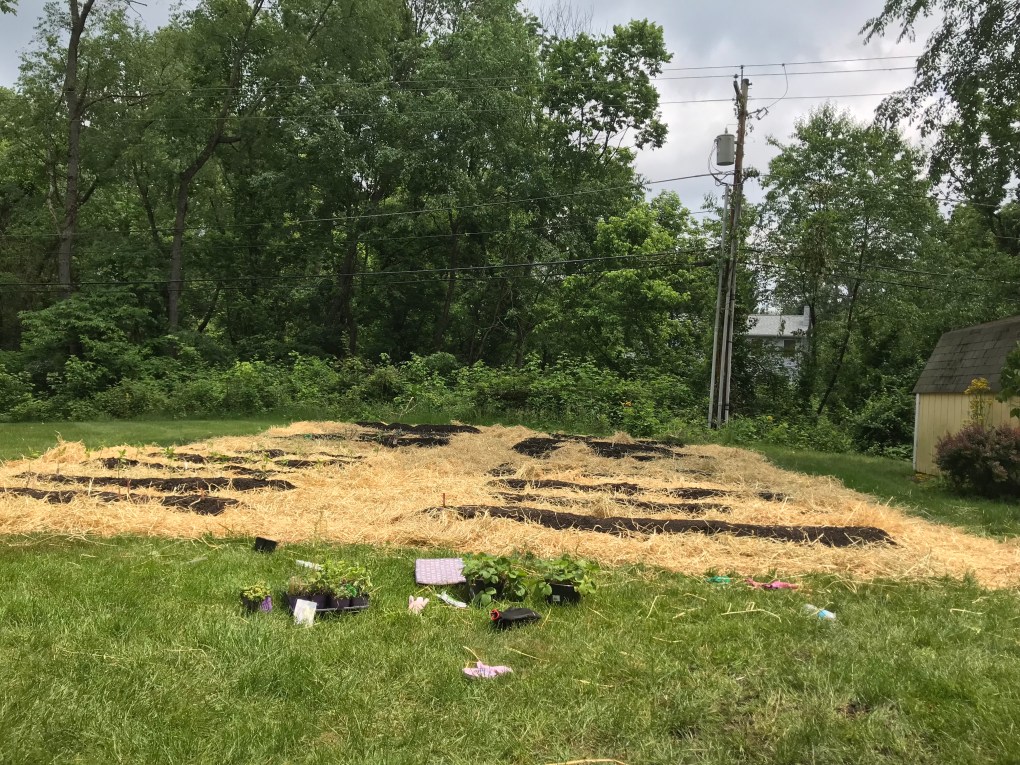
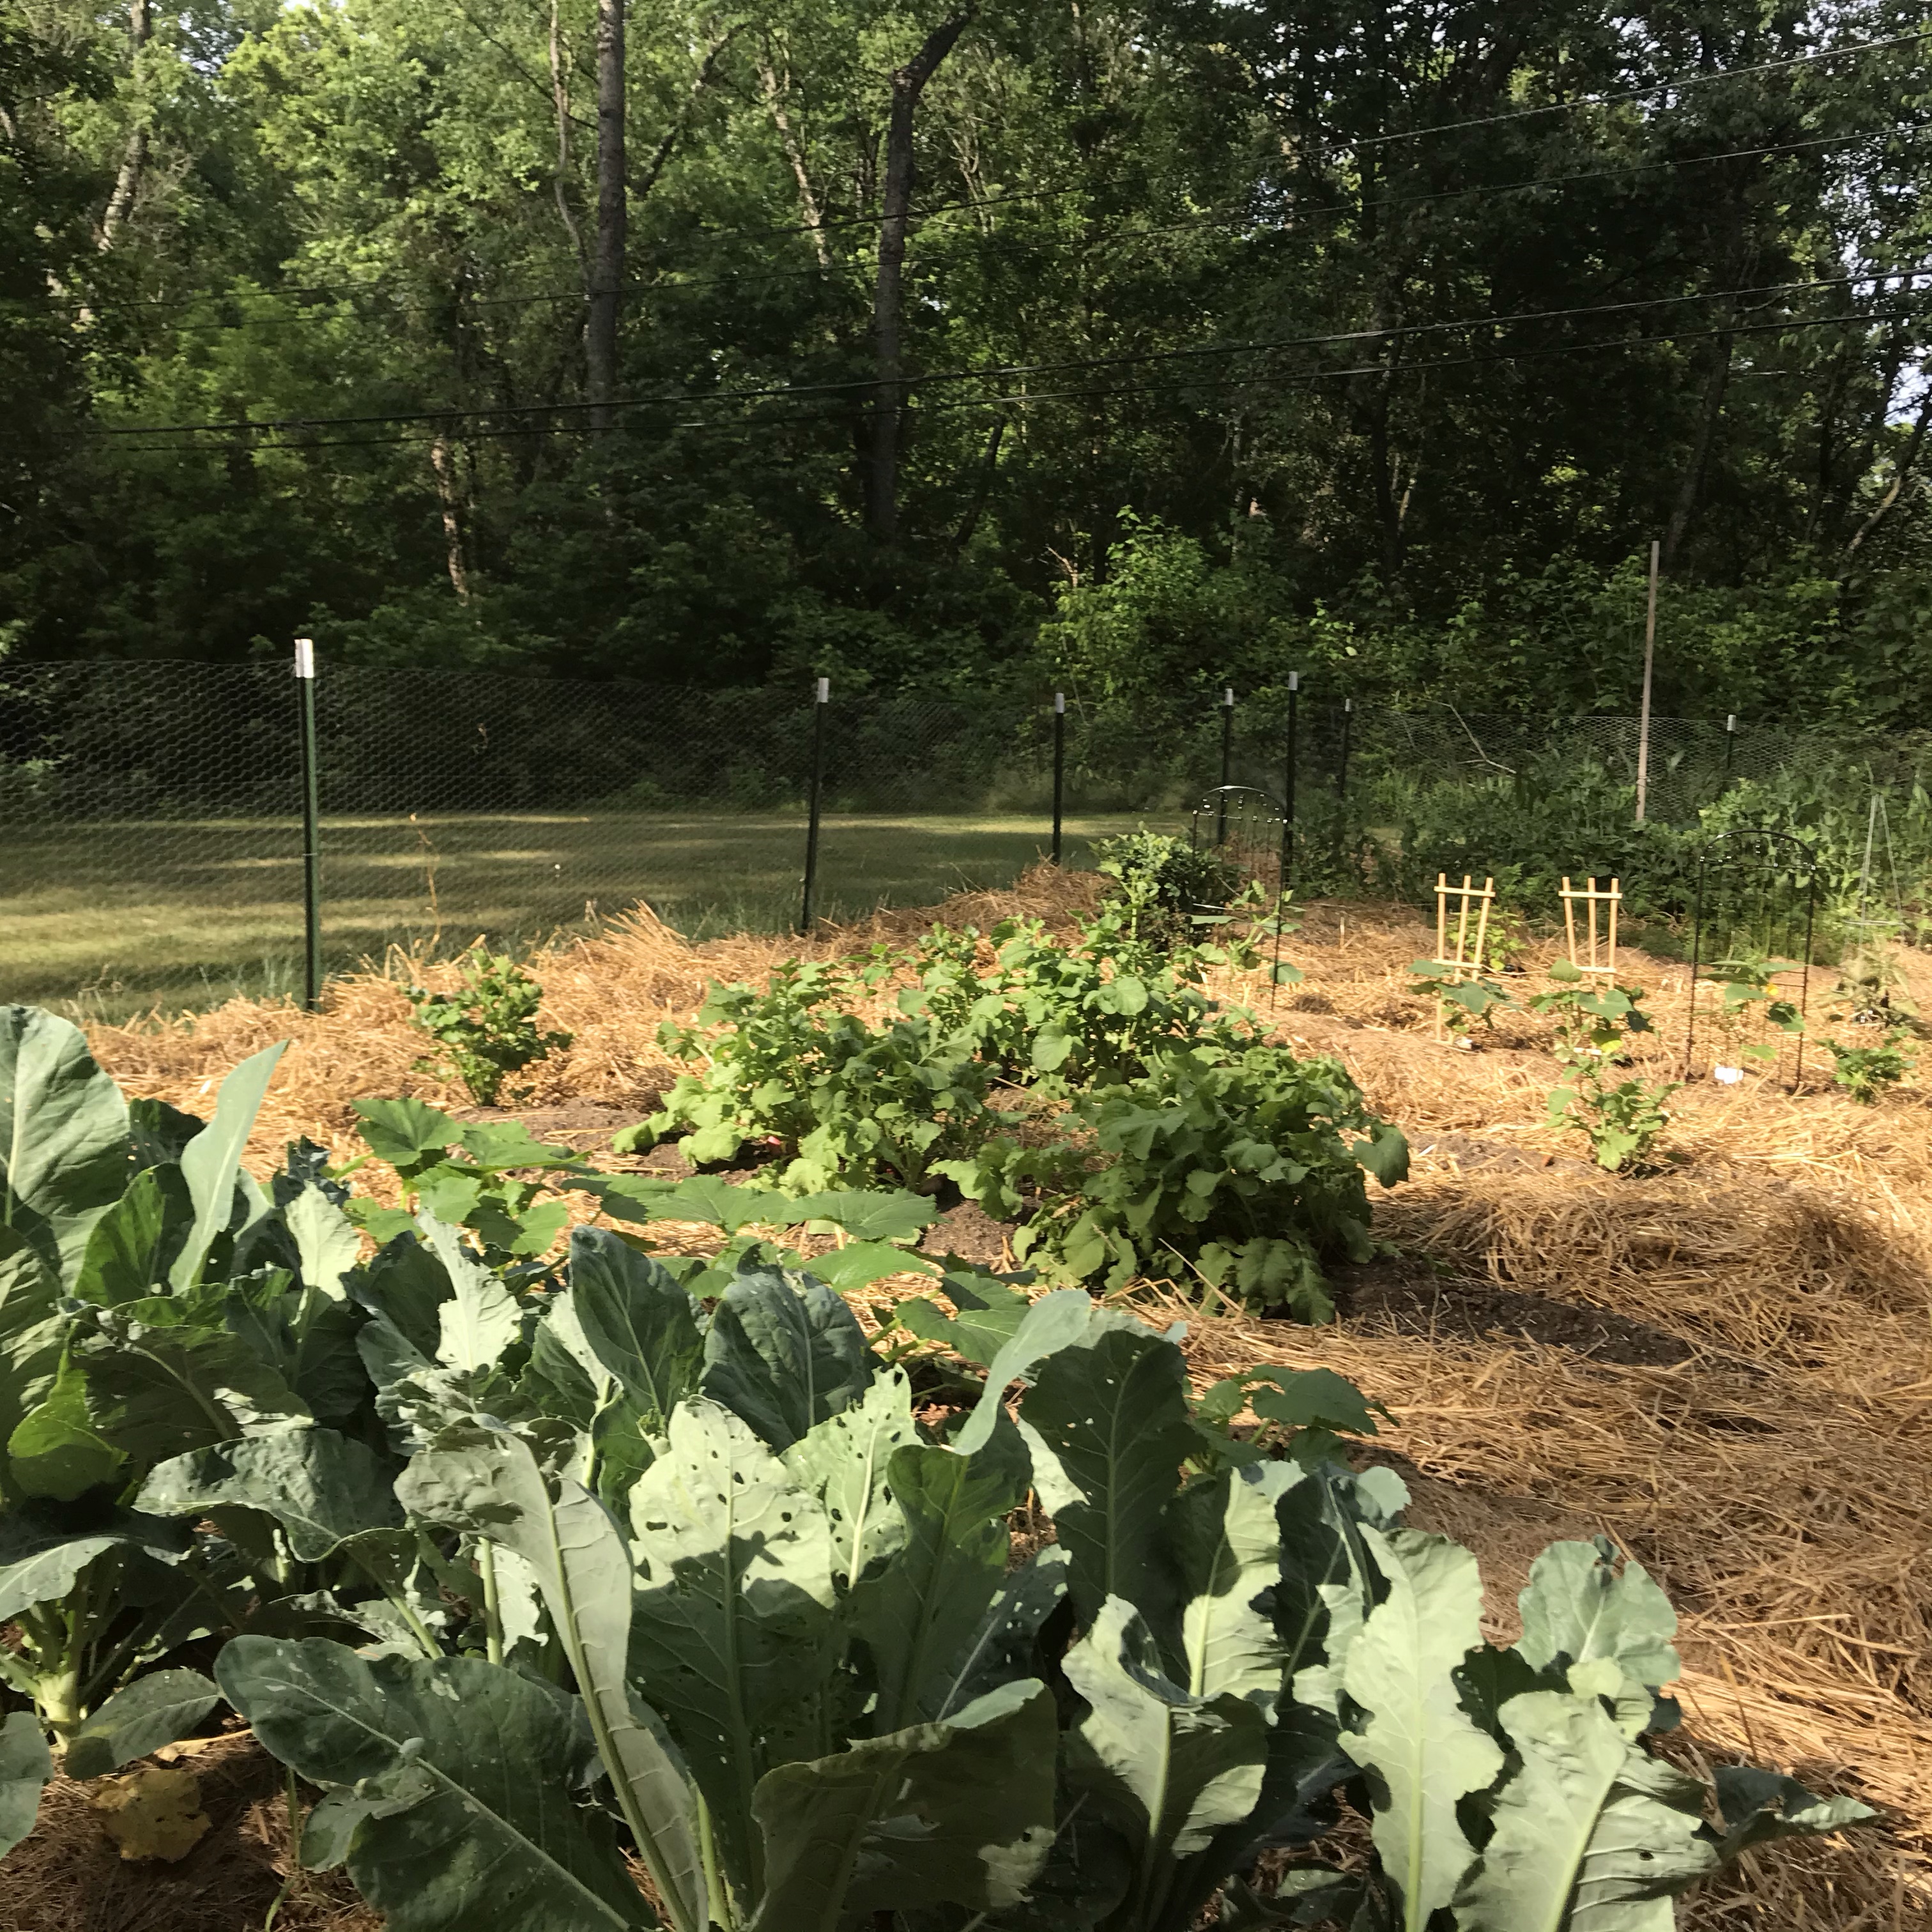
By the time I got out to the garden this Friday, it was in desperate need for some harvesting! It’s amazing how much of a different the grass mulch has made for our crops!

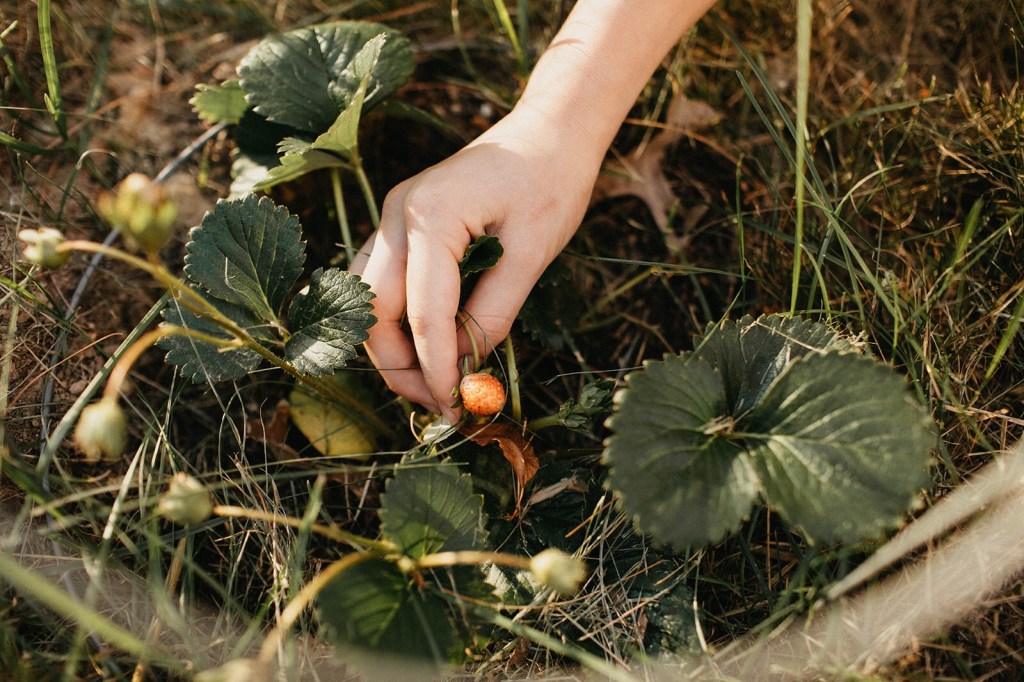
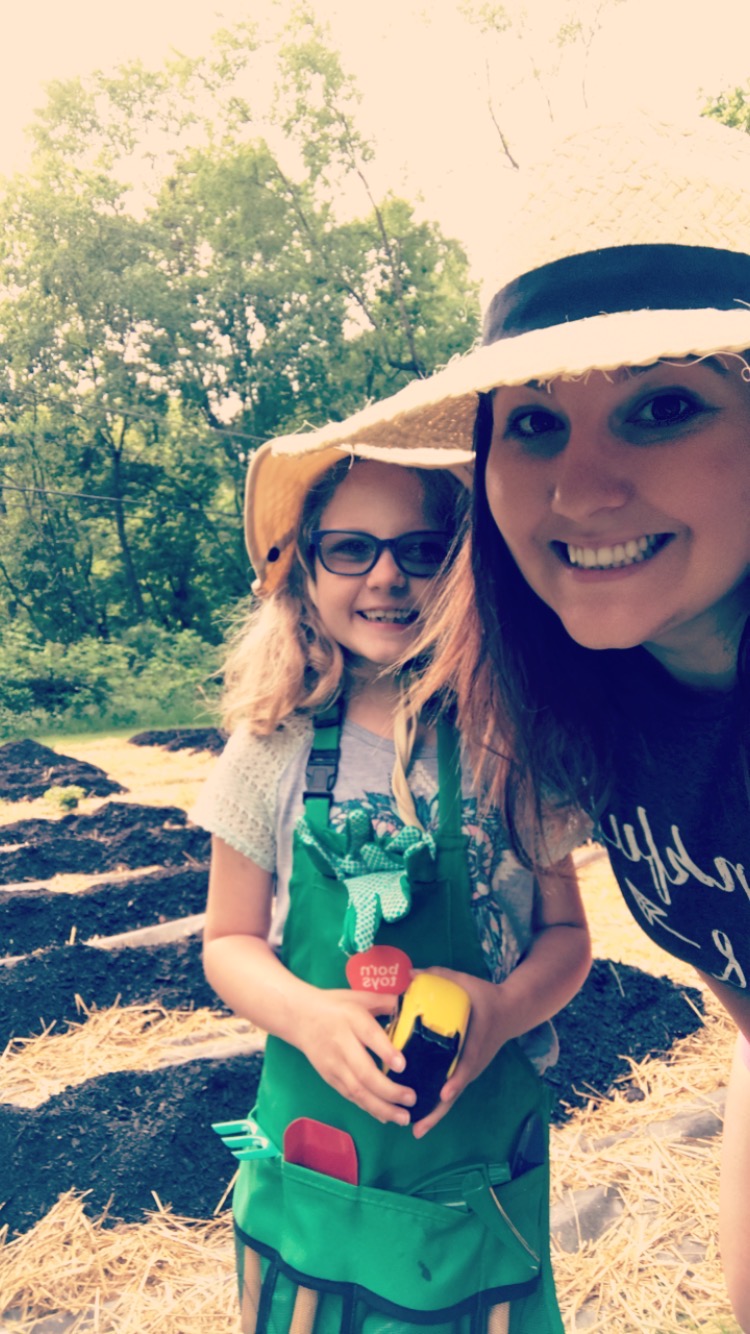
Tarin, who has been busy with work herself, joined Ella and I in the garden for some picking. We got quite a haul!

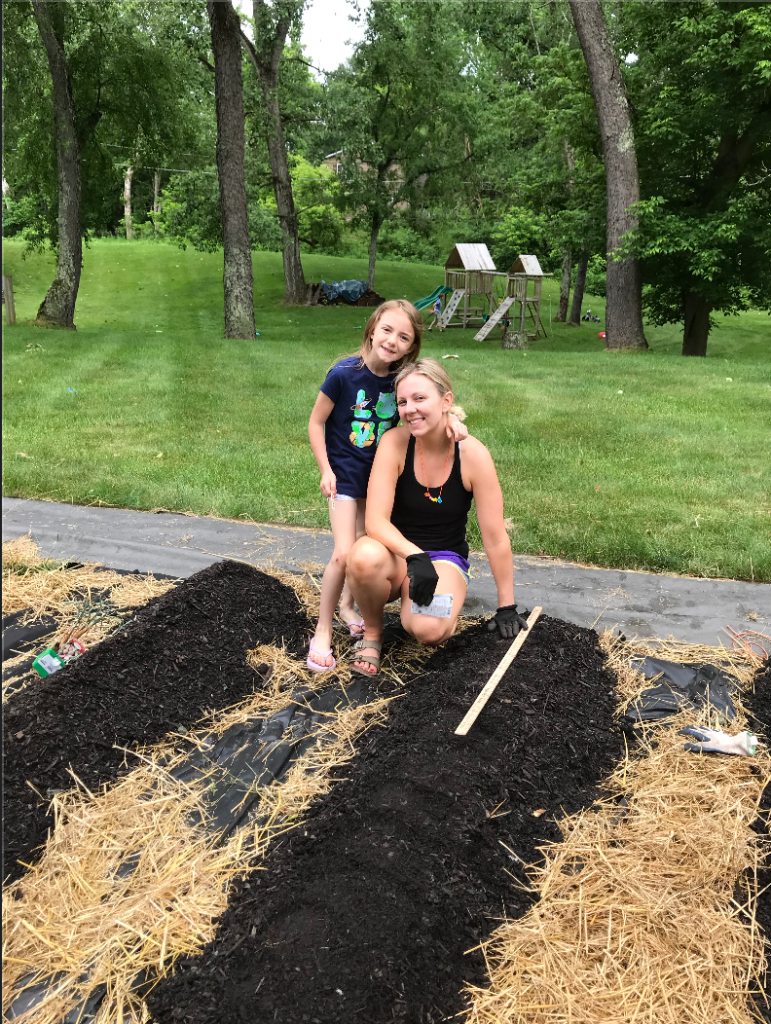
On Saturday, we harvested rhubarb and I picked up some straw to recover our walking paths. Grace took pictures:

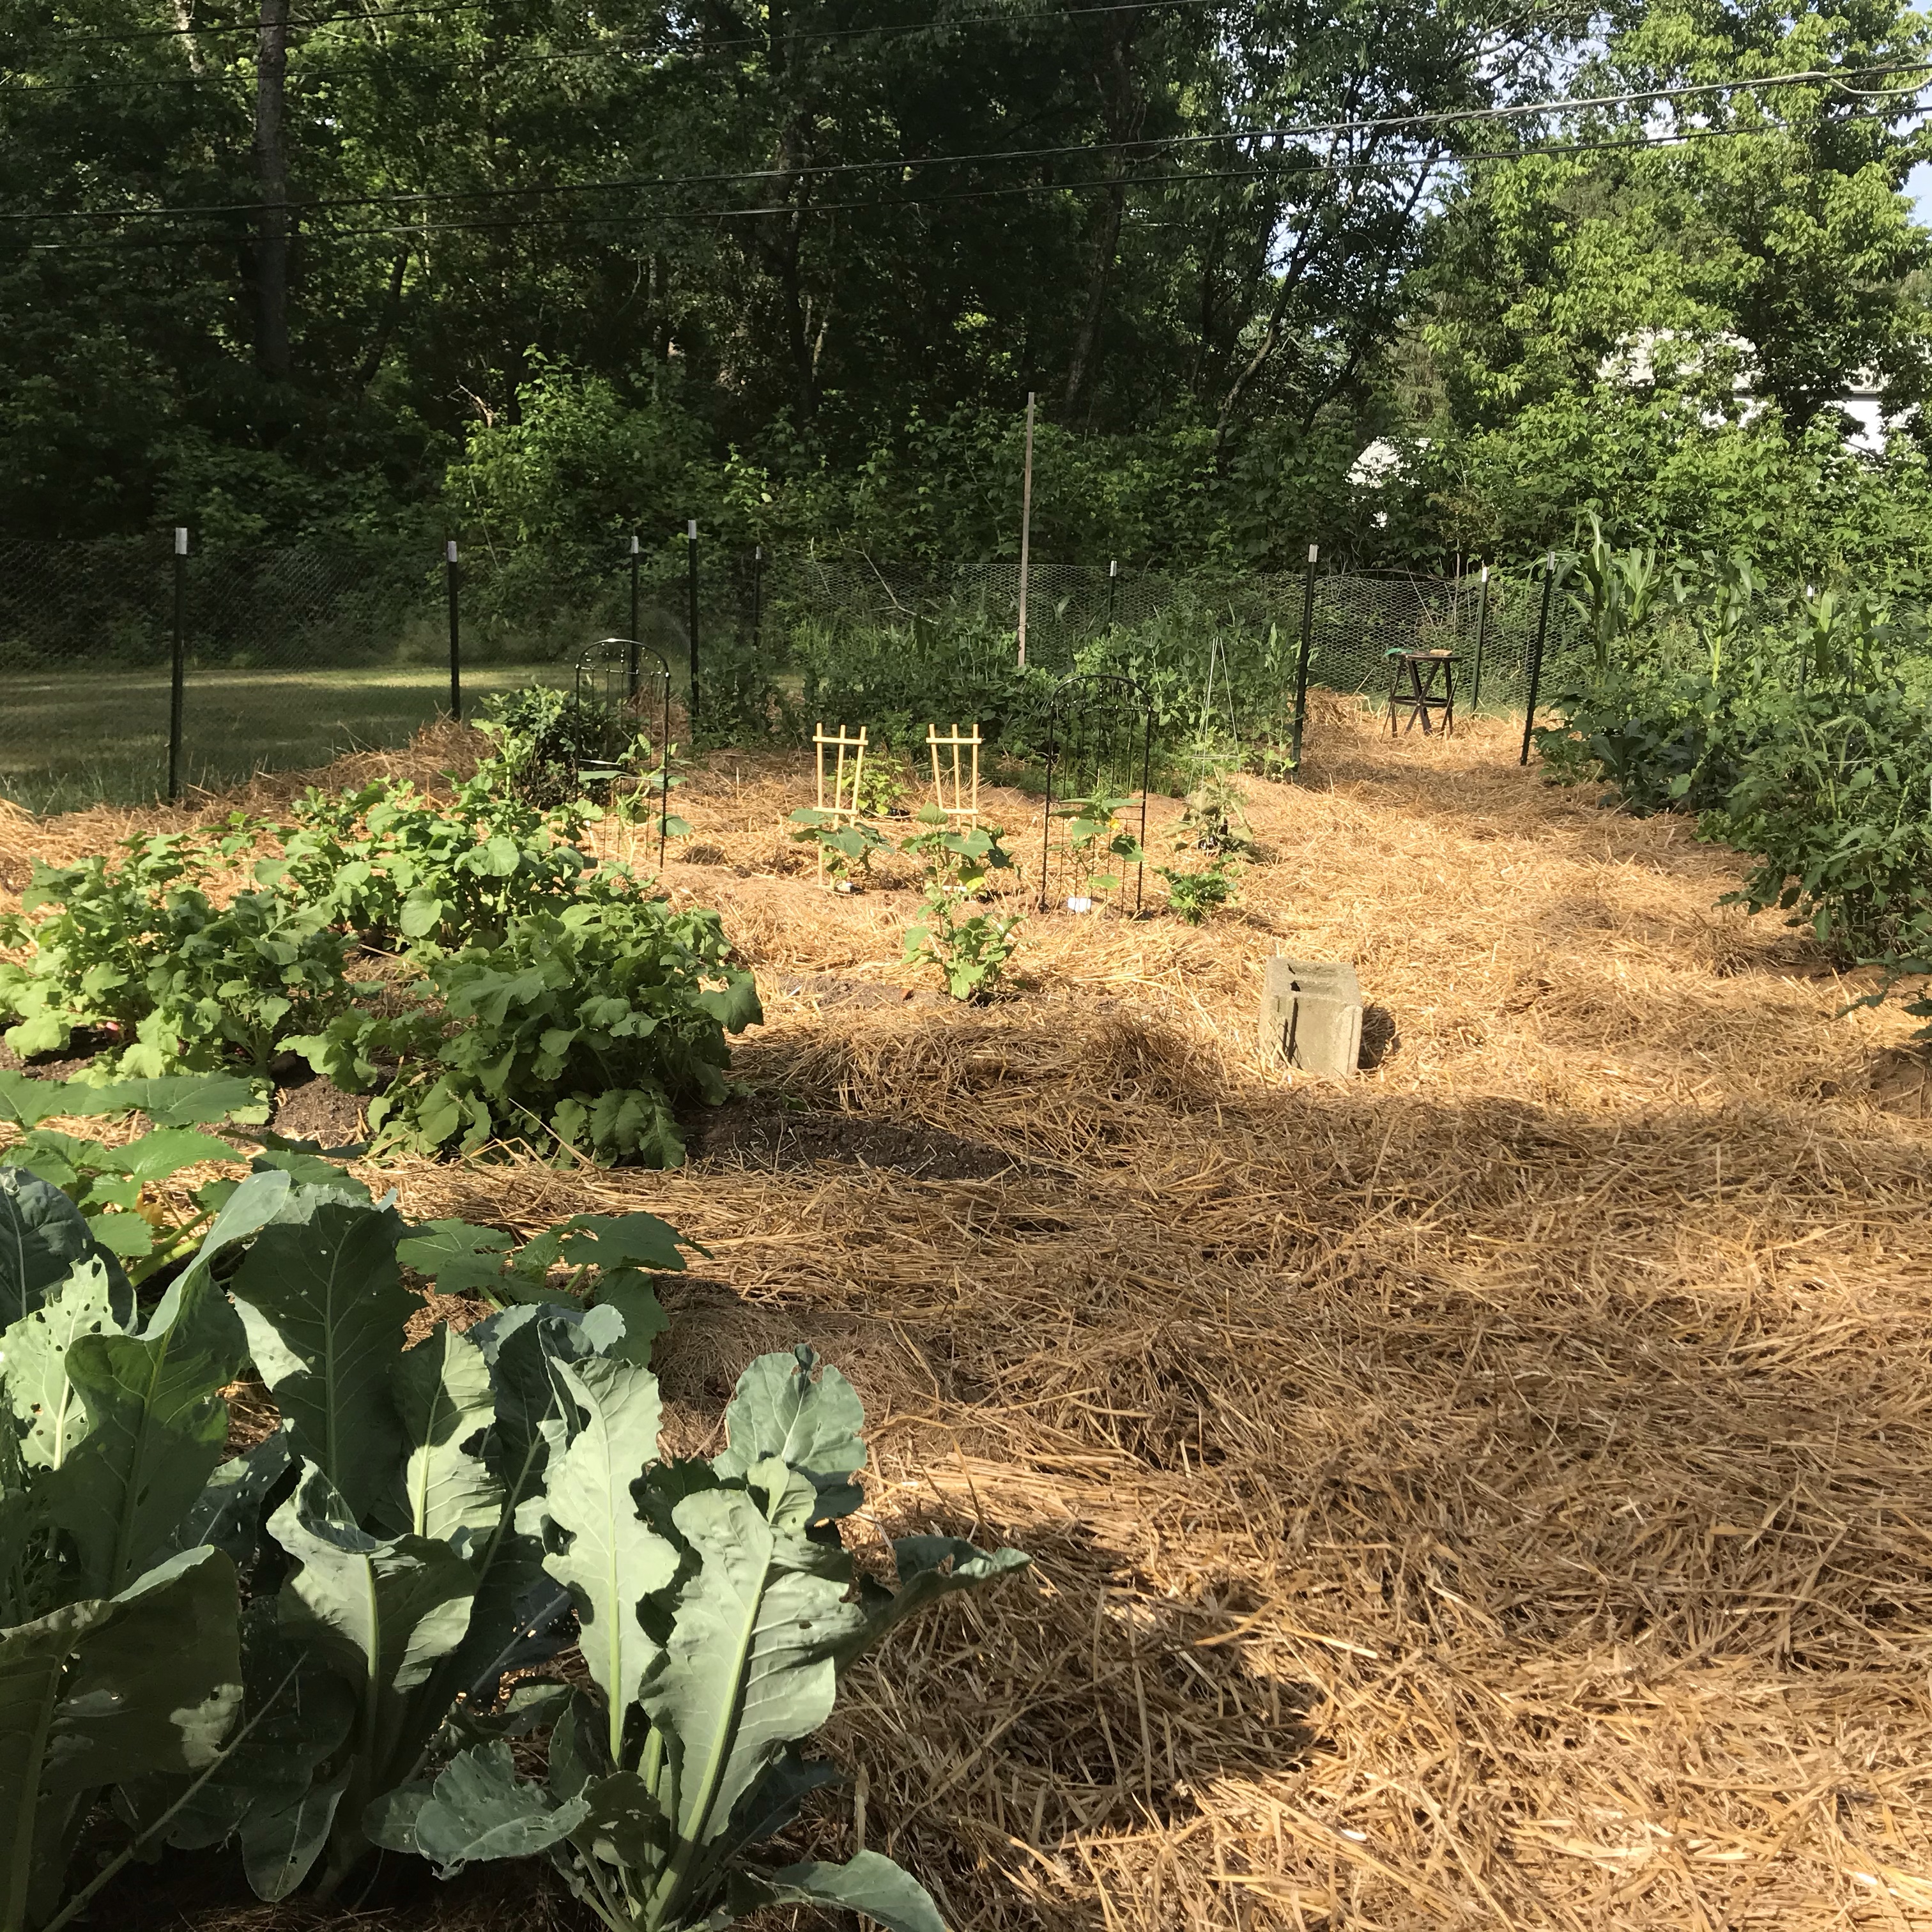
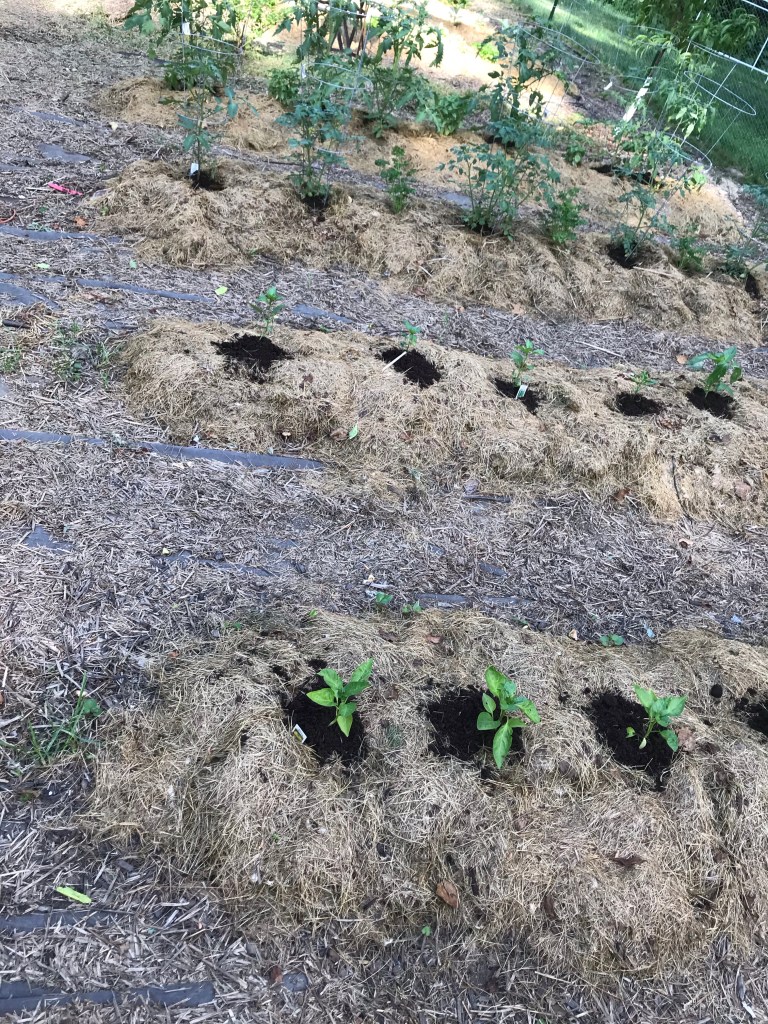
It’s about time for a second planting of carrots and some other crops. I’ll have to do some research on what would be good to plant.

Sunday, I spent time in the house gardens, adding cobblestone to a some of the paths, and reconfiguring the front garden by removing a bush and widening the area around our front outdoor table. I plan to add stone or pea gravel to level the space out.

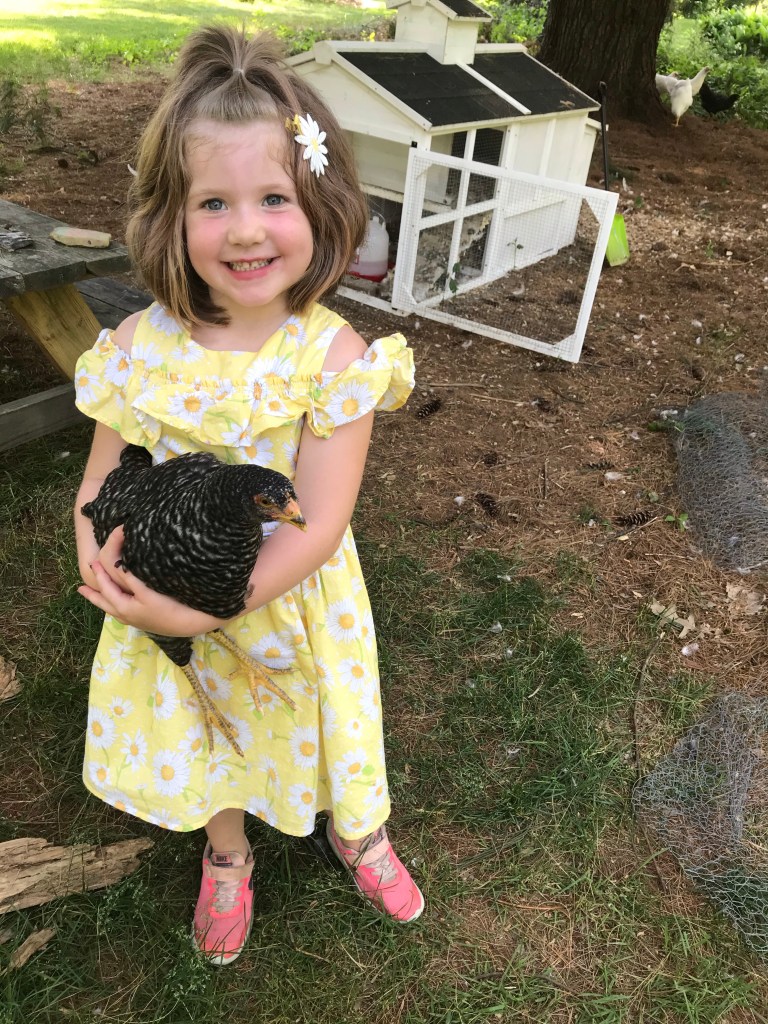
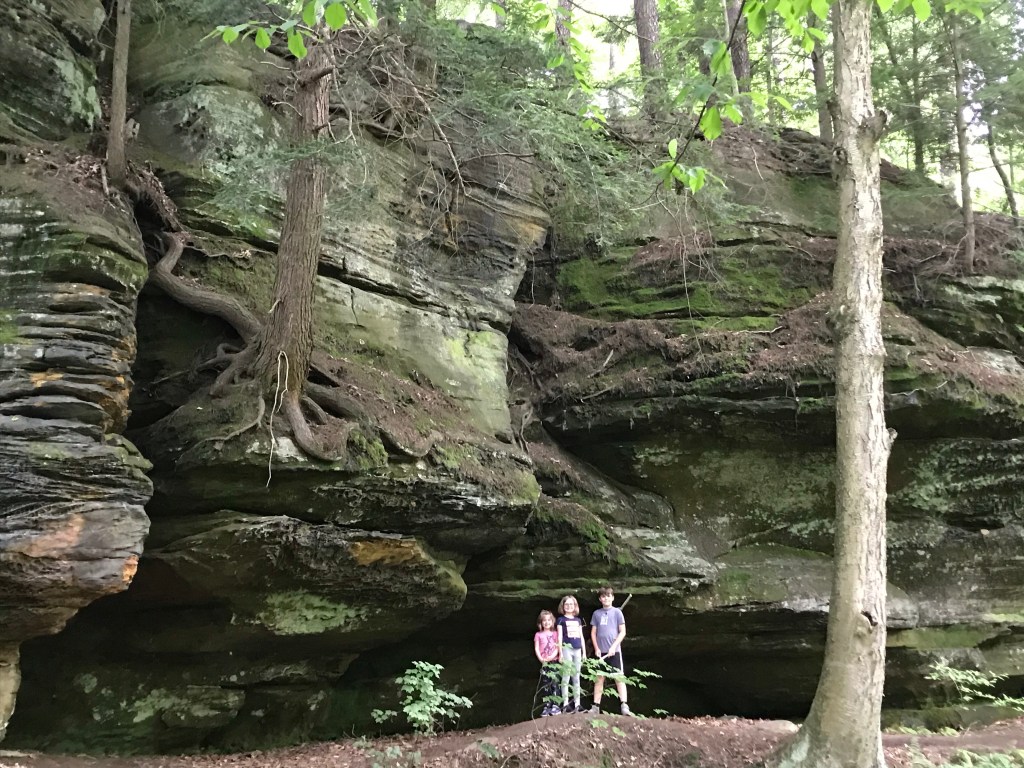
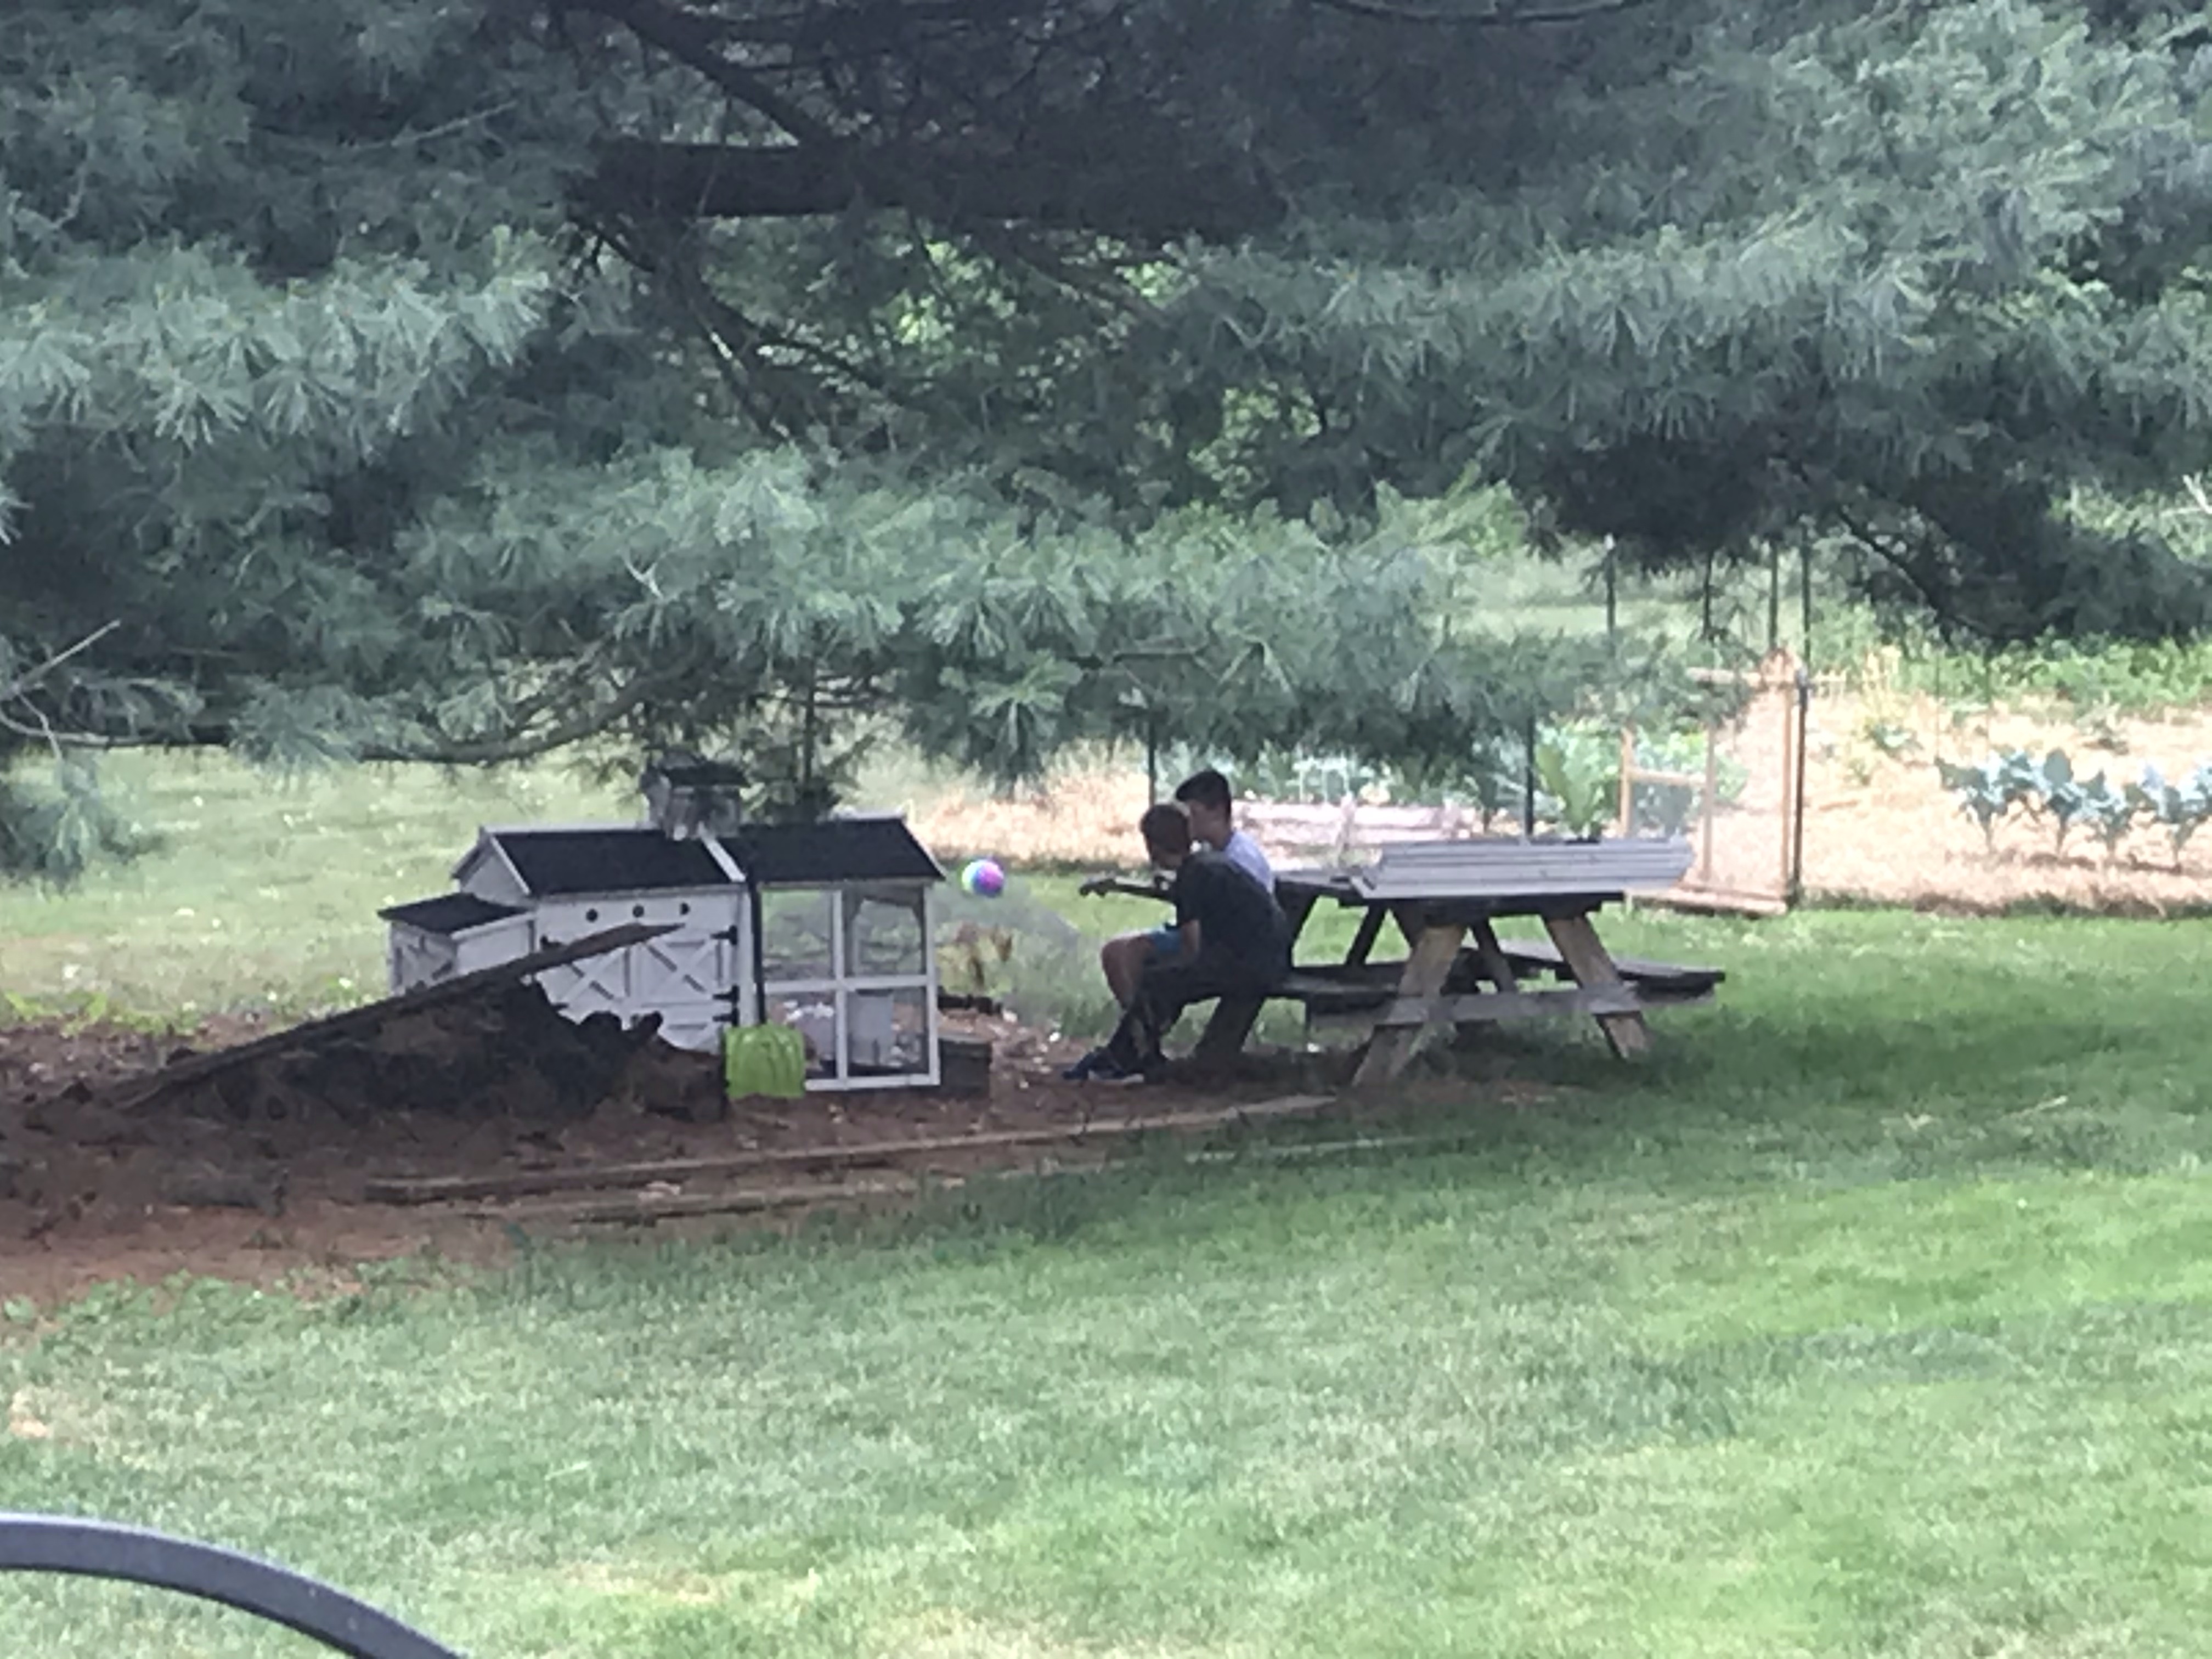
While I worked, Sr. relaxed inside, the girls played by the creek catching salamanders and Brian Jr. played ball in the yard and took breaks to play guitar for the hens. It may be a little crazy, but life on the homestead is good!


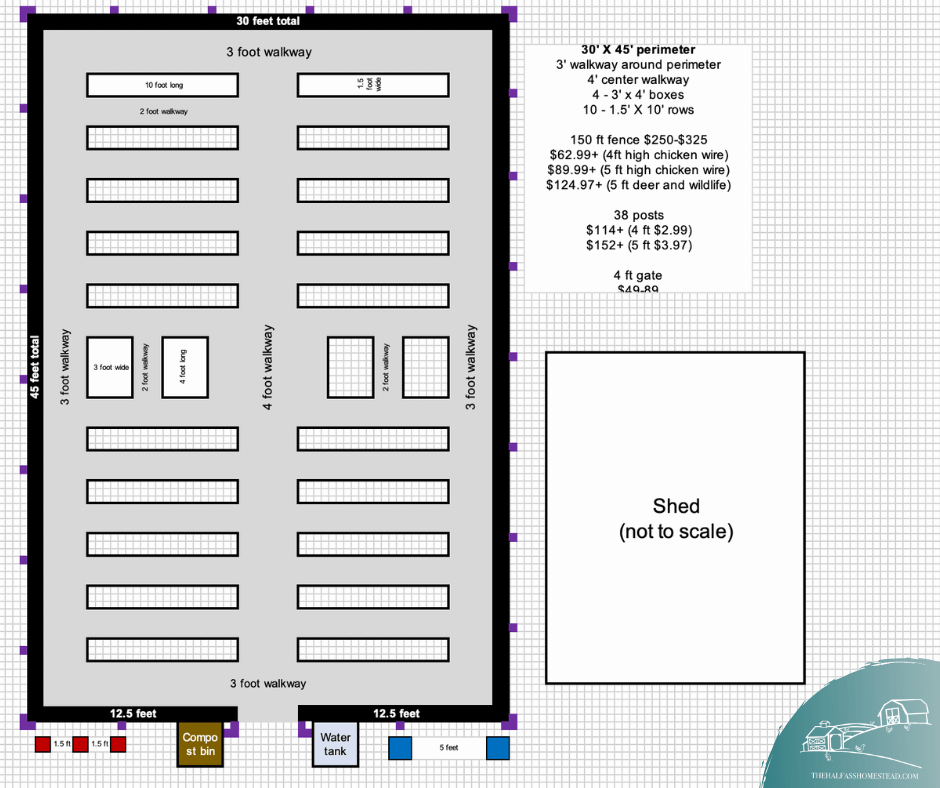
  • Weekend progress- Raised Beds!
  • Backyard Reno: Totally Functional – Help me decide how to finish it!
    Last week, fall finally showed its beautiful temps here in central Ohio and I decided to make the most of it. Thursday afternoon I spent a few hours unloading pea gravel between meetings (since it was cool and breezy enough to do so without breaking much of a sweat). On Friday two of my calls … Read More
  • Fresh picks
  • Progress! Backyard Reno
    Last time I shared with y’all I was fresh into redoing the backyard, so excited about the possibilities. It’s been a month and a half and until this weekend the project hadn’t gone any further. Luckily the stars aligned and I had the energy AND the time. I told Sr. that all I wanted for … Read More
  • Lately on the Homestead: Backyard Reno
    Last summer, despite Sr.’s disapproval, I put a pool up. He was against the idea for two reasons 1. He’s not a fan of pools(unless there’s a slide going into the pool, he doesn’t see the point) and thinks they attract mosquitos. 🙄 2. He thought I’d ruin the grass. While it didn’t attack mosquitos, … Read More

Mulching with Grass- Not So Half-Ass!

One major error we made in our big garden last year was with mulch… we basically didn’t have any. Due to a tight budget, we used straw as our walkway mulch but we overlooked mulching our growing rows. We also missed the memo about planting cover crops over winter. Turns out, the raised row garden technique isn’t so weed-free when you don’t mind your mulch.

This year, we’ve been dropping the ball on mulch–again. We had big plans, y’all, but they didn’t happen. The walkways are in desperate need of new straw but more importantly the rows were getting are dry and cracked just hours after every rain and with longer stretches of summer heat drawing close, we needed to figure out something quick.

After Sr.’s brain surgery, our great friends, the Sickles, have been helping us with the lawn. The first mow, I told Paul the wrong level to cut at and the lawn got a hefty trim. With so much cut, we had rows of clippings across the lawn Sr. asked me to use the lawn sweeper to sweep the clippings off the lawn the next day.

As I struggled to maneuver the first load of clippings beyond out of the sweeper my first few rounds. It was a sight to see. I couldn’t seem to get the grass dumped out at the right spot. I decided to toss a few shovelfuls of clippings on the new compost pile. Turns out, grass clippings are great for compost AND as mulch.

Here’s what I learned:

IMPORTANT NOTE: You should only use clippings from untreated yards.

Grass clippings are are a great source of green or brown material–depending on if they are fresh or not–in the compost. If fresh, they count as a green and require a brown, such as dried leaves to balance things out (I’m still learning A LOT about composting and pretty much only know three things: there are “green” things, (2) there are “brown” things and (3) there should be “balance.”)

Mulching with grass clippings, it not only cools the roots and helps retain moisture, like any mulch, it also can add up to 25% of the nutrients growing takes out of the soil. When using fresh clippings, you should use thinner layers so it can break down and you don’t encourage rot.

Finally mulched rows!

Since most of my clippings were brown, I piled it on nice and thick. I was able to get half the rows done before I ran out of clippings and had to sweep Clint and Tarin’s yard. The second round of sweeping was much easier once I figured out I didn’t have to get off the mower if I used the black rope, and that I could just dump it as I drove by the front of the big garden.

Once I finished, mulching, I took some of our left over soil builder and put it at the base of the plants. They have been LOVING it and so have we–less watering, yay! And the best part – totally FREE!


This week on the Half-Ass Homestead | June 8 – 14, 2020

This week we had beautiful weather! A little rain, not as much as I hoped for–isn’t it funny how when you have a garden, you start to pray for rain? It’s way too much of a chore to pull the hose all the way out to the big garden to water. There are signs of plant production everywhere! Clint and Vinny were enjoying the butter crunch lettuce straight from the plant while out watering one day.

The flowers are still blooming every day. I took a stroll through the house gardens and cut a few roses and flowering herbs for a summery bouquet.

The hens got more adventurous as they roamed towards the front yards. If you drove by the homestead on Tuesday morning you probably saw me running around like a madwoman with a lime green snow shovel shooing chickens out of the brush behind the coop (it’s full of poison ivy) and yelling orders at the kids on how to wrangle them so they. Trying to keep them all our of the poison oak and ivy and get the hens put up before my next meeting was exhausting.

Sweet Grace – You can find her most days with a pretty dress on, chicken in tote, and shoes on the wrong feet.

I was able to use Sr.’s lawn sweeper (yes thats a thing) and swept up more grass clippings from our two yards to mulch the rows. I also added some enriching soil builder we had left over from planting the peach tree and blueberry bushes.

Sr got his 17 staples out and this weekend brought a slight improvement in Sr.’s pain 🙌🏻 and we explored new scenery for our walk.

Black Hand Gorge Trails

Vinny turned FOUR and Tarin did a maternity shoot in the garden with the chickens!


The Big Garden, Year One: Our Half-Ass Fence

This first year of raised row gardening is the most expensive, as you spend you money on not only plants, but dirt, mulch and other essentials supplies you may not have. Initially, we decided we’d try to avoid the need for building a fence during the first year since we didn’t have it in the budget. We made plans for using marigolds and Irish Spring soap to deter animals from our garden.

Before we got out plants in the garden, a groundhog helped itself to our tender crops like they were a buffet. Luckily, (for the groundhog) it stopped hanging around in the house shortly before planting time, However, once we got the plants in the ground, Tarin and I started feeling a little paranoid about all our plants just hangin out in the open. In addition to groundhogs, our beautiful neighborhood is full of wildlife, including and abundance of deer and rabbits. I felt like every time I looked out the window the deer were standing around the garden mocking me.

While we never saw them IN the garden, their presence around it was enough.

We asked around on some local Facebook groups about the costs to have someone build our fence and the cost of labor alone was way out of our budget. Having mended fences on our old ranch back in Texas, I was pretty confident we could do a simple fence ourselves. After a few conversations with my Dad about how to go about it and the spacing of posts, and pricing our various fencing materials, we decided to got with t-posts and chicken wire as they were the most inexpensive options. Again, the garden plan I created came in super helpful when figuring out our materials list!

I picked up all the materials at Tractor Supply and had Brian Jr. Help hammer the t-posts in place. When Tarin got home she and I tackled the chickenwire, which was a bitch. The wire and posts were the same height… until I put the posts in the ground… because I hadn’t accounted for that 🤦🏻‍♀️. Chicken wire is also super flimsy and can easily stretch out of shape. So all along the top the wire was loose given we didn’t have supports aside from the posts and we were too lazy to rig up a fence stretcher–which would have made some difference I’m sure.

All in all though, we got the fence up, and the extra fence height I hadn’t accounted for went on to the ground as a skirt on the perimeter, which would be great for keeping small animals from digging in the fence.

By the time we got to the gate our half-assery was in full swing, partly because we were exhausted, partly because we were discouraged but how not-so-great the fence looked, and partly because we had not idea what we were doing. I resorted to a primitive gate method we used on many fences in ranches back in Texas… we just took some chicken wire across the gate opening and used wire to hook it closed. It was by no means sturdy but it closed the gap.

Surprisingly, we had no animals break into the garden last year! Our hopes were to build a new, legit fence this year… more on that later.


The Big Garden, Year One: The Garden is Taking Shape Despite Shitty Soil

In a raised row garden, there is no need for tilling and working the ground soil or building boxes for your garden beds. You simply cover your walkways with a non-producing mulch, straw, or rock material and create raised rows of quality soil about 18 inches wide and 6 inches high in the middle.

Once we had out big garden plot marked off, we decided to cover our walkways first with a weed barrier cloth since we didn’t have it in the budget to spend a lot on materials for the walking paths. This way if we couldn’t get enough mulch to cover the pathways, the cloth would keel the grass and weeds down. I created another diagram to help us determine where and how much cloth we’d need.

With the weed prevention fabric down, we then covered them with straw–our cost-effective “mulch” alternative–and ordered our soil. Unfortunately, we were a little late on the garden soil request. Because we waited until the last possible moment to order our soil, many places were out–something Tarin and I hadn’t considered as a possibility. I finally found a local place that not only had soil, AND would deliver that weekend.

The soil arrived when Tarin and Clint were away so the Camp kids helped me transport all our dirt into rows. Pretty sure this is when Jr. began to hate gardening 🤣 However, I was pretty proud of how hard Grace worked with her kid-sized shovel. We were all pretty proud once it was done.

Unfortunately, all that soil, wasn’t as great as we thought it was. When Tarin and Clint got home we went out to the garden to bask in the way everything was coming together. As Tarin looked at the soil in rows, she commented on how much the soil looked like mulch… in fact it looked exactly like mulch. In a panic, I called the place we ordered it from to confirm they had not delivered mulch instead, I mean it was all ready in TWENTY ROWS, how on earth was I going to give it back to them?!

The dirt company had a completely calm response to our freakout. Turns out, it was soil but it hadn’t finished “processing”. We were told to “just water it and it’d look like dirt” and as time went on the particles would finish breaking down. In other words… It was totally mulch, y’all!

Despite mulchy soil, we were ready for planting… or so we thought.

Our first lesson in plants

While we were able to get pricing on dirt (your most expensive purchase in year one), we had no idea what plants or seeds would cost. Tarin and I meandered around the aisles of our local nursery, list in hand, but overwhelmed at the where to start. Luckily we stopped an employee who shared with us which plants we could start by seed–a much cheaper option (cucumbers, squash, zucchini, carrots, green beans, peas, lettuce, spinach and kale) and which we should transplant ( tomatoes, peppers, broccoli, cauliflower, and herbs).

After several questions, I’m sure the gardening specialist, sensed our ignorance so she shared that we needed to “harden” our plants before planting and that we should wait until after the danger of frost has past–which is after Mother’s Day here. While we were bummed we’d have to wait 3 weeks to plant, we were thankful for this extra bit of wisdom as it snowed into mid-April that year.

While we waited for Mother’s Day, and the danger of frost to pass, we followed the instructions from the garden specialist and hardened our plants on the back deck. Our plants sat on the picnic table toughening up, that is until a ground hog decided it was a buffet and ate all our broccoli and cauliflower down to nubs. That groundhog wasn’t the slightest bit phased by the marigolds surrounding the plants, nor my presence in their sunroom Trying to remain professional during a video conference while the groundhog went to town. (This was the first sign we’d need a fence.)

What’s ‘hardening’ mean? Plants from nurseries are started and kept in greenhouses, living the lush life. The shock of transplanting them to new soil combined with sudden and constant exposure to the elements (wind, sun, rain) can kill theses tender little plants. therefore, you need to toughen those babies up by gradually increasing their exposure to the outdoors over a week or so–setting them outside during the day and bringing then indoors in the evenings if cold or daytime if really hot.

Once Mother’s Day passed, and what was left of our plants had sufficient time to harden, we got to planting in our mulchy soil. We had everything except the popcorn seeds (that row remained empty the whole year) and the boxes for our herbs, onions, and potatoes (which we never got around to planting).

This first year of raised row gardening is the most expensive, as you spend you money on not only plants, but dirt, mulch and other essentials supplies you may not have. We decided we’d try to avoid the need for building a fence during the first year since we didn’t have it in the budget. We made plans for using marigolds and Irish Spring soap to deter animals from our garden… more on that later.