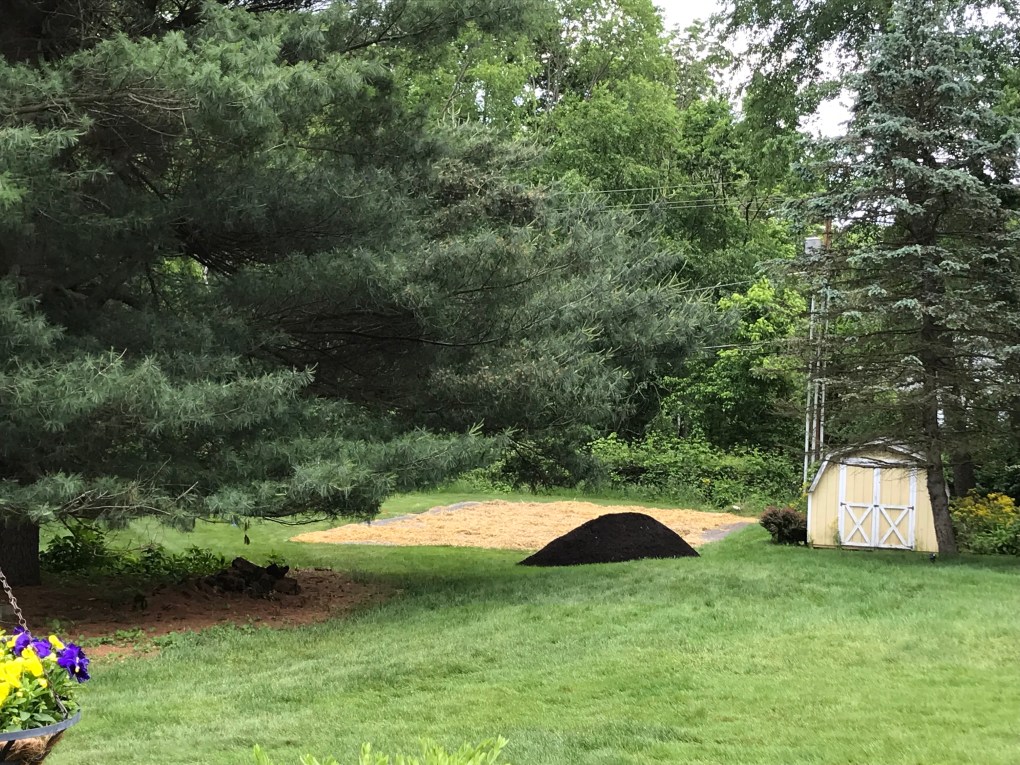
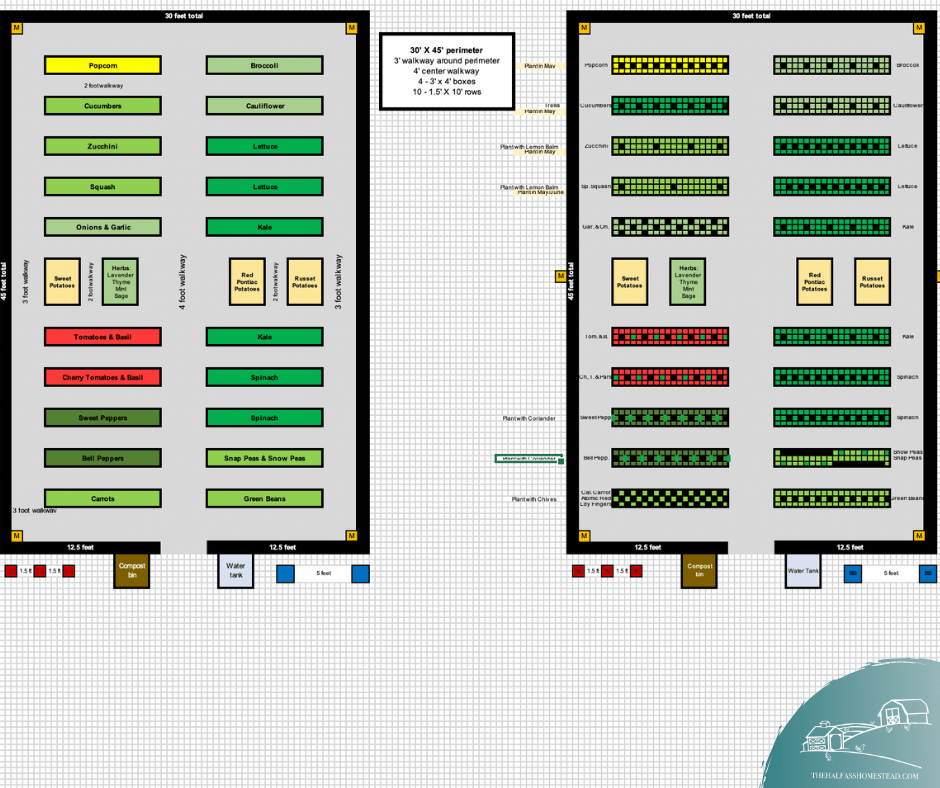
In a raised row garden, there is no need for tilling and working the ground soil or building boxes for your garden beds. You simply cover your walkways with a non-producing mulch, straw, or rock material and create raised rows of quality soil about 18 inches wide and 6 inches high in the middle.
Once we had out big garden plot marked off, we decided to cover our walkways first with a weed barrier cloth since we didn’t have it in the budget to spend a lot on materials for the walking paths. This way if we couldn’t get enough mulch to cover the pathways, the cloth would keel the grass and weeds down. I created another diagram to help us determine where and how much cloth we’d need.

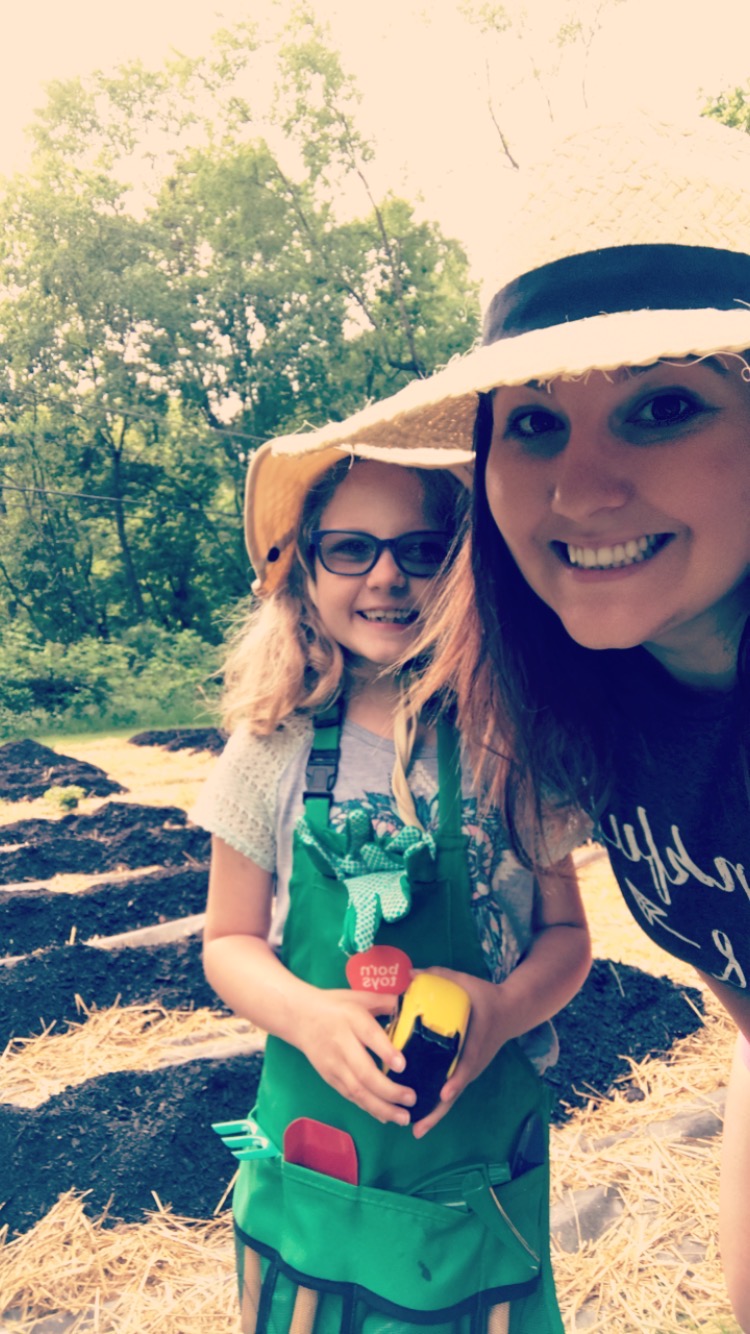
With the weed prevention fabric down, we then covered them with straw–our cost-effective “mulch” alternative–and ordered our soil. Unfortunately, we were a little late on the garden soil request. Because we waited until the last possible moment to order our soil, many places were out–something Tarin and I hadn’t considered as a possibility. I finally found a local place that not only had soil, AND would deliver that weekend.
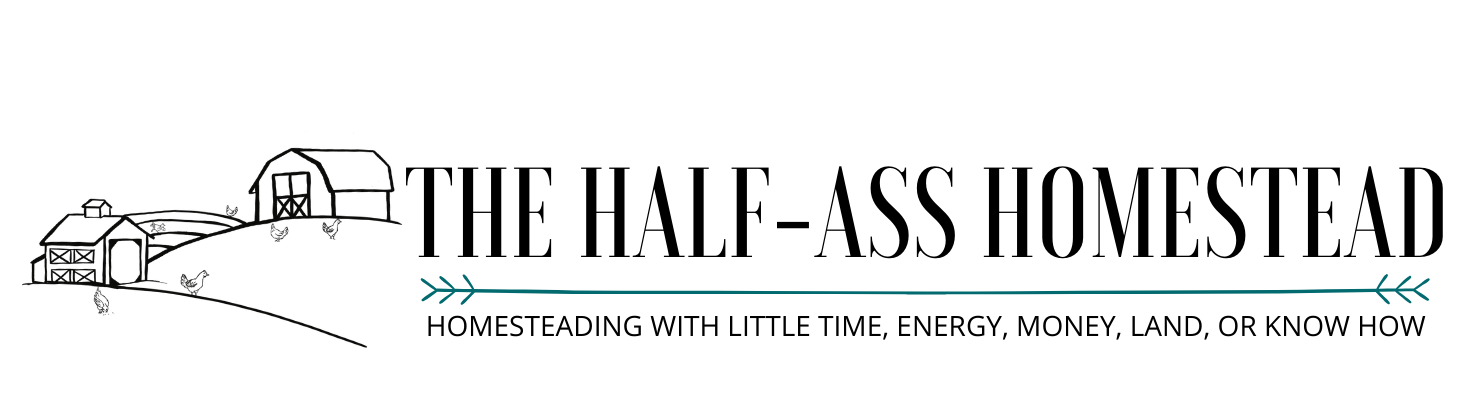
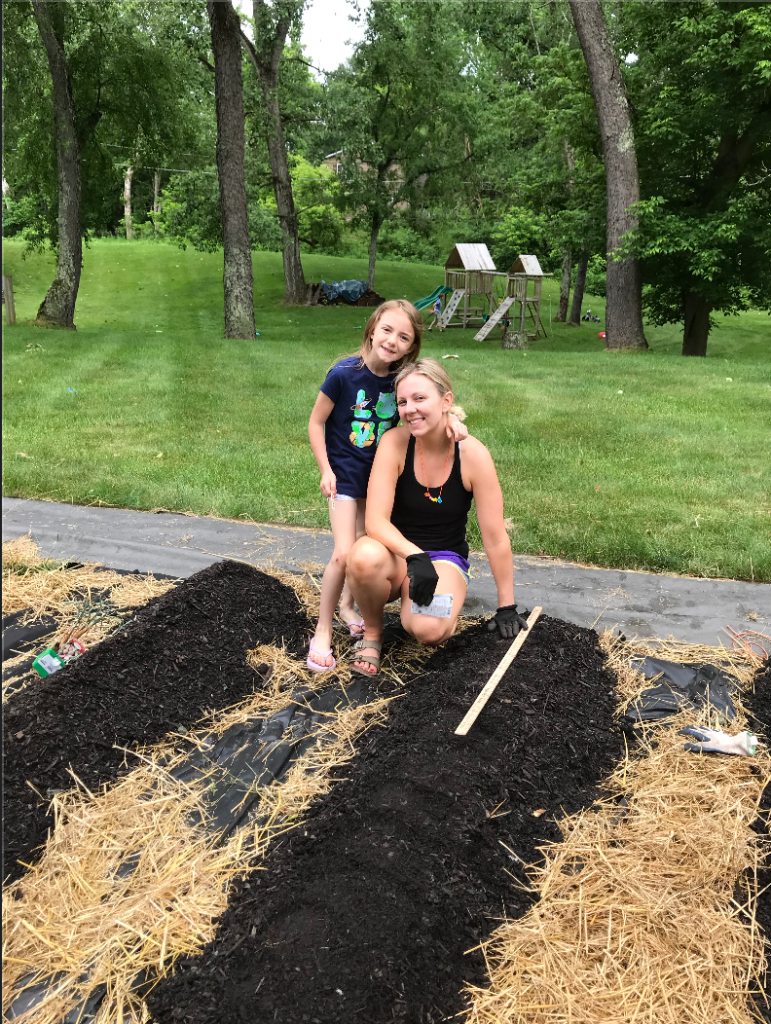
The soil arrived when Tarin and Clint were away so the Camp kids helped me transport all our dirt into rows. Pretty sure this is when Jr. began to hate gardening 🤣 However, I was pretty proud of how hard Grace worked with her kid-sized shovel. We were all pretty proud once it was done.

Unfortunately, all that soil, wasn’t as great as we thought it was. When Tarin and Clint got home we went out to the garden to bask in the way everything was coming together. As Tarin looked at the soil in rows, she commented on how much the soil looked like mulch… in fact it looked exactly like mulch. In a panic, I called the place we ordered it from to confirm they had not delivered mulch instead, I mean it was all ready in TWENTY ROWS, how on earth was I going to give it back to them?!
The dirt company had a completely calm response to our freakout. Turns out, it was soil but it hadn’t finished “processing”. We were told to “just water it and it’d look like dirt” and as time went on the particles would finish breaking down. In other words… It was totally mulch, y’all!
Despite mulchy soil, we were ready for planting… or so we thought.
Our first lesson in plants
While we were able to get pricing on dirt (your most expensive purchase in year one), we had no idea what plants or seeds would cost. Tarin and I meandered around the aisles of our local nursery, list in hand, but overwhelmed at the where to start. Luckily we stopped an employee who shared with us which plants we could start by seed–a much cheaper option (cucumbers, squash, zucchini, carrots, green beans, peas, lettuce, spinach and kale) and which we should transplant ( tomatoes, peppers, broccoli, cauliflower, and herbs).
After several questions, I’m sure the gardening specialist, sensed our ignorance so she shared that we needed to “harden” our plants before planting and that we should wait until after the danger of frost has past–which is after Mother’s Day here. While we were bummed we’d have to wait 3 weeks to plant, we were thankful for this extra bit of wisdom as it snowed into mid-April that year.
While we waited for Mother’s Day, and the danger of frost to pass, we followed the instructions from the garden specialist and hardened our plants on the back deck. Our plants sat on the picnic table toughening up, that is until a ground hog decided it was a buffet and ate all our broccoli and cauliflower down to nubs. That groundhog wasn’t the slightest bit phased by the marigolds surrounding the plants, nor my presence in their sunroom Trying to remain professional during a video conference while the groundhog went to town. (This was the first sign we’d need a fence.)
What’s ‘hardening’ mean? Plants from nurseries are started and kept in greenhouses, living the lush life. The shock of transplanting them to new soil combined with sudden and constant exposure to the elements (wind, sun, rain) can kill theses tender little plants. therefore, you need to toughen those babies up by gradually increasing their exposure to the outdoors over a week or so–setting them outside during the day and bringing then indoors in the evenings if cold or daytime if really hot.
Once Mother’s Day passed, and what was left of our plants had sufficient time to harden, we got to planting in our mulchy soil. We had everything except the popcorn seeds (that row remained empty the whole year) and the boxes for our herbs, onions, and potatoes (which we never got around to planting).

This first year of raised row gardening is the most expensive, as you spend you money on not only plants, but dirt, mulch and other essentials supplies you may not have. We decided we’d try to avoid the need for building a fence during the first year since we didn’t have it in the budget. We made plans for using marigolds and Irish Spring soap to deter animals from our garden… more on that later.
